Bohemian Romance Jewelry

upcycling

DIY Steampunk Jewelry Display, Style No. 2

D-I-Y-Samantha ExtanceComment

If you have a steampunk crafty business, or perhaps an old-timey aesthetic, your booth should convey the feeling of your products. This is something I feel that I do quite well and I am quite proud of. Many people stop by my booth just to look at the curiosities inside. This is the second in a series of 3 blog posts on how to recreate 3 of my newest displays for yourselves! Too see Style No. 1, click here. For Style No. 2, read on!

Style No. 2IMG_7219

What You'll Need: 2 boxes (1 large and 1 small); 2 screws; drill & screwdriver; Murphy's Oil; medium-large cup hooks, as many as preferred; awl; c-clamp; and decorative metal bracket

A Note on Where to Find Boxes: Flea Markets; Garage Sales; Antique Malls; and ReStores (which benefit Habitat for Humanity)--Look for sewing machine drawers & old produce crates especially. Avoid any boxes with mold, badly split sections of wood, or water damage. They will not be as structurally sound and may break with minor hammering.

Instructions:

  1. Clean your boxes with soap and water (be careful not to soak your boxes). Shine them with a little bit of Murphy's Oil. Let dry completely.
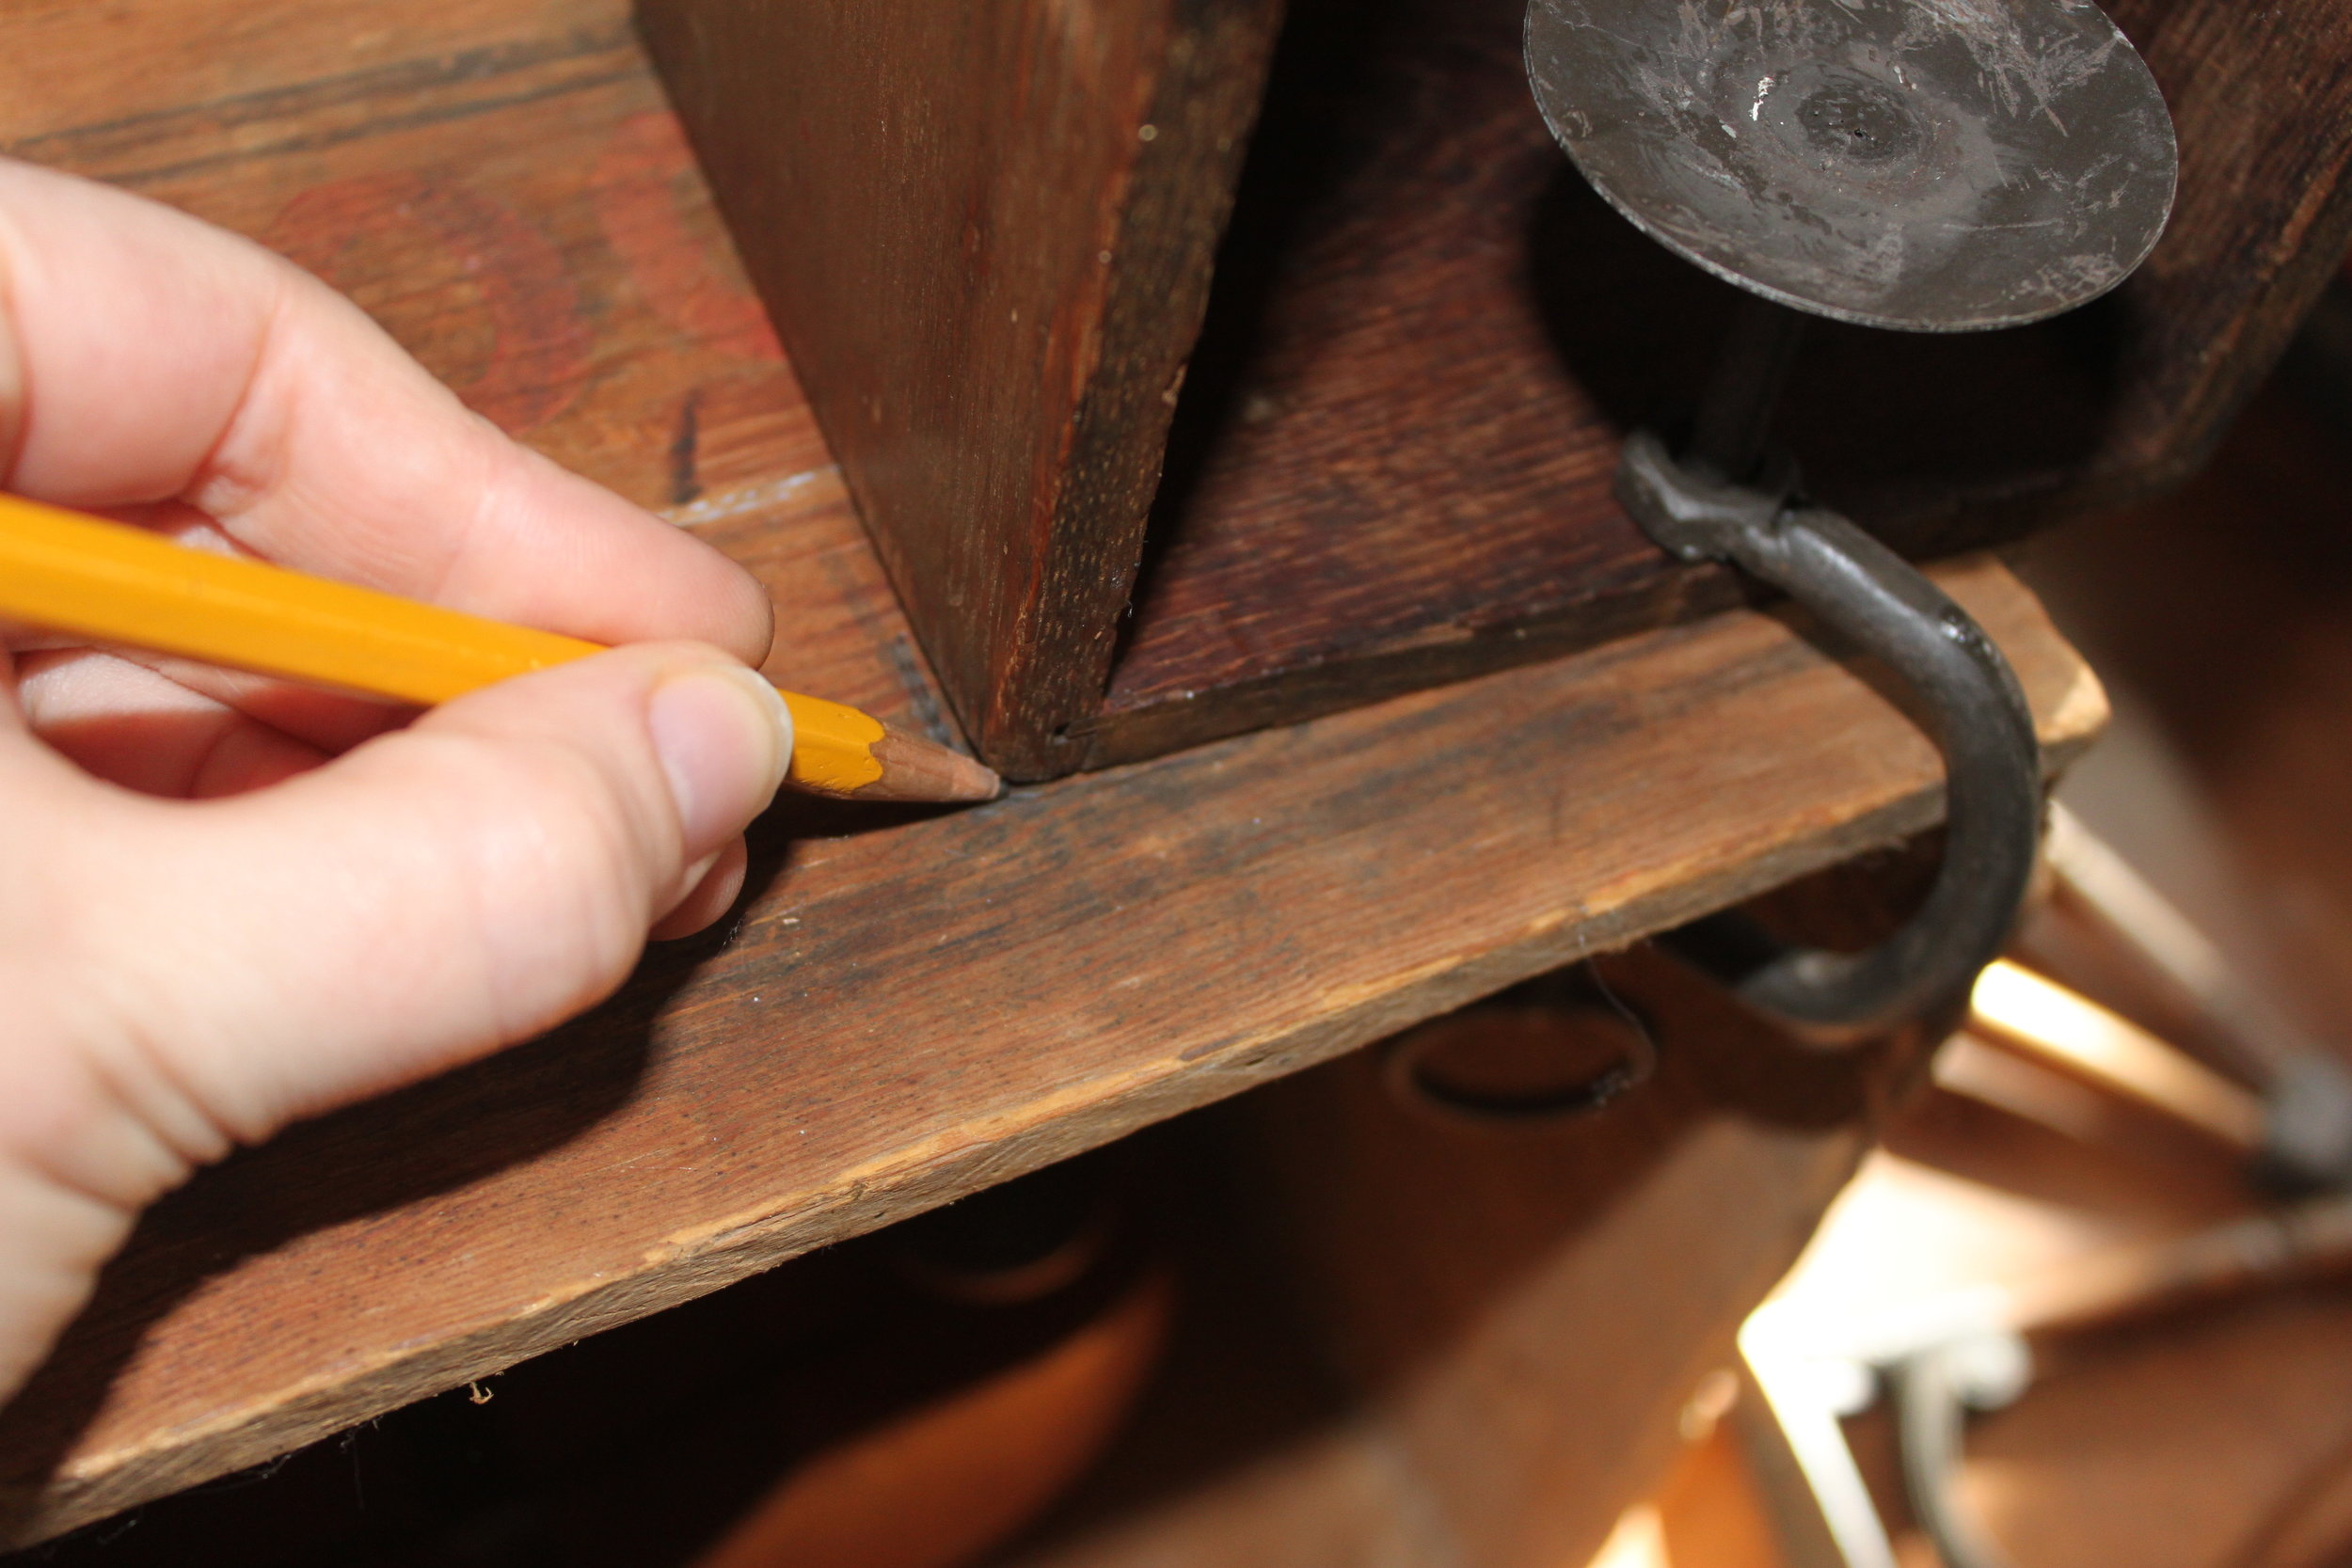
  2. Place your sewing drawer (or small box) and metal bracket where you'd like them. Mark with pencil where you need to screw your metal bracket in place. Also, mark the corner of your sewing drawer so if you choose for it to be removable you can place it back in the same spot. (I would suggest making your drawer removable because when you transport these kinds of displays, they can shift and it is much easier to adjust a c-clamp than having to re-screw the box on location).IMG_7230
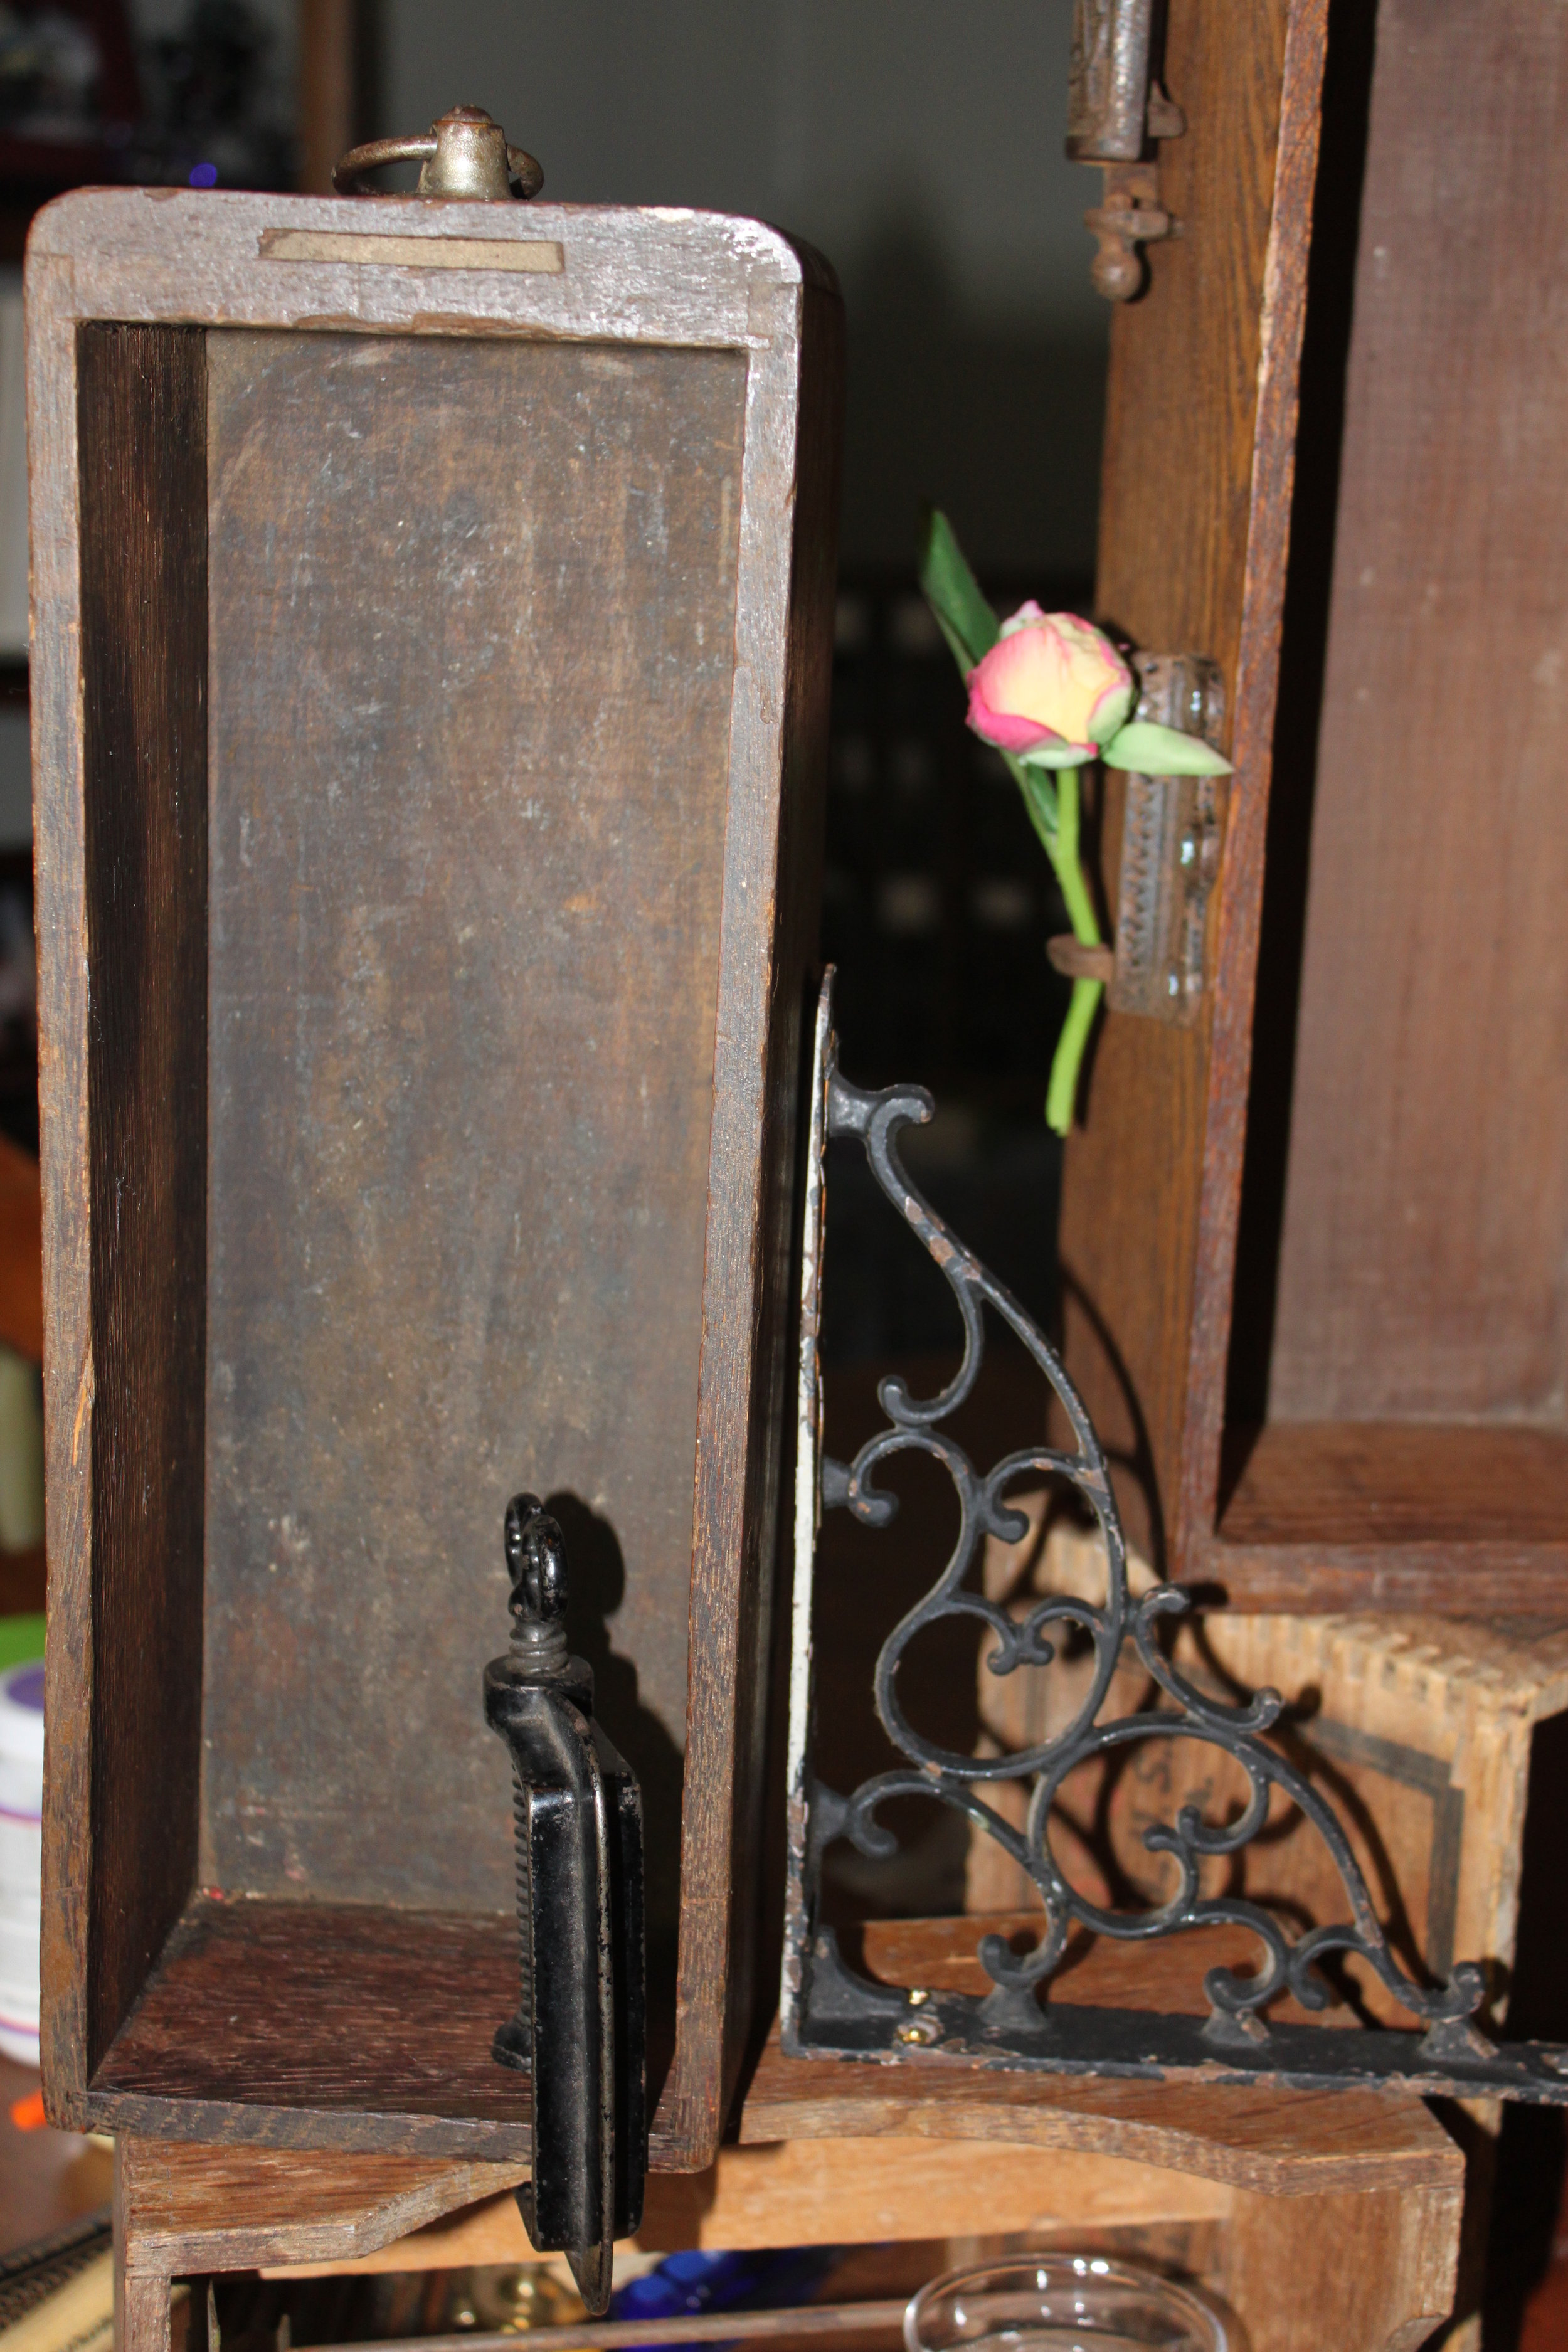
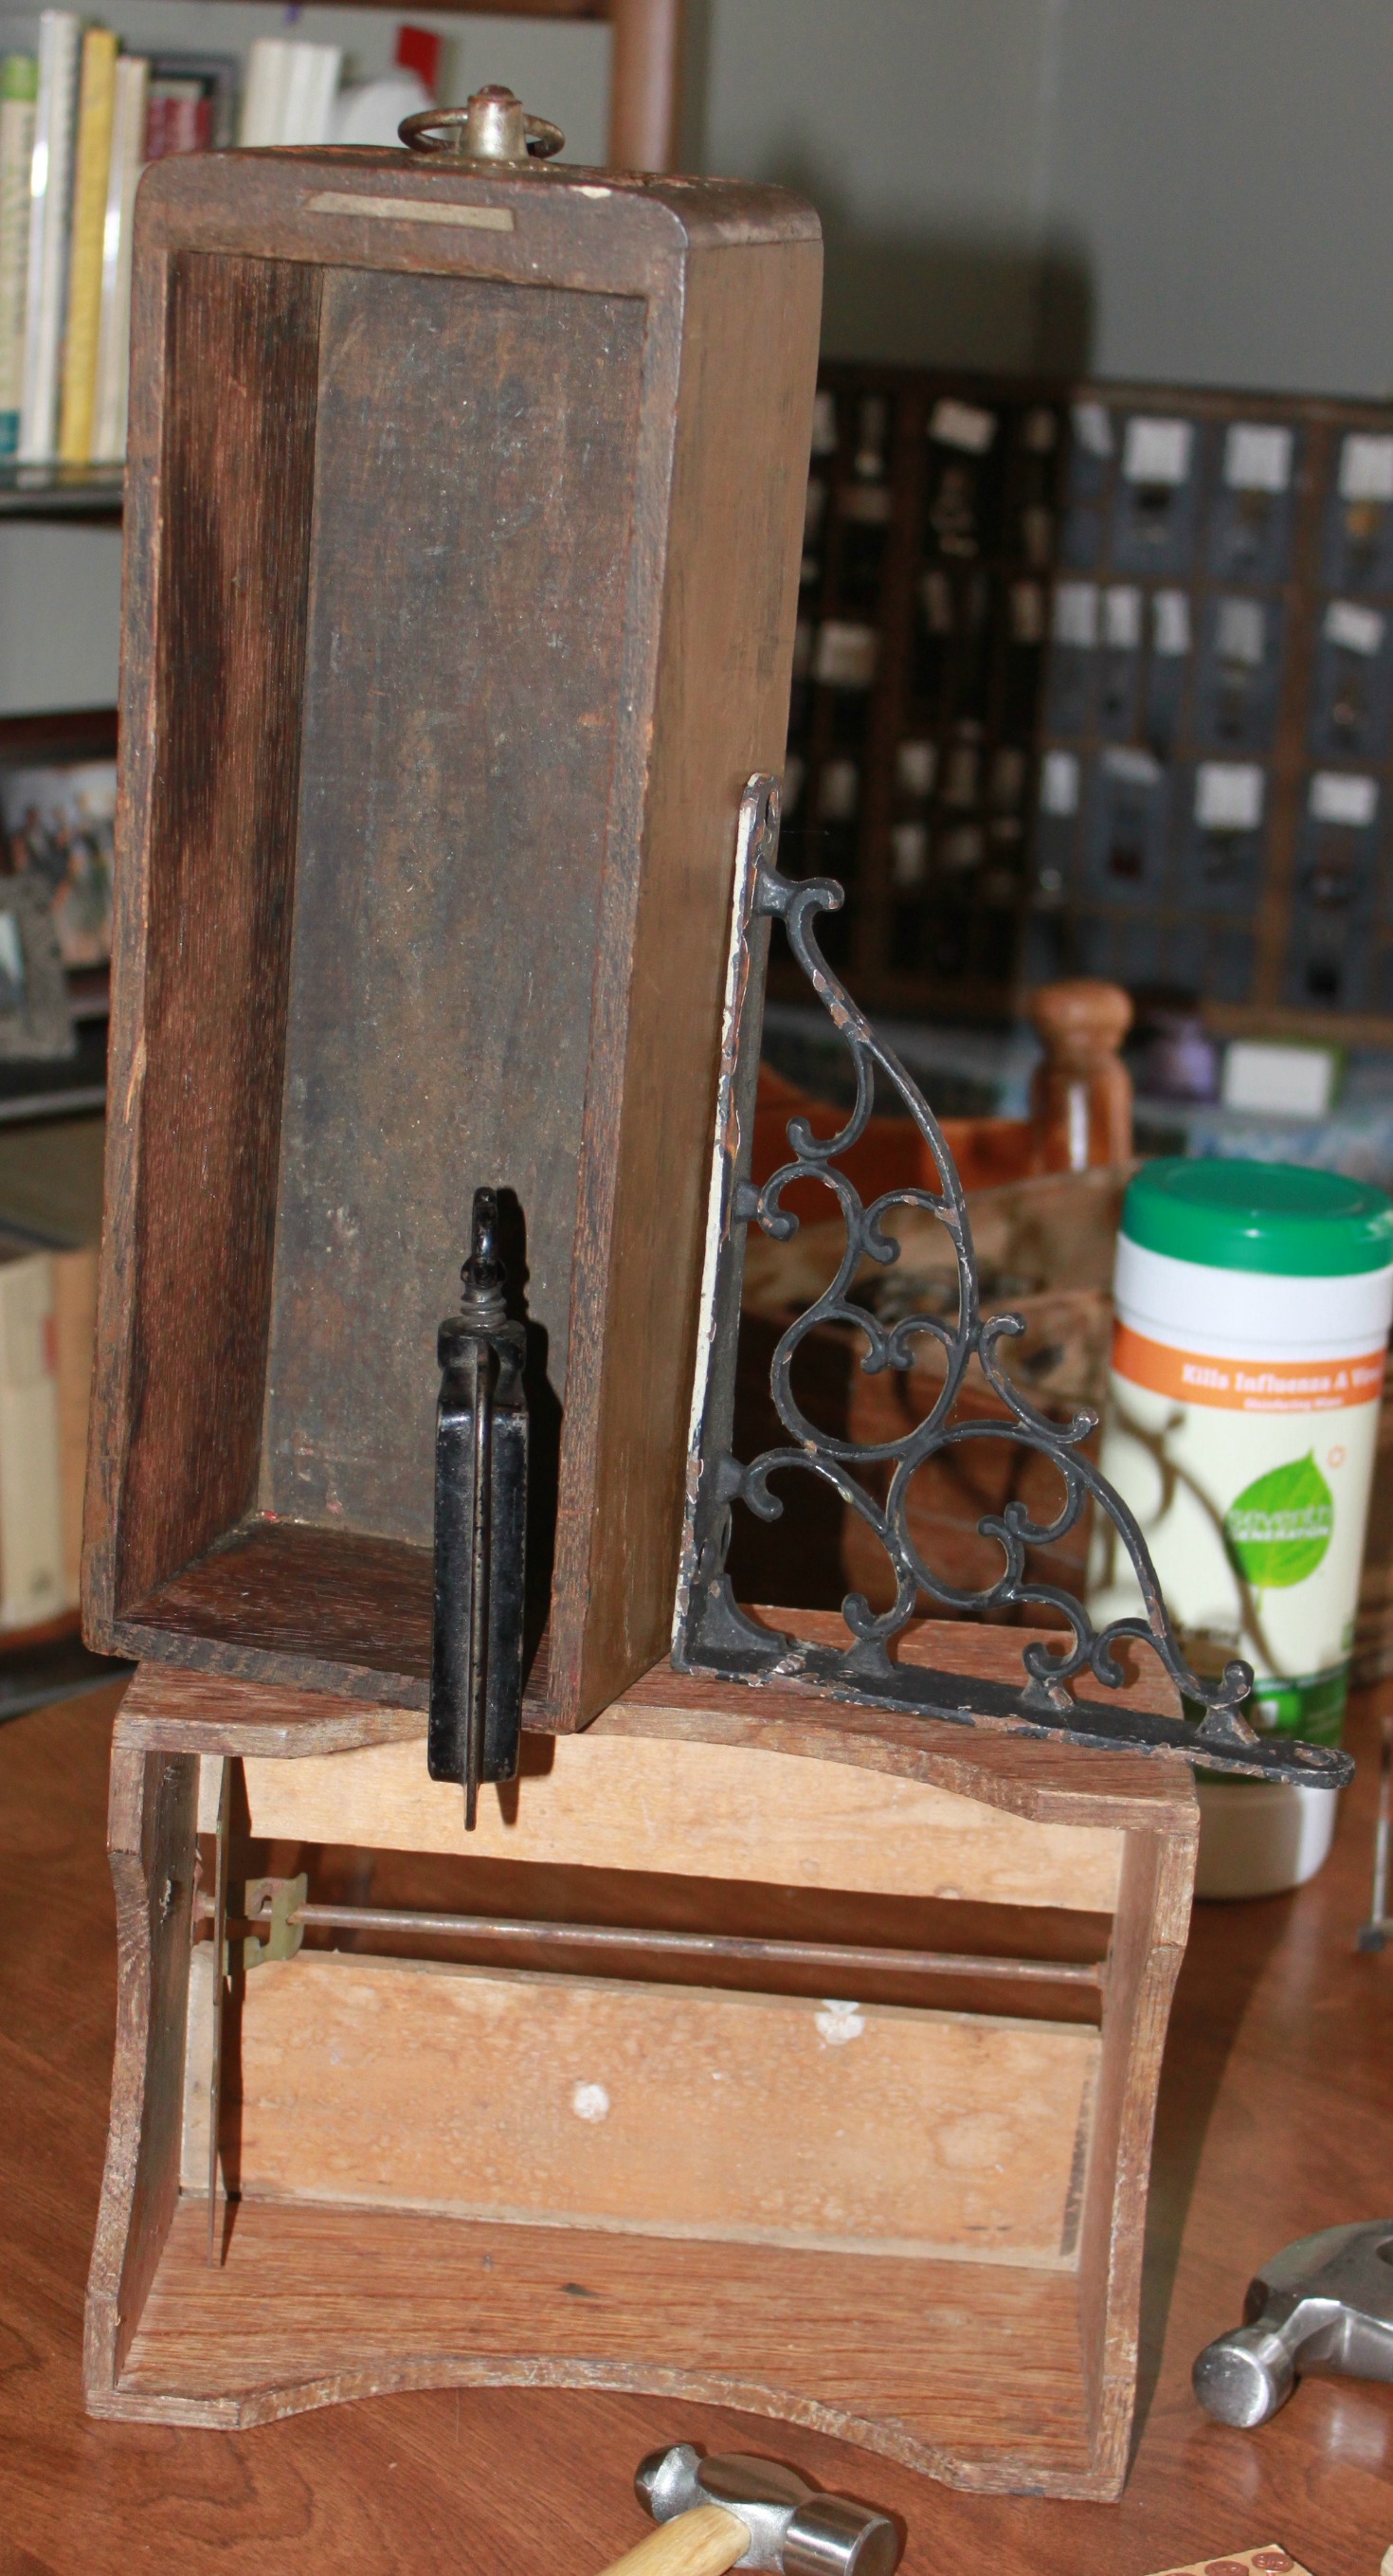
  3. Clamp your sewing drawer to your large box with your c-clamp.IMG_7241
  4. Next,  make starter holes in your large box for your screws. If your box is oak or another hard wood use a drill rather than your awl. And vice versa for a more pliant or less sturdy wood.
  5. Affix your metal bracket to your large box with your screws.
  6. Last, make starter holes on your display where you'd like to place your cup hooks. Screw your cup hooks in.IMG_7227
  7. Hang your jewelry with pride!IMG_7251

DIY Steampunk Drawer Displays, Style No. 1

D-I-Y-Samantha Extance1 Comment

If you have a steampunk crafty business, or perhaps an old-timey aesthetic, your booth should help convey the feeling of your products. This is something I feel that I do quite well and I am quite proud of. Many people stop by my booth just to look at the curiosities inside. In my next 3 blog posts, I will be sharing 3 of my newest displays with instructions & tips on how to recreate them for yourselves! Here's no. 1.

Display No. 1:

IMG_7242

What You'll Need: 2 boxes (1 large and 1 small); 2 nails; hammer; Murphy's Oil; 3 medium-large cup hooks, or more if preferred; 1 large spring; modge podge; paintbrush; scissors; awl; map tissue paper (or regular paper) cut to fit  the bottom of your box; twine; and a metal filigree globe (this can be substituted for anything else you'd like or can find that fits your box that you can hang jewelry from)

A Note on Where to Find Boxes: Flea Markets; Garage Sales; Antique Malls; and ReStores (which benefit Habitat for Humanity)--Look for sewing machine drawers & old produce crates especially. Avoid any boxes with mold, badly split sections of wood, or water damage. They will not be as structurally sound and may break with minor hammering.

Instructions:

  1. Clean your boxes thoroughly with soap & water (though do not soak the box) and shine up with a little Murphy's Oil. Let dry completely.
  2. Affix your small box on the top of your large box with your 2 nails. Hammer the nails in the bottom of the  small box. Next, cut a piece of your map tissue paper to fit the bottom of your box. Apply a generous layer of modge podge to the bottom of the small box and then place the map tissue paper over it. Apply another layer of modge podge and let dry, approx. 15-20 mins. (Side note, map tissue paper, which you can find at Barnes & Noble BookStores in their gift wrap section,  looks more antique when modge podged into your box than regular map paper).
  3. Next, cut a piece (or pieces if your large box is divided like mine) of map tissue papers to fit the bottom of your large box. Apply a generous layer of modge podge to the bottom of the box. Place the map tissue paper to the bottom of the box and then modge podge on top of it. Let dry, approx. 15-20 mins.
  4. Next, place your spring where you want it to hang in your box. Mark 2 spots with your pencil (where your cup hooks will go). Using your awl, create 2 starter holes over your pencil marks.IMG_7227
  5. Screw your cup hooks in place. Hang your spring from the cup hooks.IMG_7244
  6. Place your metal filigree globe in the box. Figure out where you would like it to hang. Mark it with pencil and create a starter hole with your awl. Next, cut the length of twine you need. Attach the twine to your filigree globe.
  7. Screw your cup hook in place. Hang your filigree globe. IMG_7243
  8. (Optional) Screw in more cup hooks for additional places to hang your jewelry. Remember to first create starter holes before screwing in the cup hooks so that you do not split the wood.
  9. Display your amazing product!

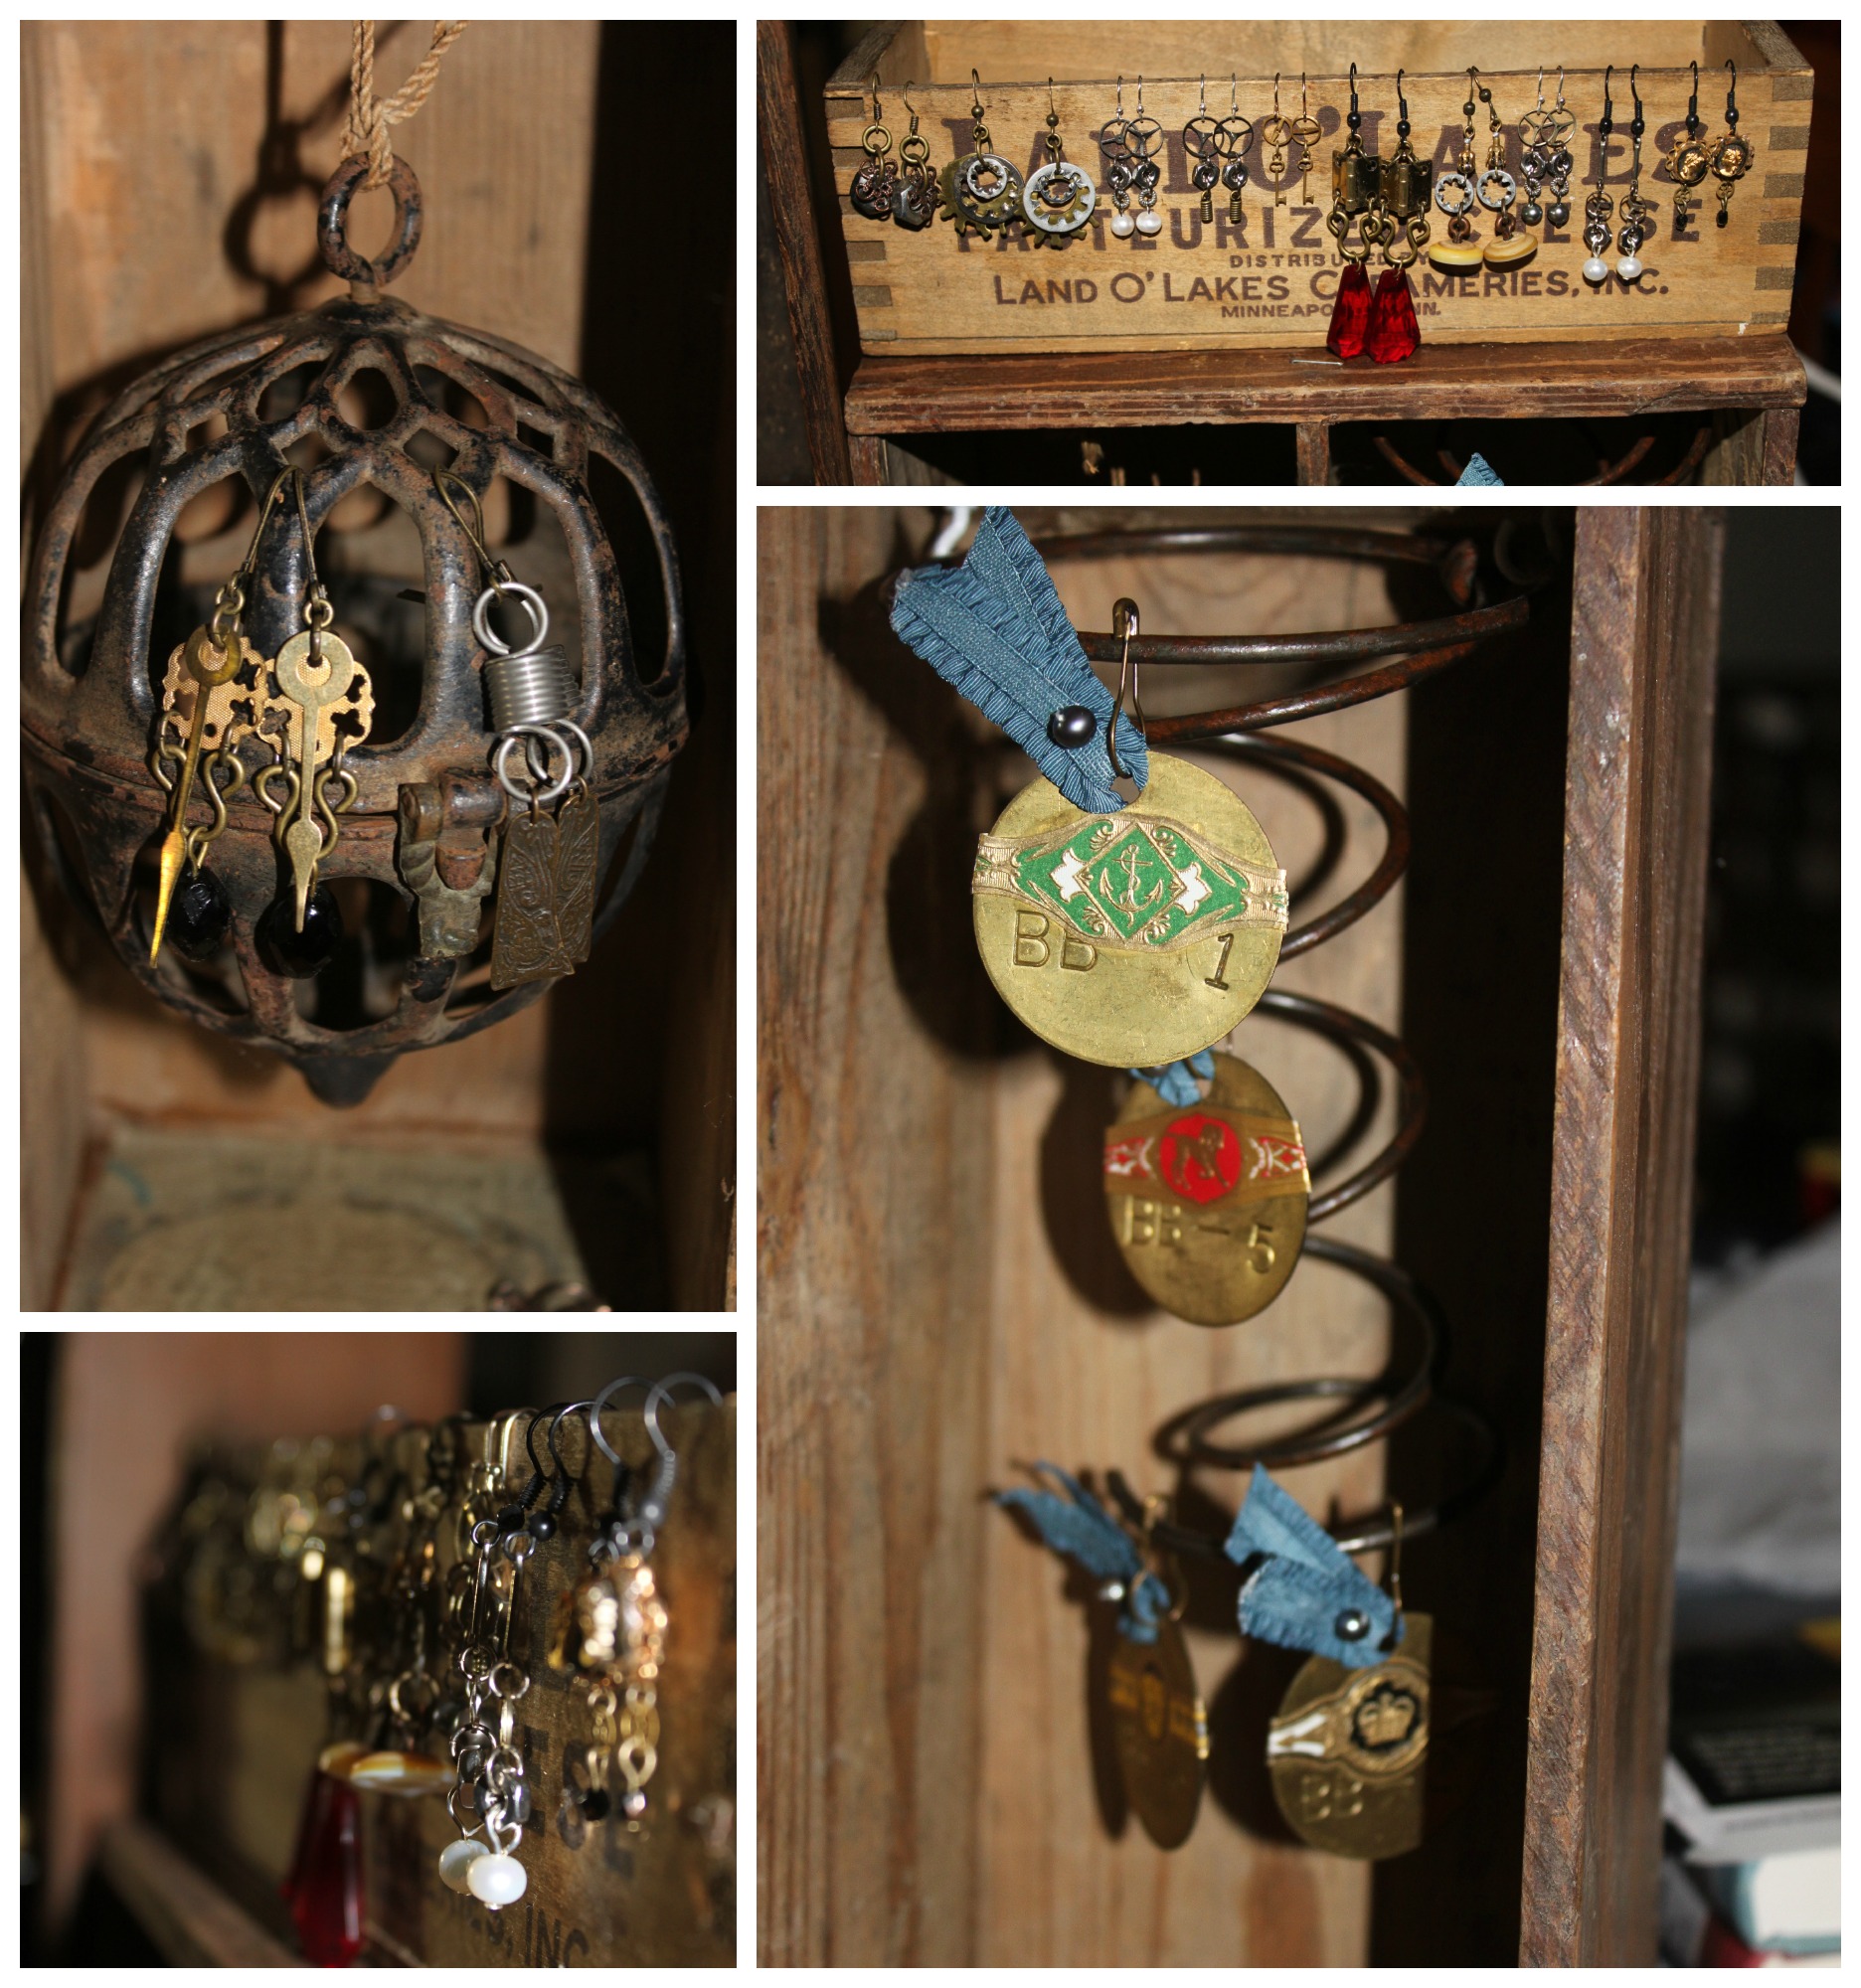
Steampunk Jewelry Display Style No. 1 Collage

W.S. Rockwell Brass Valve Tags

Flea Market FindsSamantha ExtanceComment

In my flea market & thrift store travels I often happen upon little pieces of history. My mom and I picked up these brass tags, marked W.S. Rockwell, at a street fair & flea market in NYC in September. Yesterday was a deliciously rainy morning and afternoon so I curled up with some tea and did a little research. Here's what I discovered:

W.S. Rockwell Co. was established in 1880. The company made furnaces and was chartered in 1908. They owned many patents on their furnace innovations, like this one for a tilting crucible melting furnace. Their main office was located on 50 Church Street in New York City in the Hudson Terminal Building. Their company slogan was "Better Heating, Lower Cost." Their dedication to a quality furnace and thus quality heat lead them to write a book on their industrial craft in 1922 called The Elements of Industry. The book itself is fascinating--filled with diagrams and explanations of metal working.

I found little about the tags themselves, except that they were used to identify and differentiate between valves. I have a whole key ring of valve 29s. They are beautiful brass tags that certainly reflect the beauty of Rockwell's furnaces.

Steampunk Grandfather Clock

D-I-Y-, Flea Market Finds, ShowsSamantha Extance3 Comments

I had purchased a broken grandfather clock at a thrift store 2 months ago in the hope of making a display piece out of it. As a rule, I never upcycle anything that can be restored. This clock was in a sad state when I happened upon it--the wood panel in the back was entirely overtaken by mold & wood rot. Luckily, the majority of the clock was in tact. Though it is still a work-in-progress (I hope to fashion it with wheels & a working clock mechanism), the exterior is finally done! Here it is in its various stages. I used clock plates, bicycle gears, chain, metal erector set pieces, a clock spring, an old whisk, and lots of screws & nails.

Want to DIY?, here are a few tips! To make your own steampunk grandfather clock (out of an already broken one), you will need the following hardware: screws (of various sizes, fitting your collected pieces), chain & jump rings, metal brackets (for heavier pieces, like the bicycle gear pictured above), Gorilla brand wood glue, nails (for extra support at the base of your grandfather clock), and metal connector pieces (like the metal erector set pieces that I used--which are a rare find; however, at Lowes Home Improvement you can purchase similar metal pieces in their hardware section categorized under hardware designated for "Science Projects."). The tools I used are fairly common: hammers (one large & one small), an awl (for making starter holes for screws & nails), pliers (for opening jump rings & chain links), and screwdrivers (of various sizes depending on the type of screws that fit into your collected pieces).

After you have gutted your clock, I recommend cleaning it thoroughly before beginning to steampunk it. Murphy's oil is great for wood, soap & water, a wood-friendly scrub brush, & (if you are dealing with mold) rubber gloves & a protective mask. Once you have collected pieces that you would like to affix to your clock, I suggest laying everything out before beginning to screw & nail it in or sketching it out beforehand.

As a display, at RAW; Tulsa's Solstice event, it had the desired effect of drawing a lot of attention & foot traffic. In the home & at an event like this one, it certainly is a conversation piece.

Thank Yous Galore, I must take this moment to thank a fellow Make;Tulsan and graphic designer extraordinaire, Michael Chaplin, for helping me transport the grandfather clock to the show & back home again. Sadly, I was not able to affix the clock with teleportation capabilities (sigh, if only). Thanks to RAW; Tulsa for the opportunity to showcase my work, have professional photographs taken, & video--everyone was so nice & I had such an amazing night; Thanks to 33forty & their wonderful staff who helped me with lighting & moving furniture & last but not least, to all of you who came!