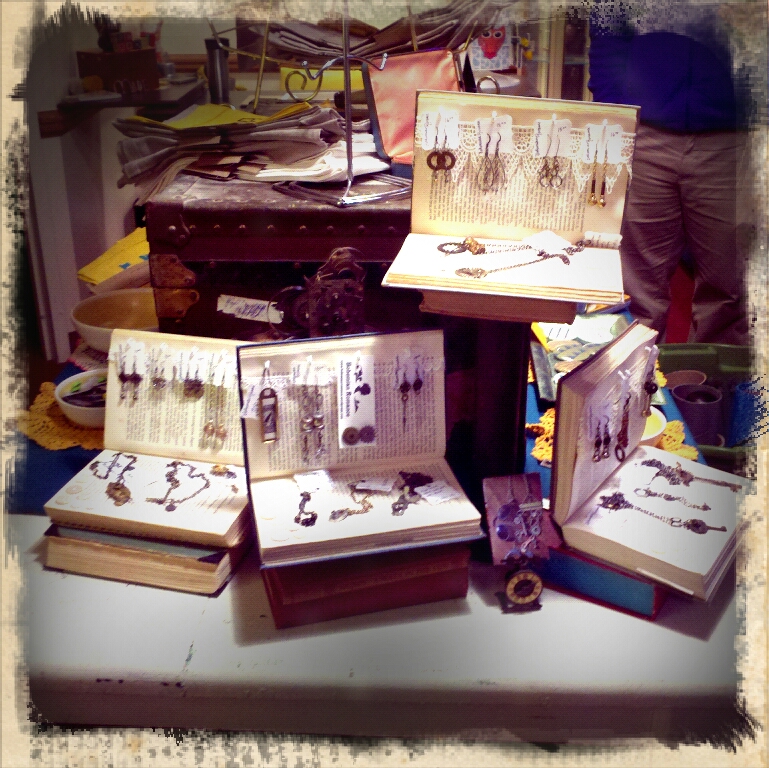
I like to use antiques and things I can upcycle and re-purpose to display my jewelry. As many of you probably already know if you have seen my booth at local craft shows--I have antique printer drawers, an old door that I use for a table, a shutter, and a wood kitchen drawer that I refurbished for display purposes. This display came about when I was thinking up creative ways to display my jewelry in a new shop that is opening up here in Tulsa. I am happy to be a part of Made; The Indie Emporium shop, located on the corner of 5th & Boston (the grand opening is February 1st & I hope to see you there!). I loved making these displays and I hope you will too!
screwdriver; scissors; needle & thread; 2 books (1 to use as the display and the other to use as an anchor); cup hooks (white); Sharpie marker; awl; brads; lace; buttons; all-purpose glue; 1 pkg. of corner braces with screws (mine are 2 1/2" x 5/8") but really this just depends on the size of your book
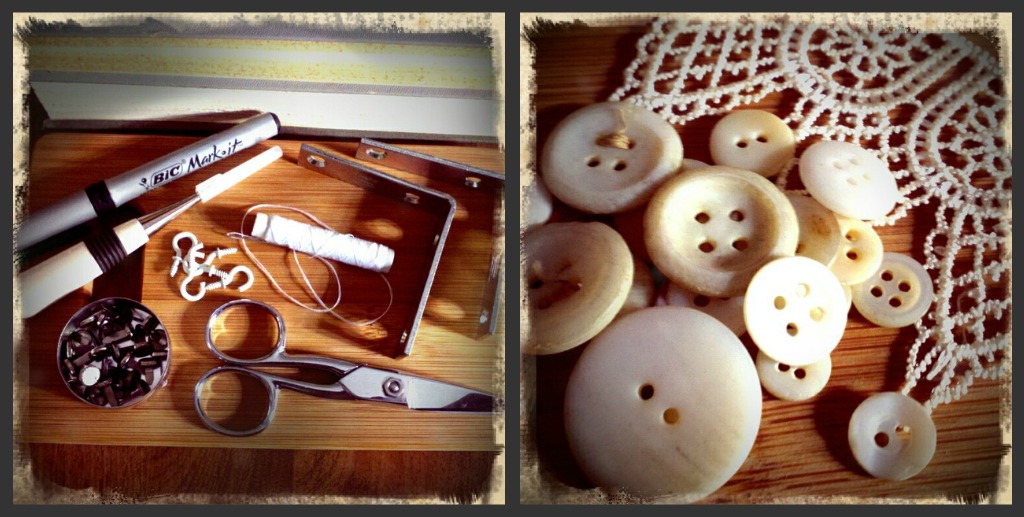 What is great about this DIY is that it is simple and elegant while also being incredibly cheap to reproduce. I purchased the books for 50 cents each at a used bookstore, the lace was 50 cents in a bargain bin, the buttons were free! (I collect lost buttons, they are everywhere you look!), cup hooks 89 cents per pkg. of 5, and the corner braces came in a pkg. of 4 with the screws and only cost $3.95 at Lowes, and lastly a large pkg. of 20 brads were on sale for 76 cents--which brings me to a grand total of $7.10.
Steps:
1) Before doing anything, first figure out which pages you would like to have your book display opened on. I read mine to make sure that there wasn't anything a potential customer might find offensive (like expletives, racy scenes, or racial/ethnic slurs). Also, measure (eyeball it) to make sure that the screw (that you will fix in the middle of the top page of your book display to keep it securely open) can go through all of the pages that you have opened your book to. See figure below for clarification.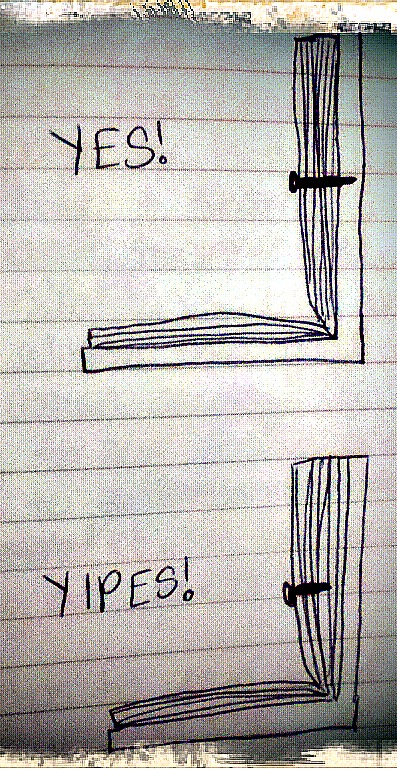
You want the screw to go into the book cover otherwise the book pages will fall down once you place jewelry on it.
2) Once you have done this, measure and cut your lace to fit the top page of your book display. Your lace should wrap around to the other side of the book page to hide unsightly unraveling and seams. I suggest sewing 2-4 pages together (depending on your paper quality and its thickness) so that there is less of a chance of tearing the pages while you are sewing your lace in place. Too few pages and it's too flimsy to sew easily and too many pages leads to more paper tears because you are tugging at your stitches more. It helps to pin your lace in place on the book page.
3) Once you have your lace pinned in place, sew it. Try to keep your stitches small, even, and neat.
 4) Next, place your buttons on the bottom book page of your display. I pinned mine in place (which is optional). You could sew as you go if you choose. Sew your buttons in place. Again, sew 2-4 pages together for maximum ease.
  5) (Optional) Use your marker to write your business name or a cute phrase on the bottom page of your book display. You could also stamp a design on your page or doodle in the margins. Anything goes, have fun with it!
6) Once you are finished with decorating your display, it's time to fasten the display book to your anchor book. Place your anchor book underneath your display book. Grab one of your corner braces and place it up against the back cover of your display book situating the screw holes tightly against both the back cover of your display book and the top cover of your anchor book. See the image below for clarification. 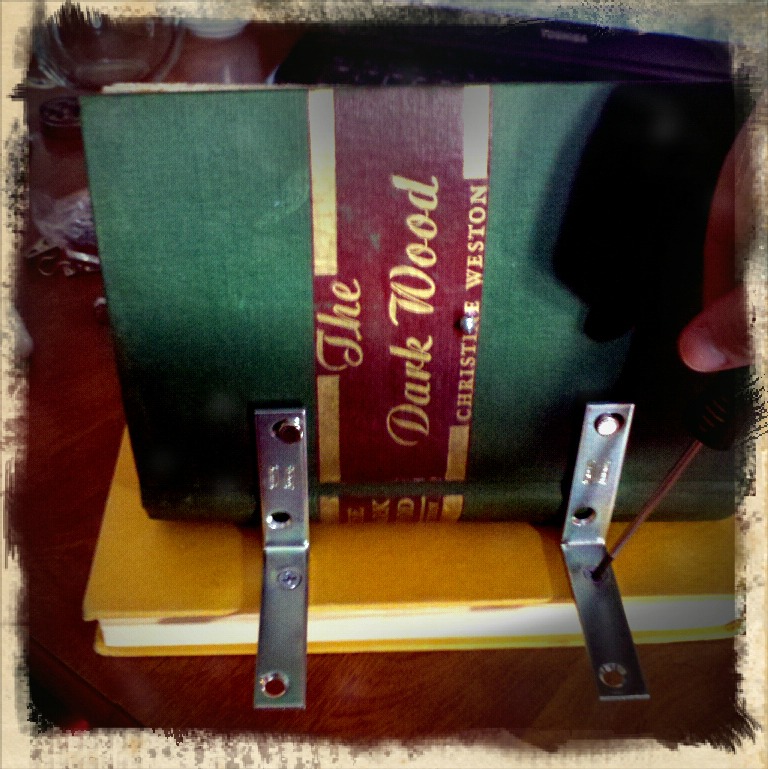 Once you have the corner brace places, take your Sharpie marker and mark each screw hole. Repeat for the other corner brace.
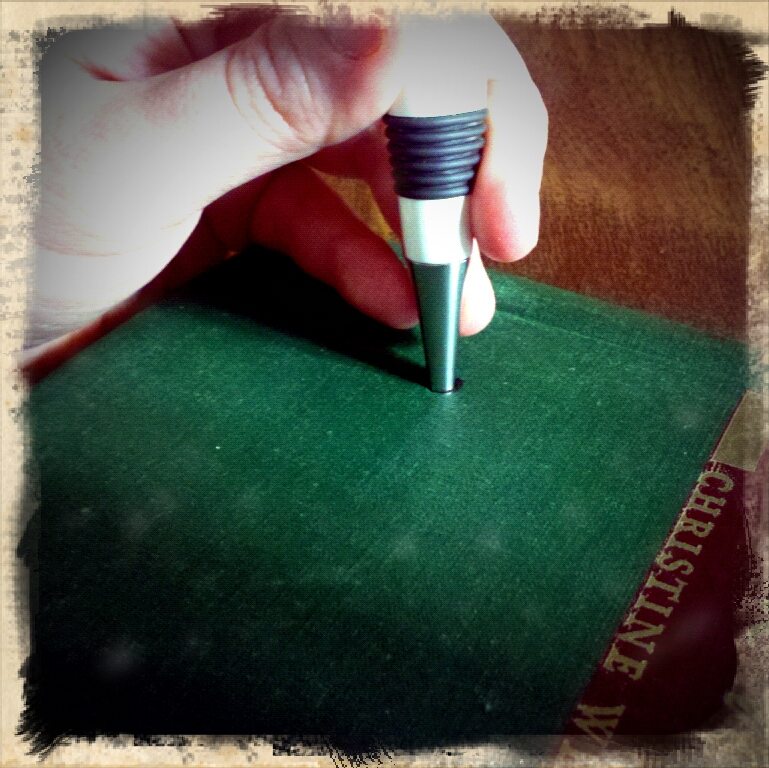
 7) Next, take your awl and poke a hole directly through the marks you made for your screw holes on both covers. When poking a hole in the display book cover, be sure not to go through your book pages--just the cover.
  8) Once you have made all of your holes, take 2 brads and use them to fasten your corner braces to the display book. (You are putting the brad through the screw hole, book cover, and then opening the ends to hold the corner brace in place). The picture here is upside down, but you get the idea.
 9) Next, take 2 screws and screw them in place (through the hole you poked through the anchor book cover). You know when you're done because the display book will feel more secure (essentially, it will no longer slide or fall closed but remain upright).
  10) Turn your display book around so that it is facing you. Using your awl, poke tiny holes (starter holes) in your top book page for your cup hooks. And then, screw your cup hooks in place. I recommend alternating which cup hooks you screw in so that the page does not ripple or become uneven.
 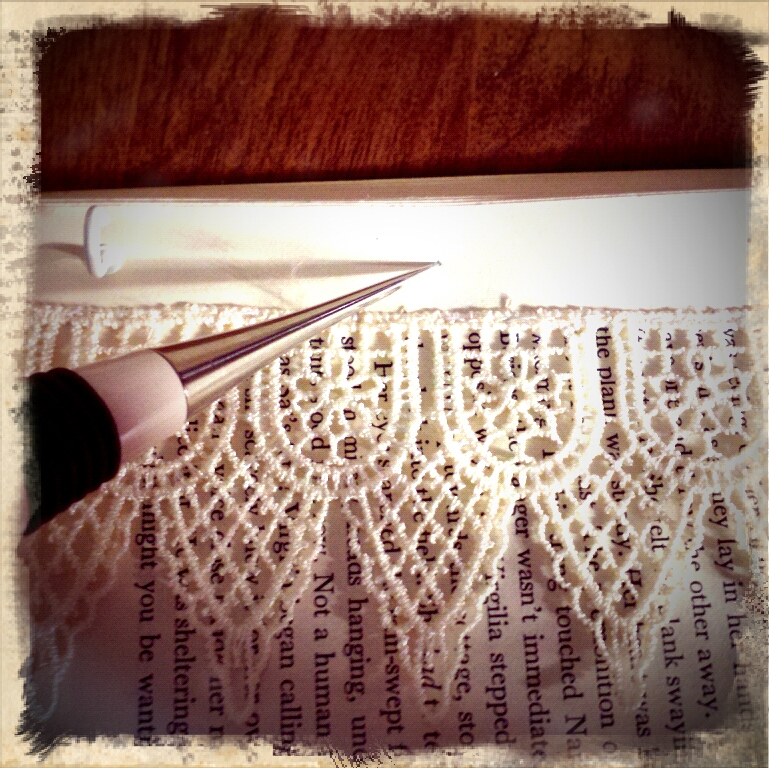 For instance, I had 5 total cup hooks so I screwed in the 1st hook and then the 3rd and 5th, and afterwards, the 2nd and 4th hooks.
11) With the display book still facing me, I lifted up my lace, and using my awl made a starter hole in the very middle of the top page for my screw. Then I took a screw and secured it in place using my trusty screwdriver.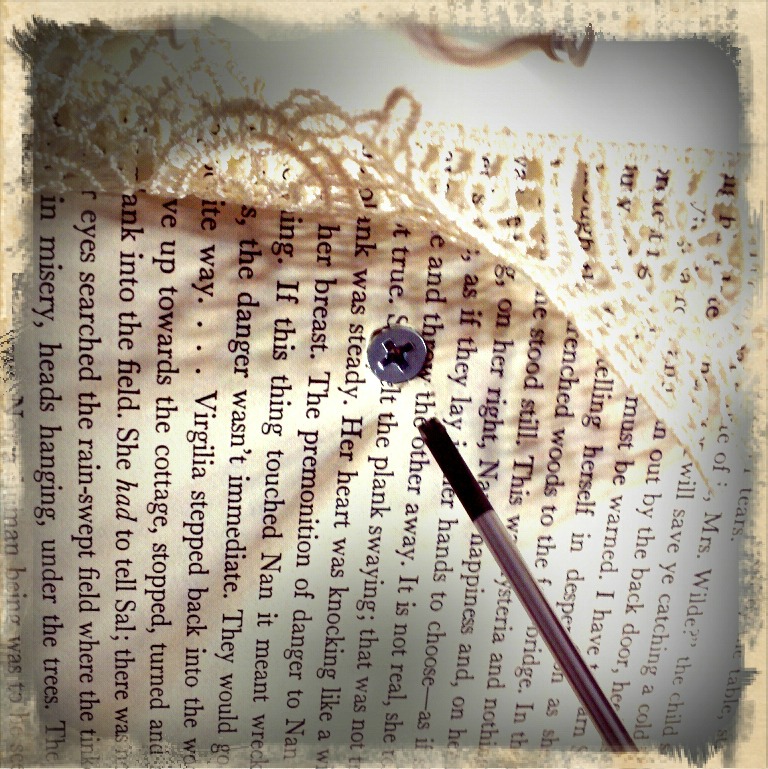 12) Once I was done, I cut a circle out of a scrap book page to cover the screw and glued it in place.
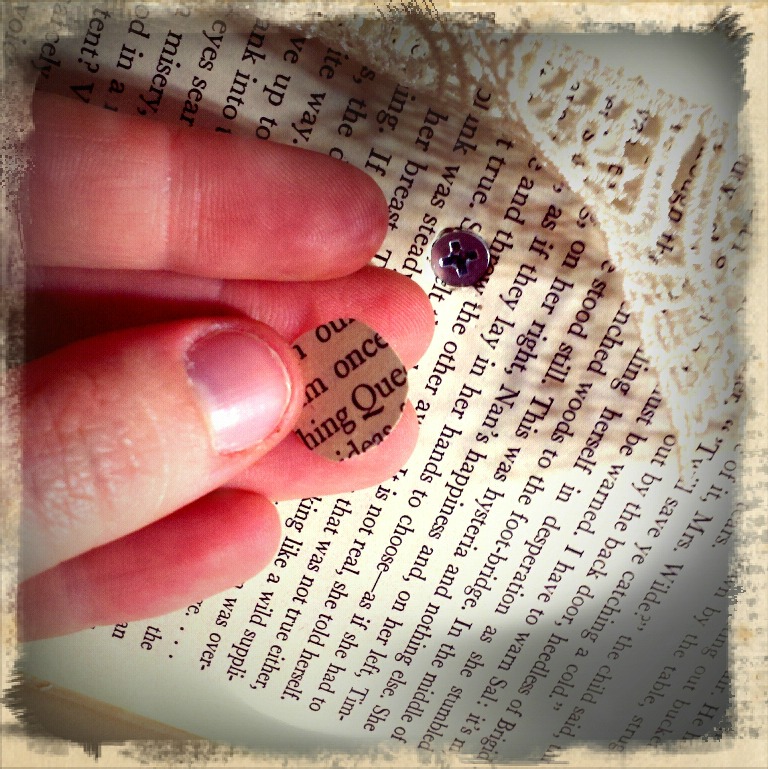 13) Now comes the fun part--splaying your jewelry across the page and hanging it from the tiny cup hooks!
  For a layered look, stack books underneath your display to create height and use different angles.
As always, Happy Crafting! And please, do come visit Made; The Indie Emporium shop's grand opening on Feb. 1st!
