Bohemian Romance Jewelry

gears

Something Old, Made New

InspirationSamantha ExtanceComment

First off, I'd like to thank my lovely friend Irina. She donated her old jewelry & accessories to me and I have been having a wonderful time re-inventing these treasured pieces. I am fortunate that many of my friends, family members, and fans will occasionally send me things to upcycle. It is the greatest kind of support & it brightens my day. And best of all, I encounter pieces that I might not otherwise come across. So thanks to anyone who's ever donated materials to me. I truly enjoy breathing new life into old objects--especially classic or traditional jewelry. Here's a before & after look at one such piece.

IMG_0303Before

IMG_0304
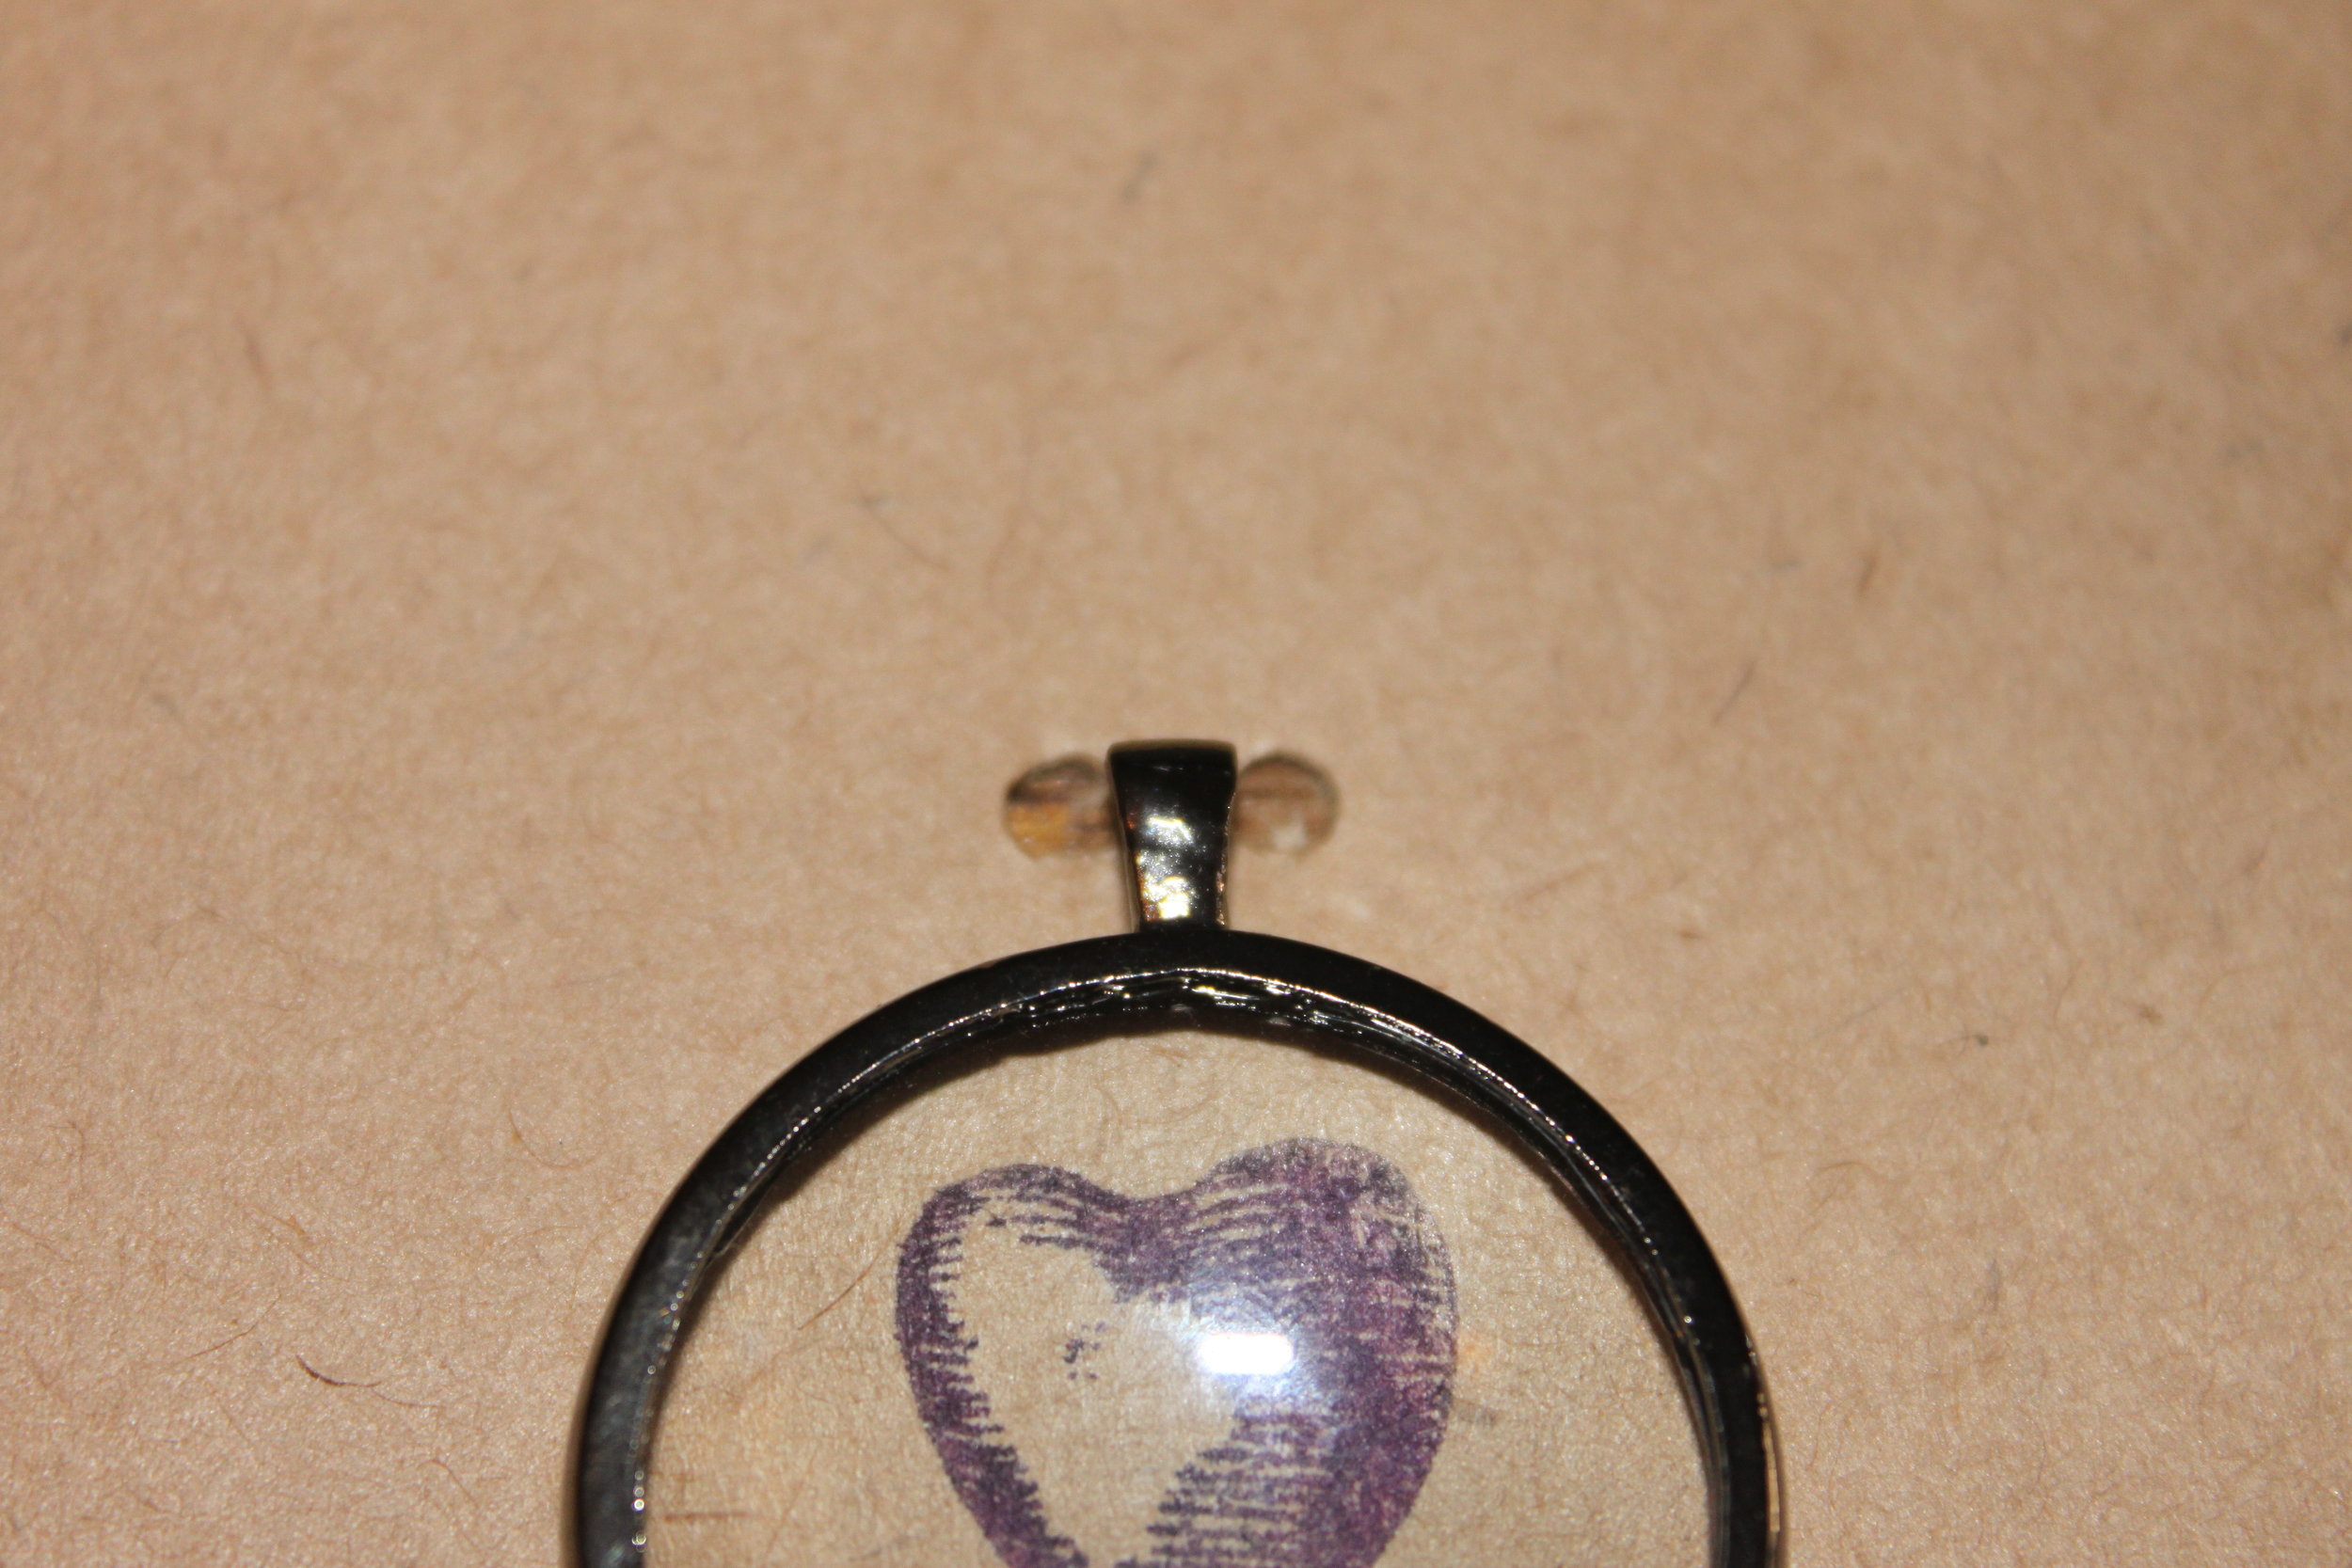
What I love about the original piece is its color contrast: the rich red against a muted silver. It's also reminiscent of a Indian style of jewelry.

IMG_0305After

IMG_0307
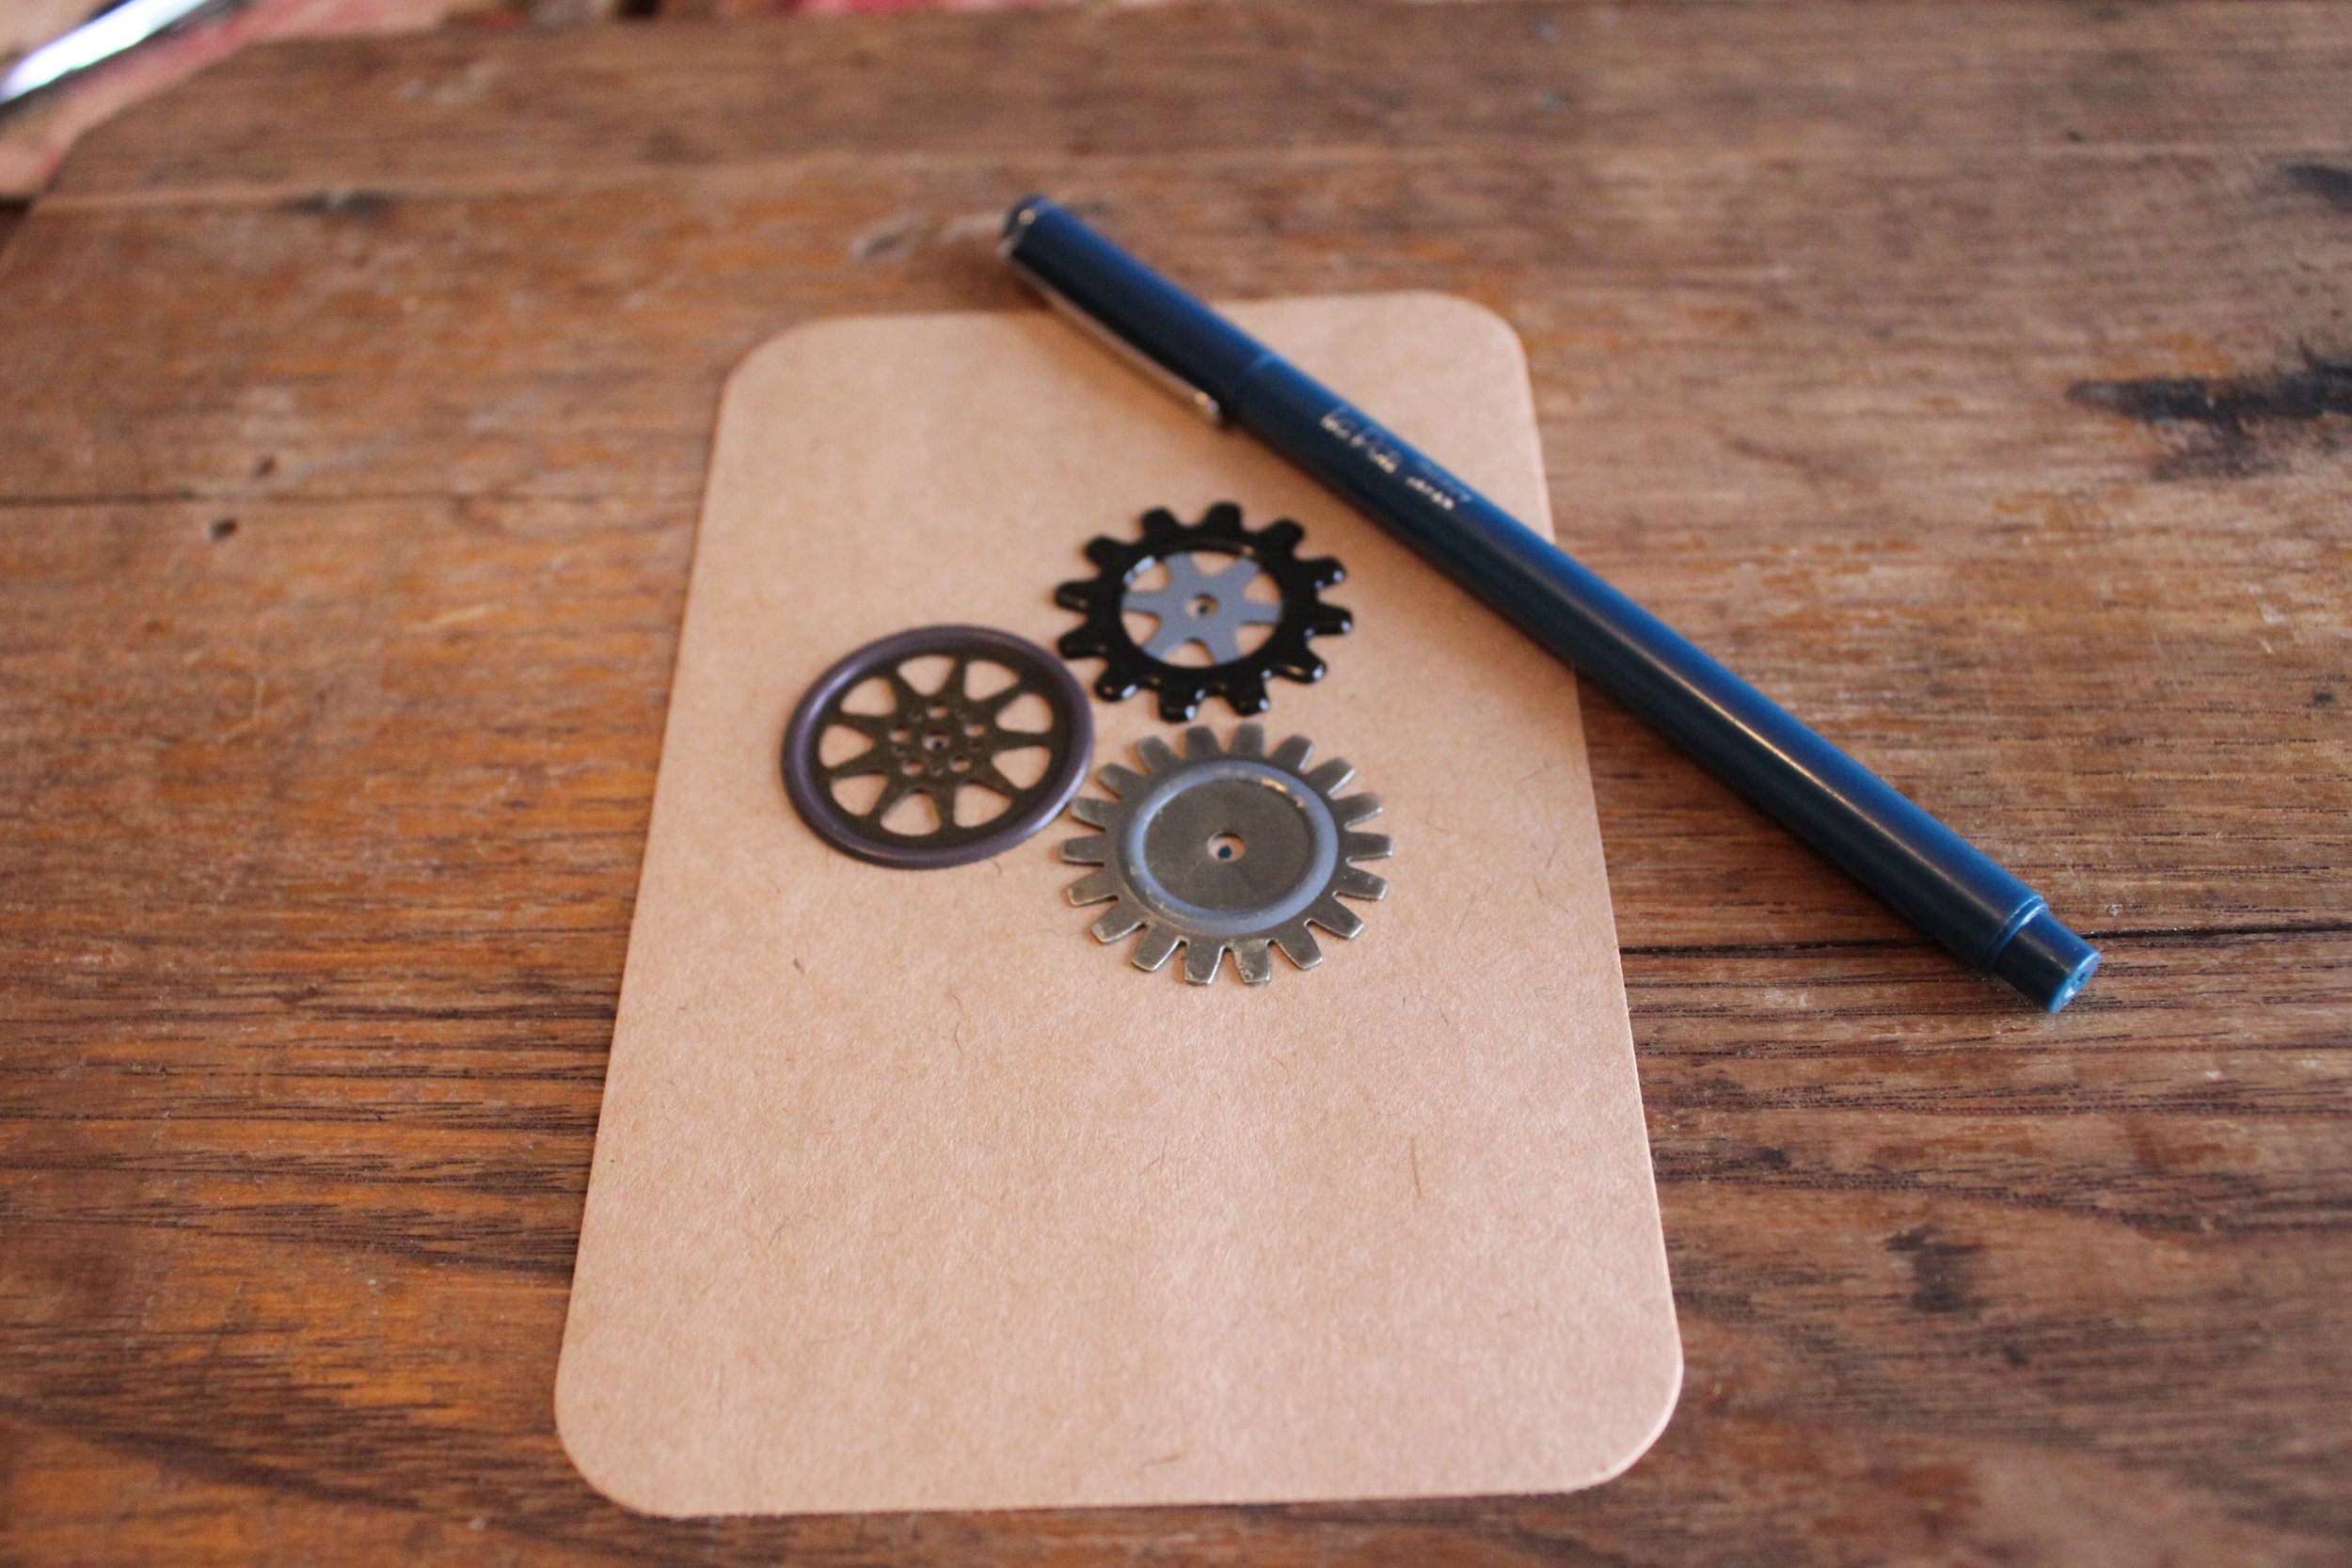
In altering this piece, I wanted to stay true to the multicultural feel of the original. I added two grandfather clock gears, muted silver chain that closely matches the silver in the rest of the necklace, and the large metal cabinet decoration. In lengthening this piece, and by giving it a large textured focal point, it is more of a statement piece of jewelry. The disruption of the pattern is what really transforms this necklace into an one-of-a-kind piece. If you want to transform or update an old favorite, think about changing or even disrupting your necklace's pattern, introducing another color or texture, or even combining two favorites together to form something new!

Make your own Steampunk Valentine's Day Cards

D-I-Y-Samantha Extance6 Comments

I love Valentine's Day, mostly because it's one of the few times I see handmade cards exchanged. Here a a couple of DIY Stemapunk Valentine's Day cards that are easy & cheap to reproduce. As always, merry making! IMG_6737The Valentine's Day Magnifies My Love for You Card

  • Plain card & envelope (your choice of color)
  • Bakers Twine (your choice of color)
  • Small Magnifying Glass
  • Small Heart Stamp (or you can draw your heart)
  • Scissors, pink or red marker & Pen

Total Cost: approximately: $3.50

  1. Using your pink or red marker color in your heart stamp and then place the stamp firmly onto the middle of your card. If you are drawing your heart, draw it in the center of your card. Be careful not to draw your heart larger than your magnifying glass. IMG_6733
  2. Place your magnifying glass on the card over your stamped/ drawn heart. Make two tiny dots with pen on both sides of the magnifying glass. This tells you where to poke holes in the card. You want your holes to be close to your magnifying glass's hook or ring.
  3. Poke out your holes where you've already marked. IMG_6735
  4. Cut a length of bakers twine (approximately 1 inch) and thread it through your paper so that both ends meet at the front of your card.IMG_6734
  5. Next thread the twine through your magnifying glass's hook. The twine on the left should thread to the right and vice versa.
  6. Tie a knot securely on the front of the magnifying glass's hook. And then tie a decorative bow. Cut off any excess twine.
  7. Last, write your message & the card's quirky phrase: "Valentine's Day magnifies my love for you."

The You Really Get My Gears Going Card

  • Plain card & envelope (your choice of color)
  • 3 gears (I used reproduction gears which you can purchase at Michaels in their jewelry section)
  • 3 brads (also available at your local craft store in the scrapbooking section)
  • Scissors & Pen

Total Cost: approximately $1.75 IMG_6745

  1. Place your gears on your card. Figure out which placement you like best.
  2. Once you've got your gears where you want them, mark the center of each gear with your pen. A small dot will do.IMG_6740
  3. Next, poke holes in your card with your scissors. Be sure not to make a large hole, a small one is sufficient. IMG_6741
  4. After you've finished making all of your holes, affix each gear to the card with a brad. To do so, place your gear (face up) onto your bard and then through your card. Place your thumb over the brad to hold it firmly in place and pry the brad's 2 metal prongs out. Repeat for each gear.IMG_6742
  5. Last, write your message of love and the card's fun little phrase: "You really get my gears going."

The You are the Gear that Keeps my Heart a Pumping Card

  • Plain card & envelope (your choice of color)
  • 1 gear (I used a reproduction gear which you can purchase at Michaels in their jewelry section)
  • 1 brad (also available at your local craft store in the scrapbooking section)
  • A Heart Stamp (or you can draw your own heart)
  • Scrap piece of paper (to stamp the heart on)
  • Scissors, pink or red marker & Pen

   Total Cost: approximately 80 centsIMG_6753

  1. Stamp (or draw) the heart  onto your scrap piece of paper. Once you are done, cut it out. Poke a hole in the center of your heart using your scissors. Set aside.
  2. Poke a small hole in the center of your card.
  3. Next load your brad with the following (in this order): heart cut out, gear, and card. IMG_6754
  4. Close the brad by placing your thumb over it to keep it firmly in place and pry the brad's 2 metal prongs out.
  5. Last write your message of affection and the card's fun phrase: "Happy Valentine's Day" and "You are the gear that keeps my heart a pumping."

The I Only Have Eyes for You Card

  • Plain card & envelope (your choice of color)
  • Glasses (just the front piece of the frame, or  a monocle would work too)--local thrift stores have tons of old frames so check them out first if you don't have a broken pair lying around the house
  • Embroidery thread & needle
  • An "XOXO"  Stamp (or you can  write "XOXO" yourself)
  • Scissors, pink or red marker & Pen

                                  Total Cost: (depends entirely on the glasses you chose and their cost) for mine, $8.00 IMG_6748

  1. Place your glasses on your card.
  2. Once you're happy with the placement of your glasses color one half of your "XOXO" stamp with your pink or red marker (so only one "XO"). Flip up your frame and stamp the "XO" where the lens is on your card. Repeat for the other lens. IMG_6746
  3. Next, thread your needle and secure your eyeglasses frame to the card by threading it through available holes. Be careful to keep your stitches neat, small, and close. Knot on the back side of your card. Repeat for another hole on your eyeglasses frame. You should stitch your frame securely in at least 2 places.
  4. Last write your message of adoration and the fun little phrase: "I only have eyes for you."

Have fun telling those you love just how much you love 'em. If you want more ideas for DIY Valentine's Day Cards check out my post from last year where I use upcycled items readily available around your home.

Steampunk Temporary Tattoos

ShowsSamantha ExtanceComment

The Indie Emporium grab bags are going to be EPIC this year! Tee shirts from Darby & Dash, buttons galore, mini prints, coupons for money off your purchases at the show, and....(drumroll please) Steampunk Temporary Tattoos! I designed these 2 tattoos myself. One is a sketch of the Diving Bell Helmet that I have in my booth display and the other is the silhouette I use as my logo--the lovely Lady Gears! I couldn't have done this without Buttonhead on Etsy. Check out her shop, she makes buttons & custom tattoos. Grab bags go to the first 50 people so get there early! Can't wait to see you all at the show!

Take a Stroll through a Steampunk Garden

D-I-Y-, InspirationSamantha Extance3 Comments

Take a stroll with me in my family's garden. There are subtle steampunk elements infused throughout the lush pachysandra and fragrant  lily-of-the-valley and get some ideas for your own steampunk garden! Here is the house, sheltered from the summer sun by large trees. Stones line a path along to the driveway off to the left which takes you past an antique water pump (painted forest green) with a tin milking pail hanging from its spout. Water pumps are a frequent fixture in our garden & yard--and are painted a variety of colors, from forest green to deep purple. Old farm equipment is also good for decorating your garden--the piece on the left was used for pulling tractor chains. You can leave the old equipment rusty for a more vintage look or finish it with a coat of paint to complement the colors of your flowers or other flora. Another great piece is the metal sphere inside of (or sometimes on the outside of) a globe (pictured bottom right). Birdbaths are also a must!

No steampunk garden would be complete without gears! Pictured on the bottom below are two large gears painted mustard yellow and hidden in the deep foliage. Painted, they offer a hint of color that accents the yellow of the leaves. Above is another gear, unpainted, to match the Northwest Engineering Company metal sign. Antique metal signs & business plates are another great way of giving your garden a steampunk feel. Here you can see the placement of the birdbath, globe sphere, and water pump in relationship to the landscape. Also, antique bathroom fixtures make wonderful planters. Worn out tools are another fantastic source for garden decoration. Here we've used an anvil and a large rusted-out wrench. It's perfect to place along steps. Among my favorite parts of our garden is the birdhouse structure my uncle made for my grams. He constructed it out of an old hayrake (the top) and a wagon wheel--both painted forest green. From the old blades hangs grams's many birdhouses & feeders. Pictured right is an important feature, every garden should have its own magical creature for the kiddos! Ours is an Ent. What I love about our garden & lawn is the variety of flowers, plants, and trees. My Uncle John is the landscaper & gardener in the family and if you are looking for gardening tips to recreate a Victorian-style garden, check out Old House Journal's summer & spring issues for gardening tips. This OHJ article offers some advice on planting Victorian flower beds. Thanks for taking a stroll with me! I am certainly enjoying a reprieve from the desert-heat of Oklahoma here in New York. Hope you are staying cool wherever you are!

Gearing Up for Solstice!

ShowsSamantha Extance1 Comment

I am so excited for Solstice! It's just a week away! Purchase your ticket before June 18th online. Make sure to select "Bohemian Romance"! Here are a few things I've made especially for the show. Hope to see you there!

Gearrings Galore! Made with clock gears & cogs, washers, crystals, metal cameos, and clothing hooks!

Oodles & oodles of new earrings! But I've made some new necklaces too. Here is a sneak peek.

Liberate Ulysses: My Steampunk-Joyce Project

InspirationSamantha Extance4 Comments

Liberate Ulysses

Liberate Ulysses is a “global dialogue & multimedia celebration for Bloomsday,” a day that pays homage to Irish writer James Joyce’s masterwork Ulysses. My passion for Joyce extends beyond my scholarship & continued reading of his works. For the past three years I have challenged myself to create pieces inspired by his texts. This year I am fortunate to be a part of Liberate Ulysses’s celebration. Last year, Liberate Ulysses lauded the novel through Twitter (a call-to-arms was issued asking those around the world to tweet an aspect of an episode that they felt was representative of that chapter). This year, to commemorate Ulysses coming out of copyright, the novel is being lionized through various artistic projects inspired by the novel. For a list of the projects, click here.

My Liberate Ulysses Project: To Create Steampunk Jewelry Pieces Representative of Each Episode

Without further ado, here they are:

Stephen “peered from under his shaggy brows at the manuscript by his elbow and, muttering, began to prod the stiff buttons of the keyboard slowly”

“He watched through peacocktwittering lashes the southing sun”

“Confession as clockwork” or as I like to think of this piece, “Agenbite of Inwit, Inwit’s Agenbite: Clockwork Confessions”

A Mourning Pin to Pine for Paddy Dignam

I found that of all the episodes, Nausicaa was the most interesting in terms of clock imagery & preoccupation. Both Bloom and Gerty ponder on & about clocks. Bloom fiddles with his watch chain and realizes that his clock has stopped (just after eight) and Gerty thinks of gifting Bloom a clock which reminds her of the one on the mantel: “white and gold with a canary bird that came out of a little house to tell the time of day.”

Not only is this a challenging episode to read, but it was difficult to try and represent it justly. I luckily happened upon an antique cigar cutter at the flea market which lead me to the idea of representing the episode through its simplest, and most central, action–birth.

Eumaeus was another challenge for me. Its techne lent me many ideas, this was the first that I thought of. Circulation is not only about blood, but in a city–circulation is electricity (the wires literally connecting spaces) and a computer’s circuit board is the circulation of information.

In Calypso, we get the description of Molly’s garters: “Night sky moon, violet” and in Penelope we finally have Molly thinking: “Id let him see my garters the new ones”–which of coarse, Bloom already has.

I hope you enjoyed these pieces. It was both challenging and entertaining to make them. Check out my blog next Bloomsday, I create something new every year! Joycefully Yours, Sam.

DIY Steampunk Stamps

D-I-Y-Samantha Extance1 Comment

Writing letters in this digital age makes it all that more important for letter writing to be more artistic & personal. Give your letters & stationary a steampunk flair with these 2 simple DIY stamps!

Geared Up! Stamp

Materials & Tools:

  • Square block of wood
  • 3 gears (mine here are reproduction gears that you can purchase at Michaels--these work best because they are flat)
  • Hammer & 3 nails (the nail heads should be large enough so that they hold the gears in place)
  • 3 rubber washers (should be roughly the same width. See second picture below)

Steps:

1) Arrange your gears on your wooden block. Once you have them arranged as you desire, (using your nail) mark where you will hammer each gear into the wood.

2) Take a gear and place the rubber washer underneath it. Then hammer the gear in place with a nail. Be sure to hammer the nail straight so that the head is not crooked (because it makes stamping a little more difficult). Repeat for the other 2 gears.

3) Begin stamping!

Steampunk Spring Stamp

Materials & Tools:

  • Square wood block
  • Wire cutters
  • 20 gauge wire
  • Spring

Steps:

1) Cut a length of wire using your wire cutters (if you do not own a pair of wire cutters, use a pair of toenail clippers). I cut mine about arm's length.

2) Thread the wire through the spring and around your wood block. Pinch the wire tight around the edges of the wood and pull the wire taut through the spring each time. 

3) Once you've wrapped all of the wire around your wood block & through your spring--wrap the loose end of wire to another piece of wire to secure it.

4) Being stamping!As always, Happy making!

Upcycling from Bicycles!

UncategorizedSamantha ExtanceComment

I have a brand new reason to love bicycles--other than green, heart healthy transportation and tons of fun on a sunny day--bicycles have beautiful gears that are perfect for steampunking! Mine were given to me by a friend who works in Tom's Bicycles here in Tulsa (thank you Casey!). For other steampunkers out there--be warned that bike gears are incredibly tough to clean. It will take you a couple of washes and a ton of elbow grease. I would recommend using a brillo pad saturated with Dawn (or any grease cutting soap of your choice). Despite the hours (and believe me you will be at it for an hour or two) of cleaning, used & worn bike gears are ideal steampunk material because the rough edges have already been worn down from riding and are no longer sharp.

Another great thing about bike gears (those from cassettes, that is) are their many holes. So while you will spend a great deal of time cleaning them, you do not have to file or drill at all! This is even more perfect for beginner steampunkers who have not built up an arsenal of tools or for those who are steampunking on a budget. Without further ado, here are my bicycle creations!

Steampunk Cyclist-Poet's Necklace: Made with various chains, a pen nib, metal filigree, and clock cogs & gears.Asymmetrical Steampunk Cyclist's Necklace: Made with key, various chains, and metal filigree.Steampunk Brake Pad Earrings: Made with bicycle brake pad parts, chain, and washers.Steampunk Cyclist's Key Chain: Made with key, various chain, and clock gears.Steampunk Brake Pad Necklaces: (Left) Made with brake pad, chain, washers, and grandfather clock gear; (Right) Made with chain, brake pad, washer, and lock washer.

Hope this inspires you to upcycle!

D.I.Y. Simply Steampunk Candle Holder

D-I-Y-Samantha Extance8 Comments

With so many holidays approaching, no doubt you have begun to think about decorations. My favorite part of Thanksgiving is dressing up the table. Here is a simple and beautiful way to steampunk your dinner table. Here's what you'll need: ~The light bulbs & gears can be substituted for other various machine parts that you desire. It is best to use a majority of clear items so that the flame will shine through them. Possible substitutes include: radio or vaccum tubes, broken glass or even bits of ornaments that have broken, & washers.

Making this candle holder is easy, finding your materials will take longer than assembly (which is great, because if you're entertaining last minute this is a quick table fix!). Here's what you do:

1) Place the tea candle inside the smaller candle holder. Then place the small candle holder inside of the larger one.

2) Arrange your light bulbs & gears (or what have you) and fill in the space surrounding the small candle holder. Be sure not to fill the (larger) candle holder over the height of the small candle holder.

3) Once your items are arranged, light your tea candle and enjoy its illumination!