
I love simple and cheap DIYs that dress up your home--especially when they also involve upcycling. Like many of you I'm guessing, I save gift boxes, bags, and beautiful wrapping paper to use again. One particular bit of gift wrap paper I'd received was this metallic gold and black patterned wrap with an elegant design. I fell in love with it--it's fancy and it got me thinking of new ways to re-purpose gift wrap.
To make your very own jewelry tray with re-purposed gift wrap, tissue paper, or even scrapbook paper, here's what you'll need:

IMG_5199
Supplies:
Wooden Tray (Target, $6.99)
2 Foam Brushes (.50 cents)
Wrapping Paper (free)
Paint ($1.49; I used Target's 24K Gold Acryllic Paint)
Ruler
Pen
Scissors
Modge Podge (glue)
(All of the supplies cost under $10!)
Steps:
Paint your wooden tray. I painted 2 coats since my paint was faint. Paint with the grain and leave yourself ample time to dry before moving on.

IMG_5200
2. Measure the inside of your tray (the length and width) and jot down the measurements on a post-it or piece of scrap paper.

IMG_5203
3. Next, using the measurements you just took, mark your paper with the measurements of your tray on the wrong/back side of your paper.

IMG_5206
4. Cut out the piece of paper that will line the bottom of your wooden tray with your scissors.
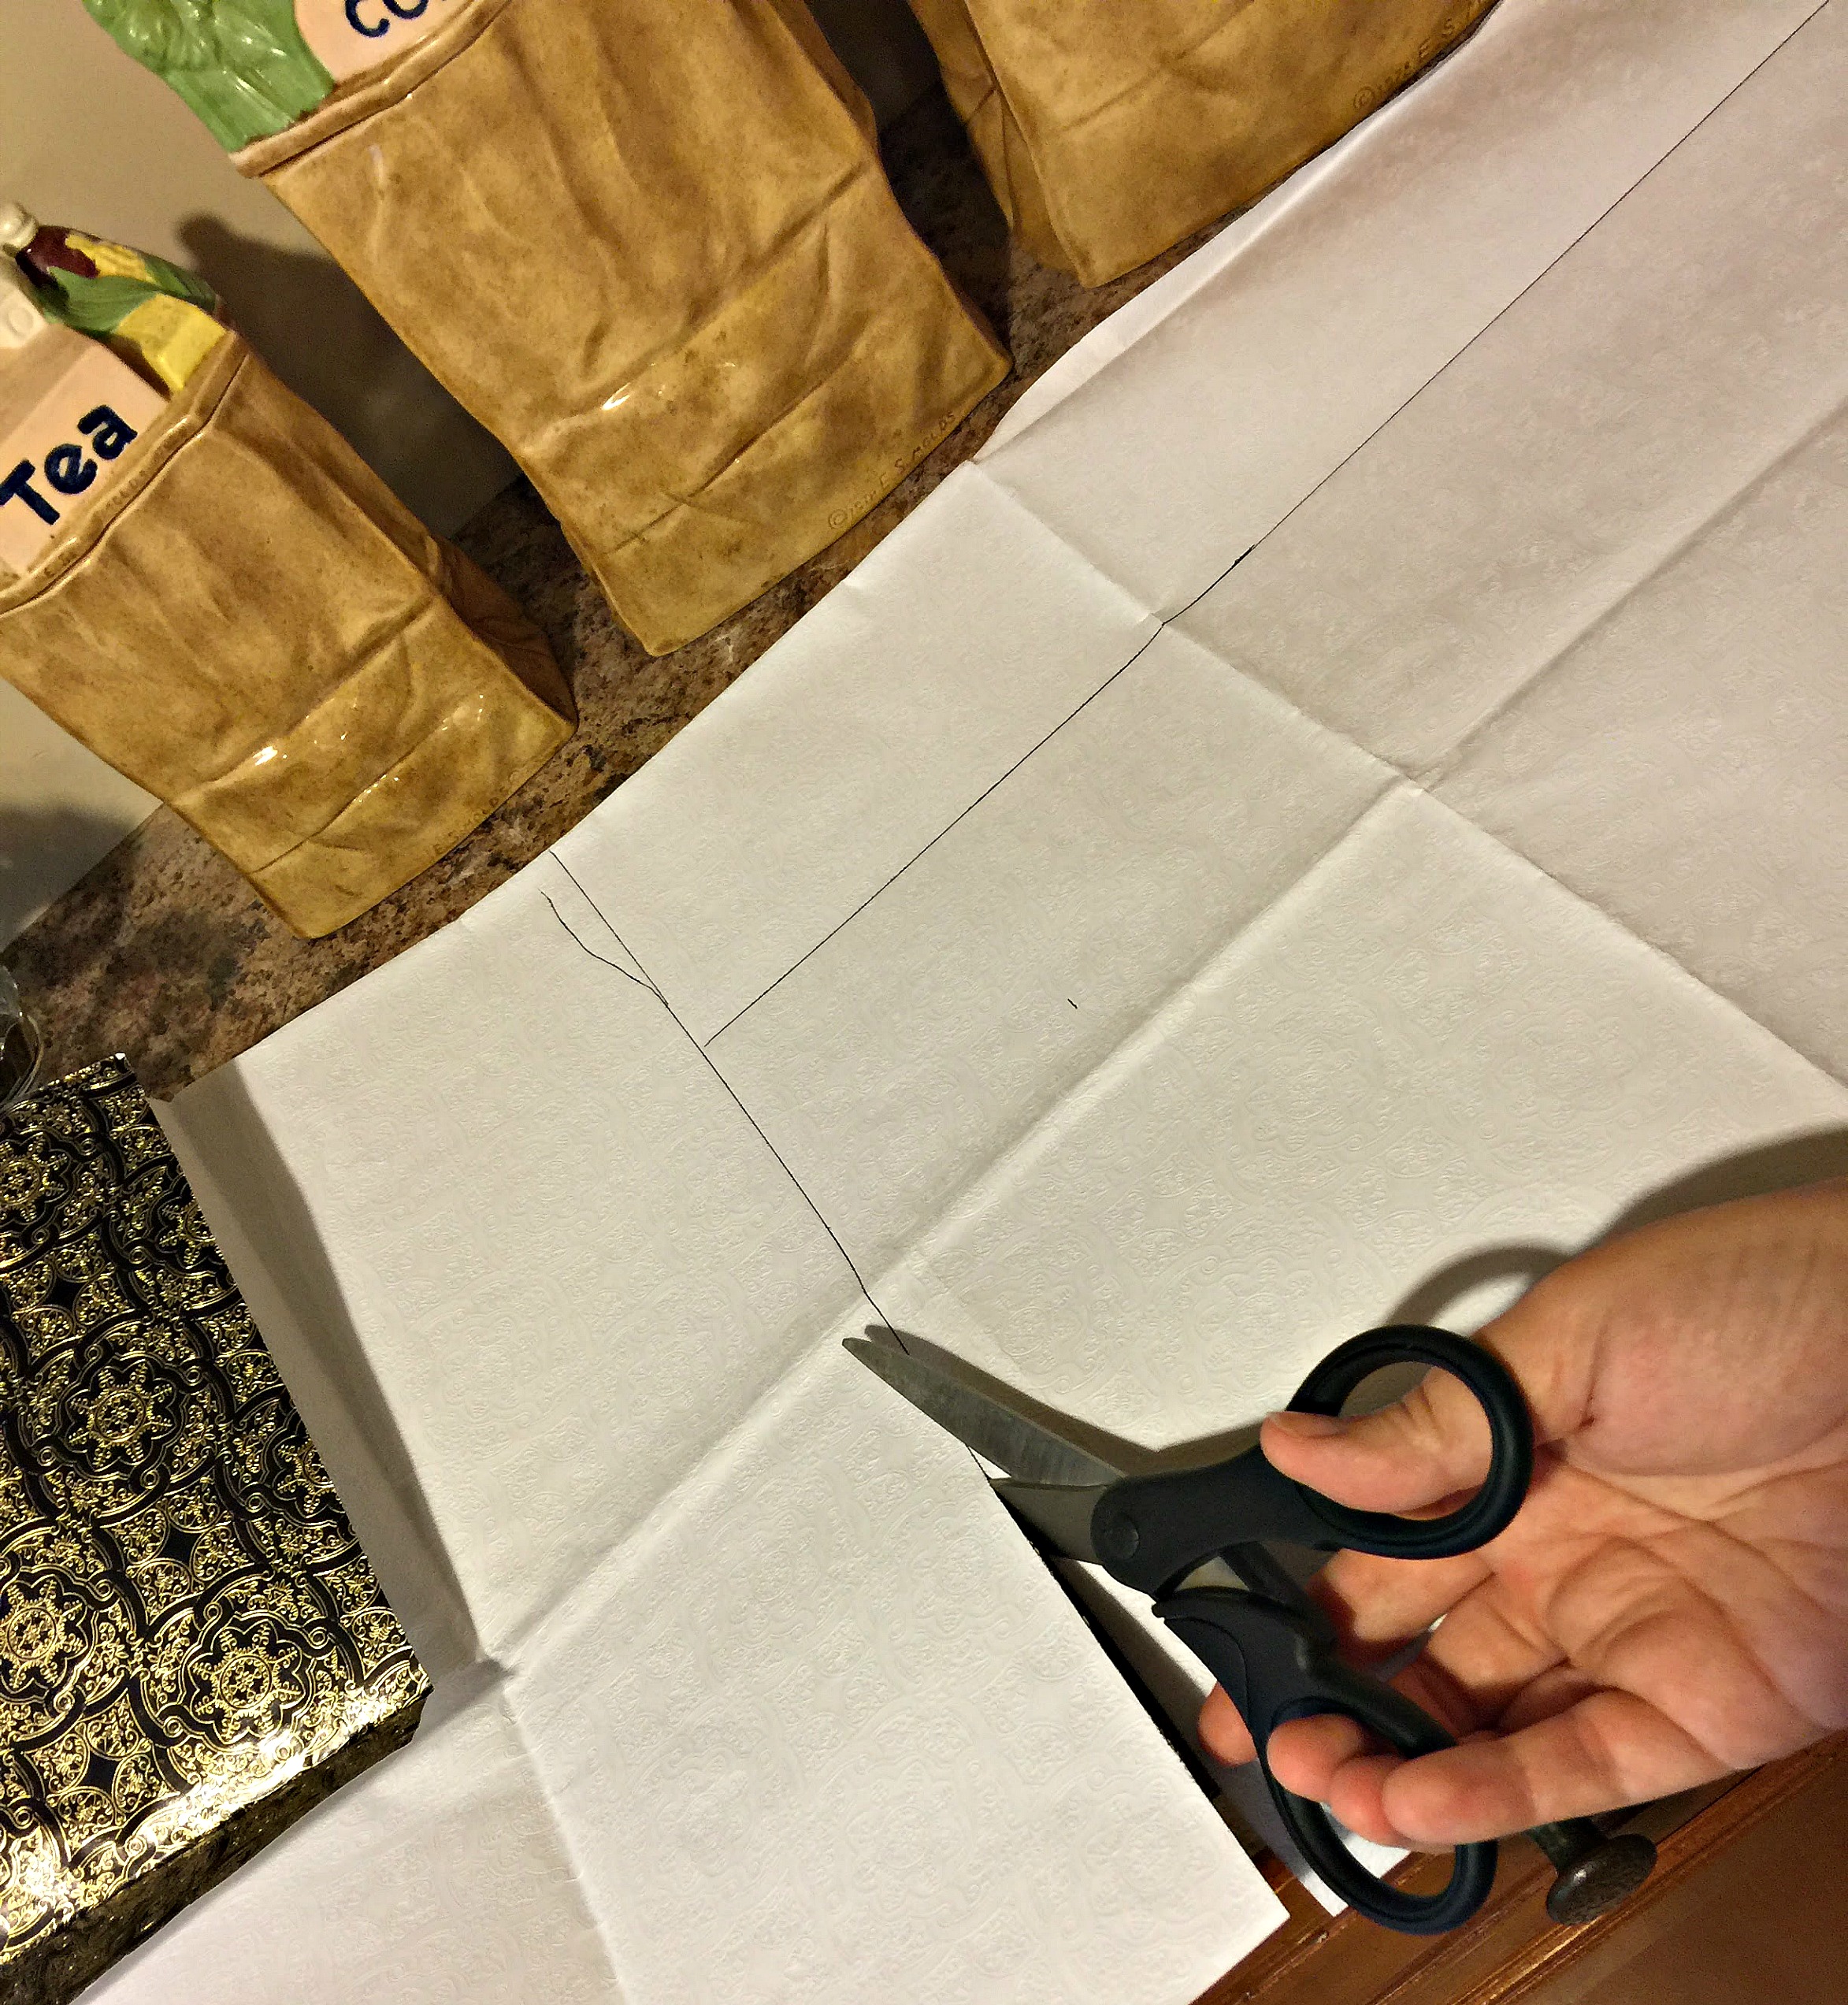
IMG_5208
5. To ensure that your measurements are correct and that the paper will fit in your tray, place it in the bottom of the tray. Make adjustments if needed.

IMG_5209
6. Next, with your foam brush spread an even layer of Modge Podge on the bottom of your tray.

IMG_5215
7. Immediately place your paper in your tray. Be careful to smooth out any bubbles. It is best to start from the top and smooth your paper flat as you work your way down.

IMG_5218
Be sure to also push down the corners.

IMG_5219
(Optional): If your paper is thin or not coated, it may be a good idea to also spread a protective top layer of Modge Podge too.
8. Allow to dry fully and enjoy!
As always, Happy Crafting!