
Valentine's Day is almost here! Here's a simple, quick craft to decorate your mantle, doorway, wall, or desk!
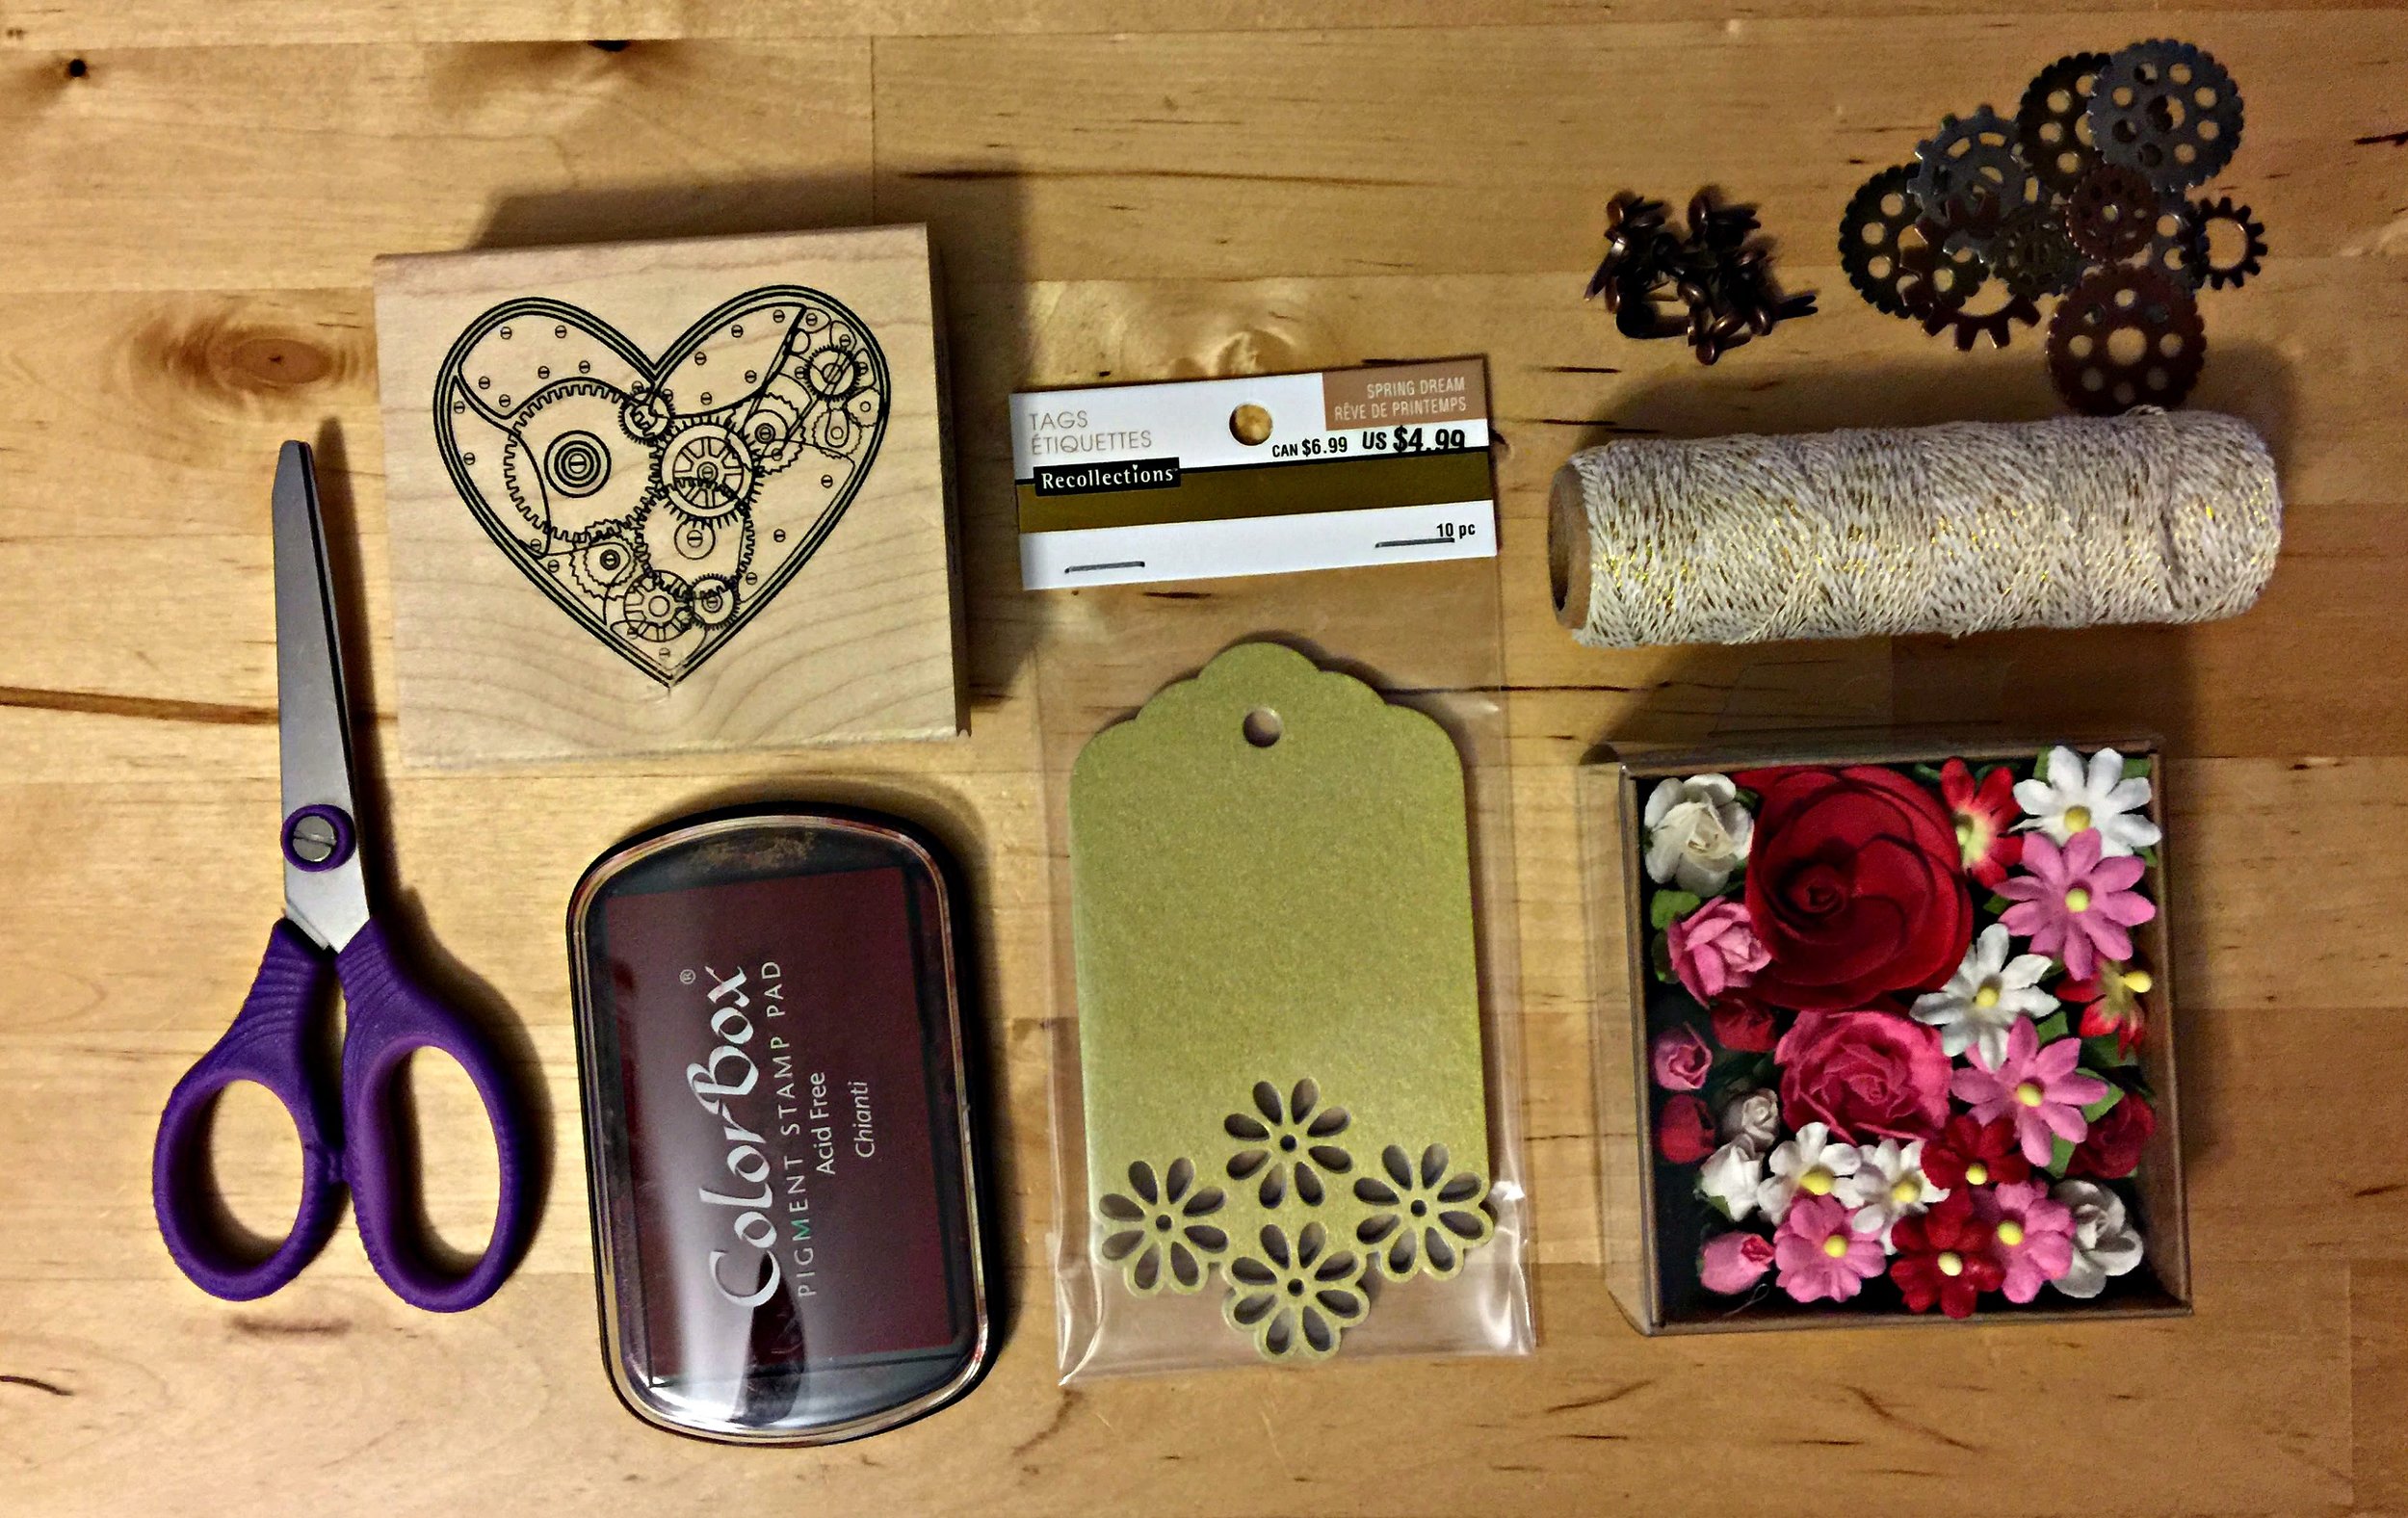
Supplies & Materials
- Steampunk Heart Stamp (I purchased this one from Michaels)
- Ink Pad (I used black)
- 1 package of Recollections tags (10 total tags)
- 1 package of reproduction metal press gears (also available at Michaels)
- Brads
- Bakers Twine (gold & white)
- Scissors
- Hole punch
- Piece of scrap paper
- (Optional) Small fake flowers to attach to the gears if desired
Steps
1.Lay out your scrap piece of paper to protect your table or work surface.
 2. Press your stamp onto the ink pad. Be sure to get a layer of ink on the entire stamp design. Then press onto your tag. Let the ink dry. Repeat for 4 more tags (a total of 5). Set stamped tags aside.
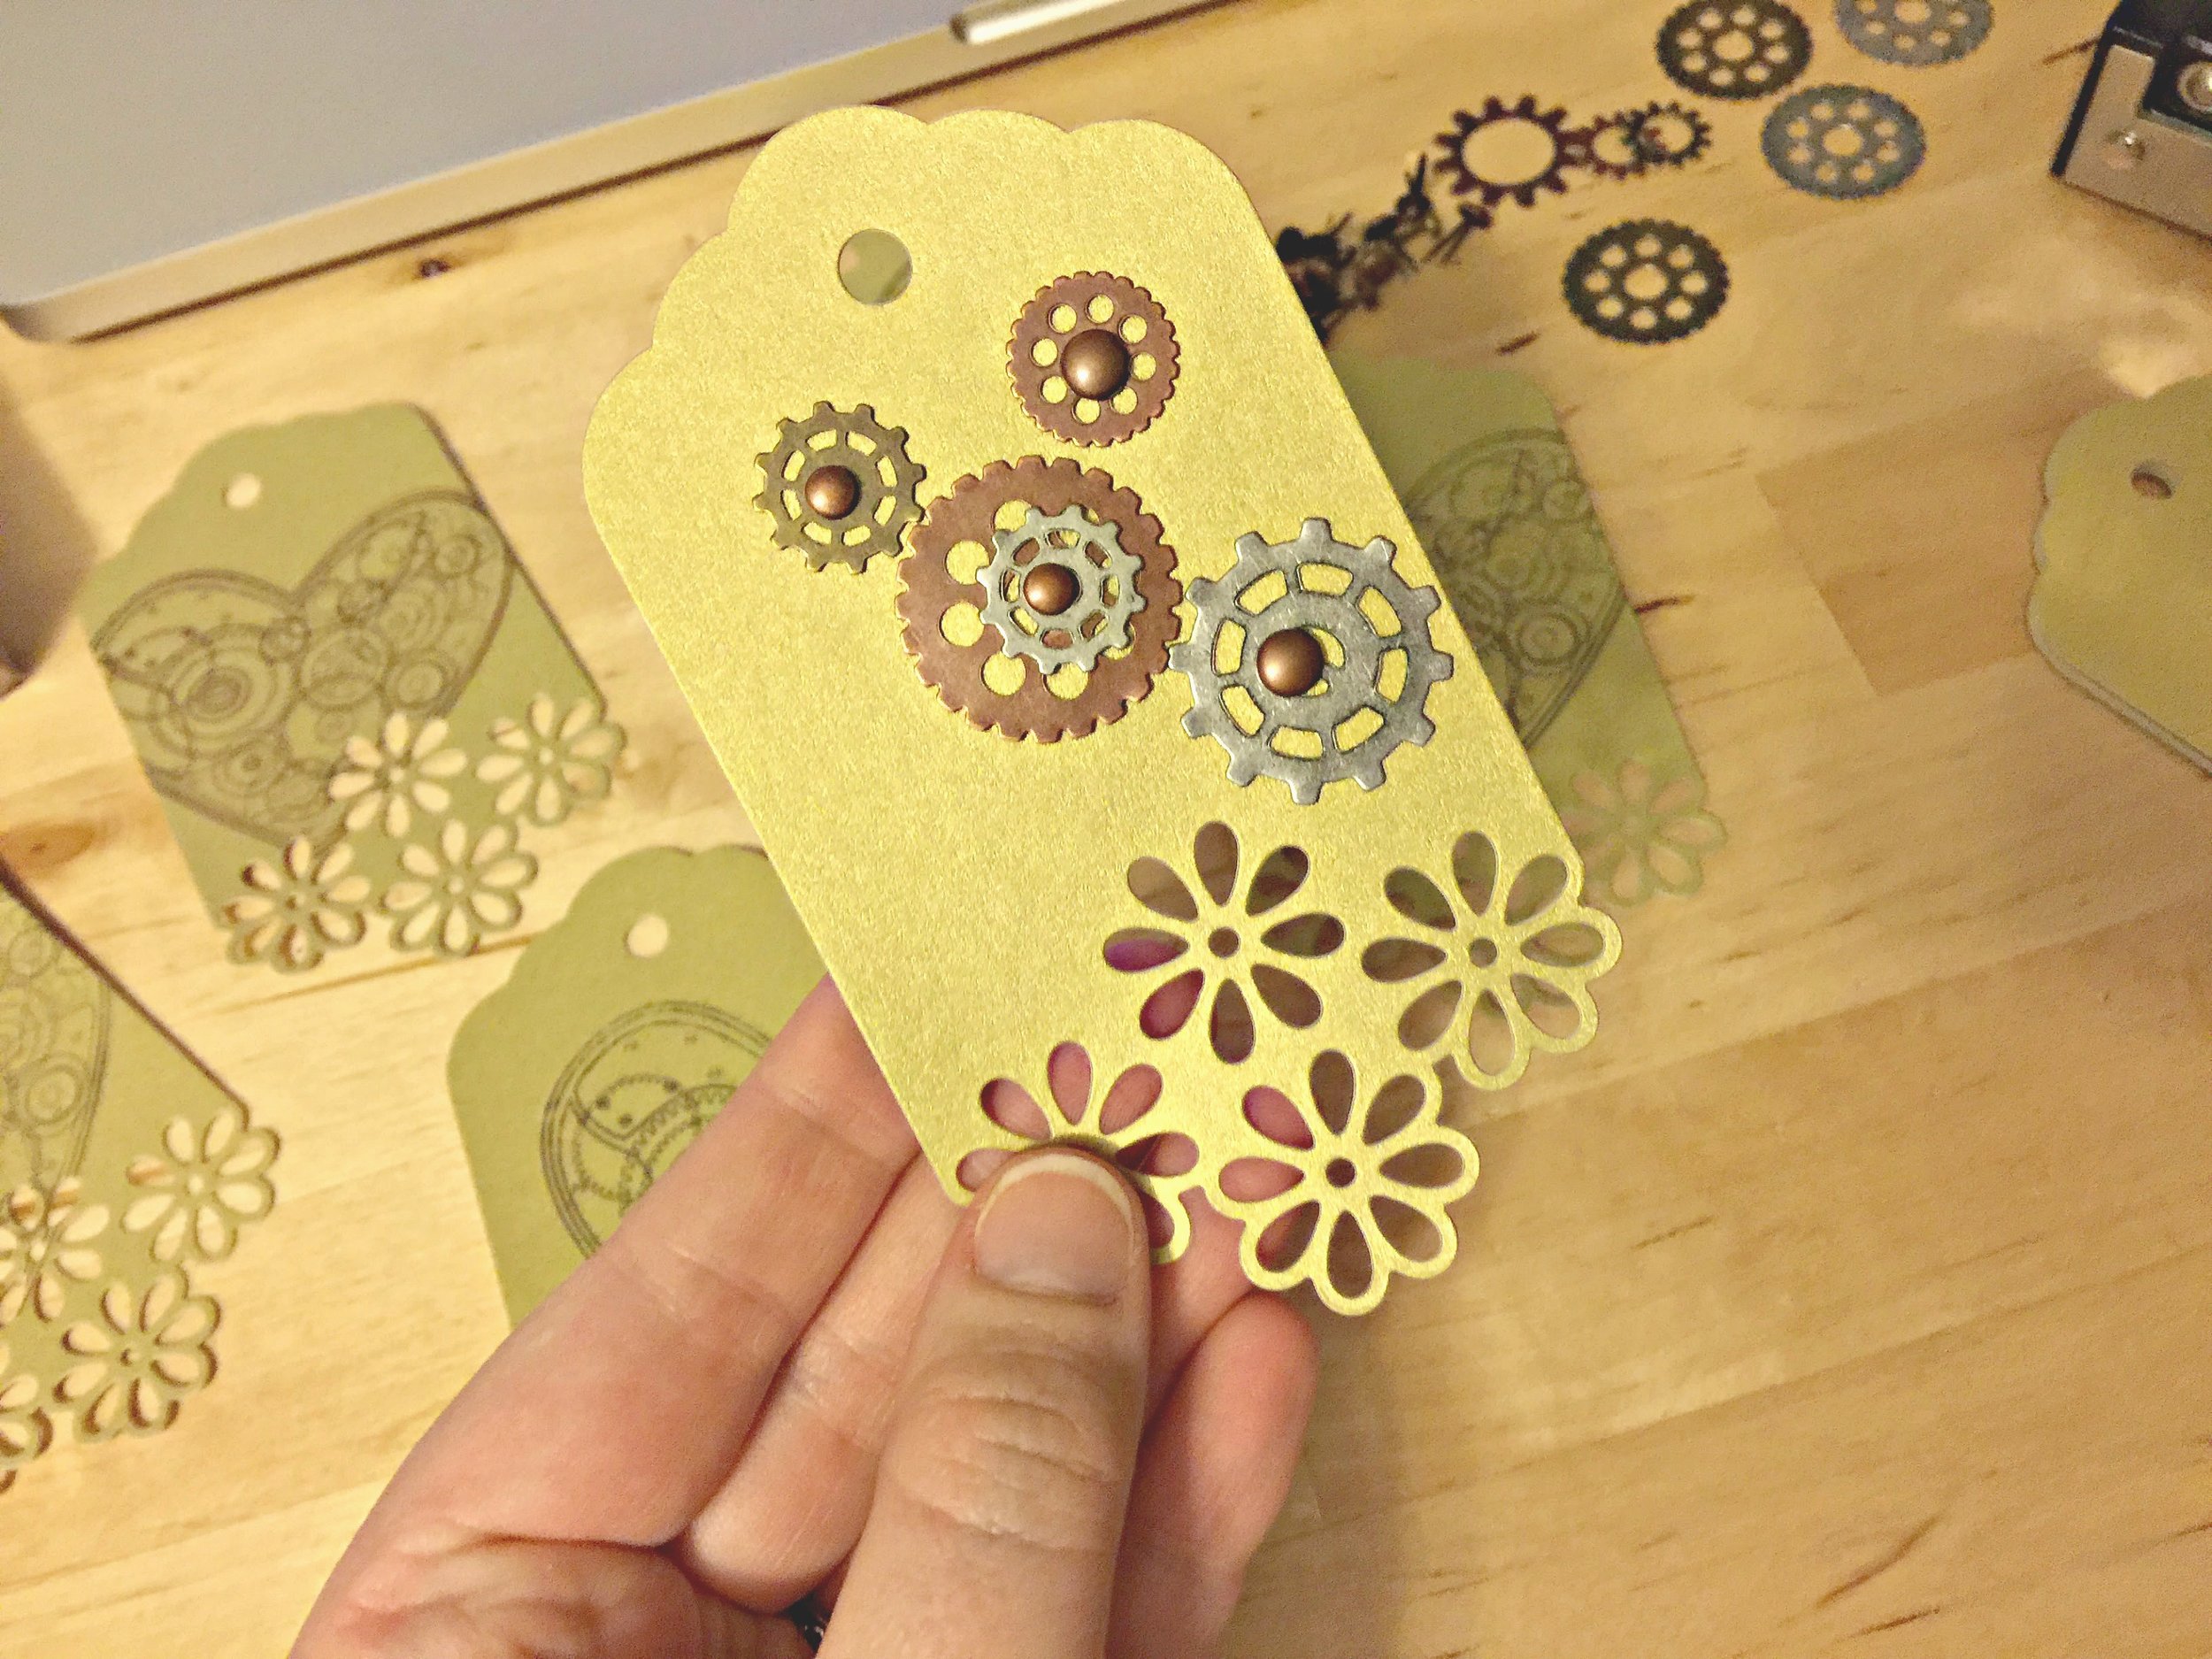
 3.Take your blank tags and mark the places you want to place your gears on the tag with a pencil. Then hole punch your markings.It works best if you lay out your gears on the tag to see how it will look before you punch the holes.
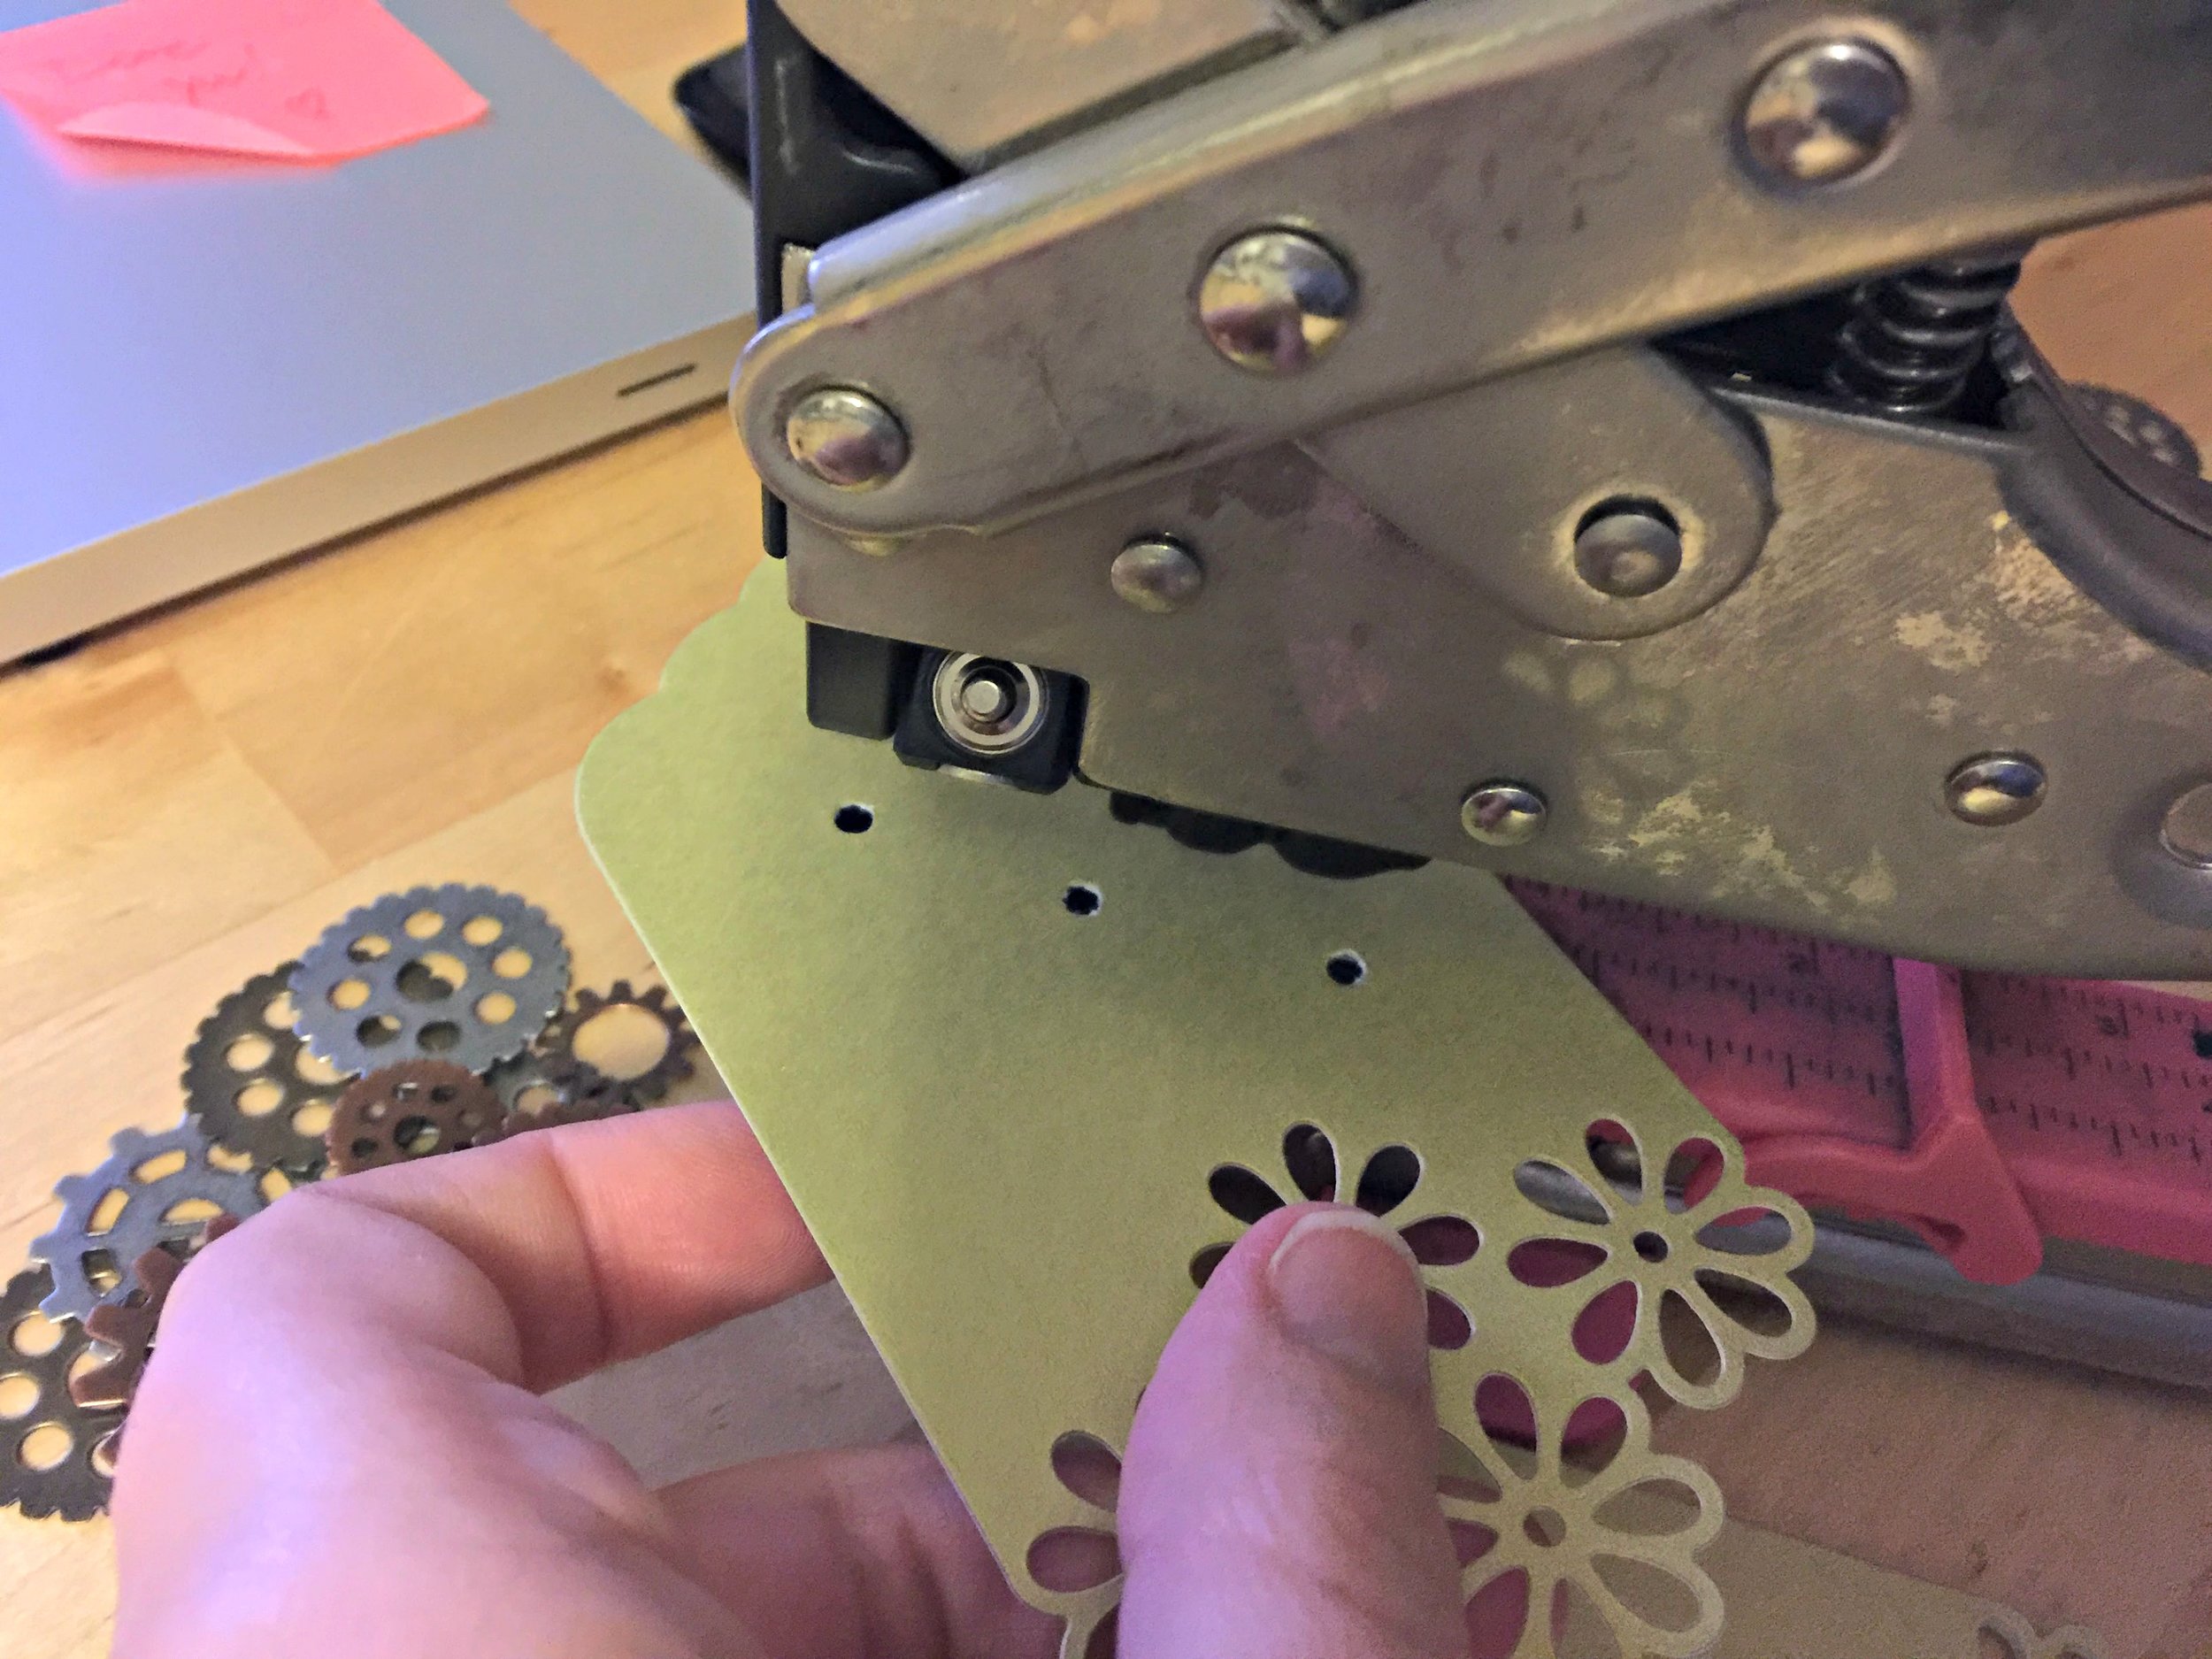
4.Secure the gears in place with your brads. Your layer should be: brad, top gear, bottom gear, and last the paper tag.
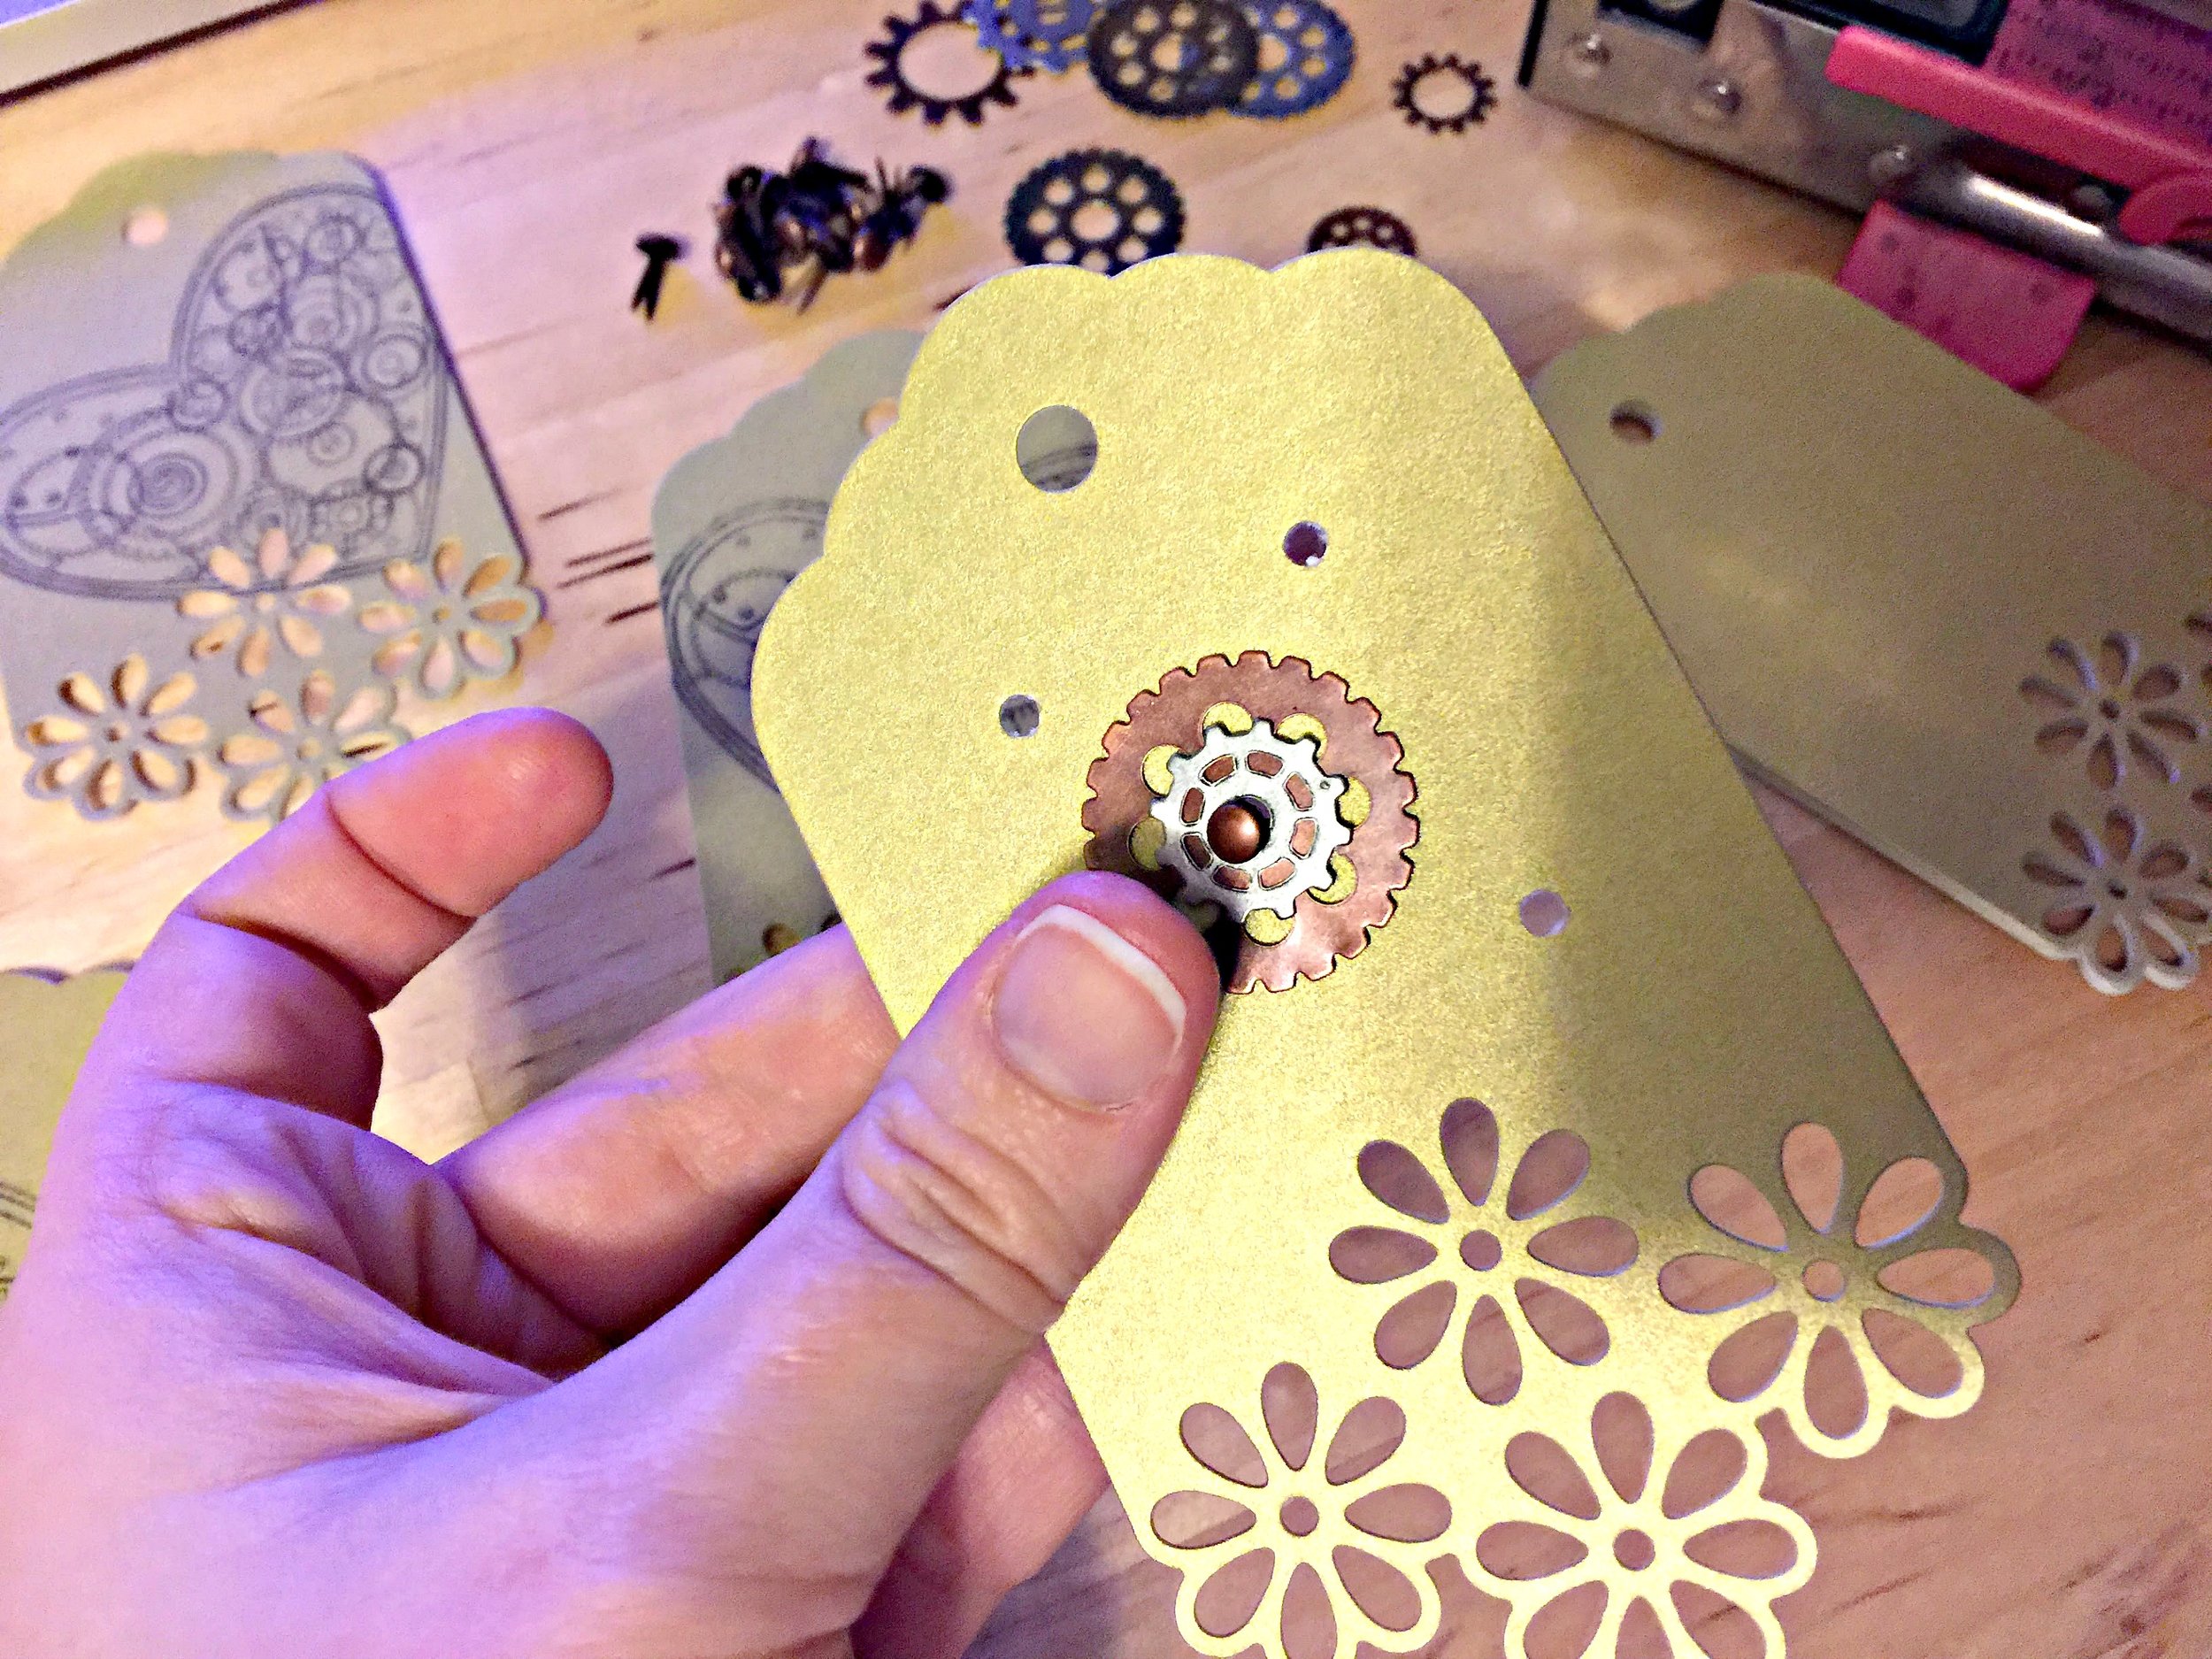
5.Close the brad and secure your gears in place firmly by opening the 2 prongs of the brad on the back side of your tag.

6. Repeat. Repeat. Repeat.
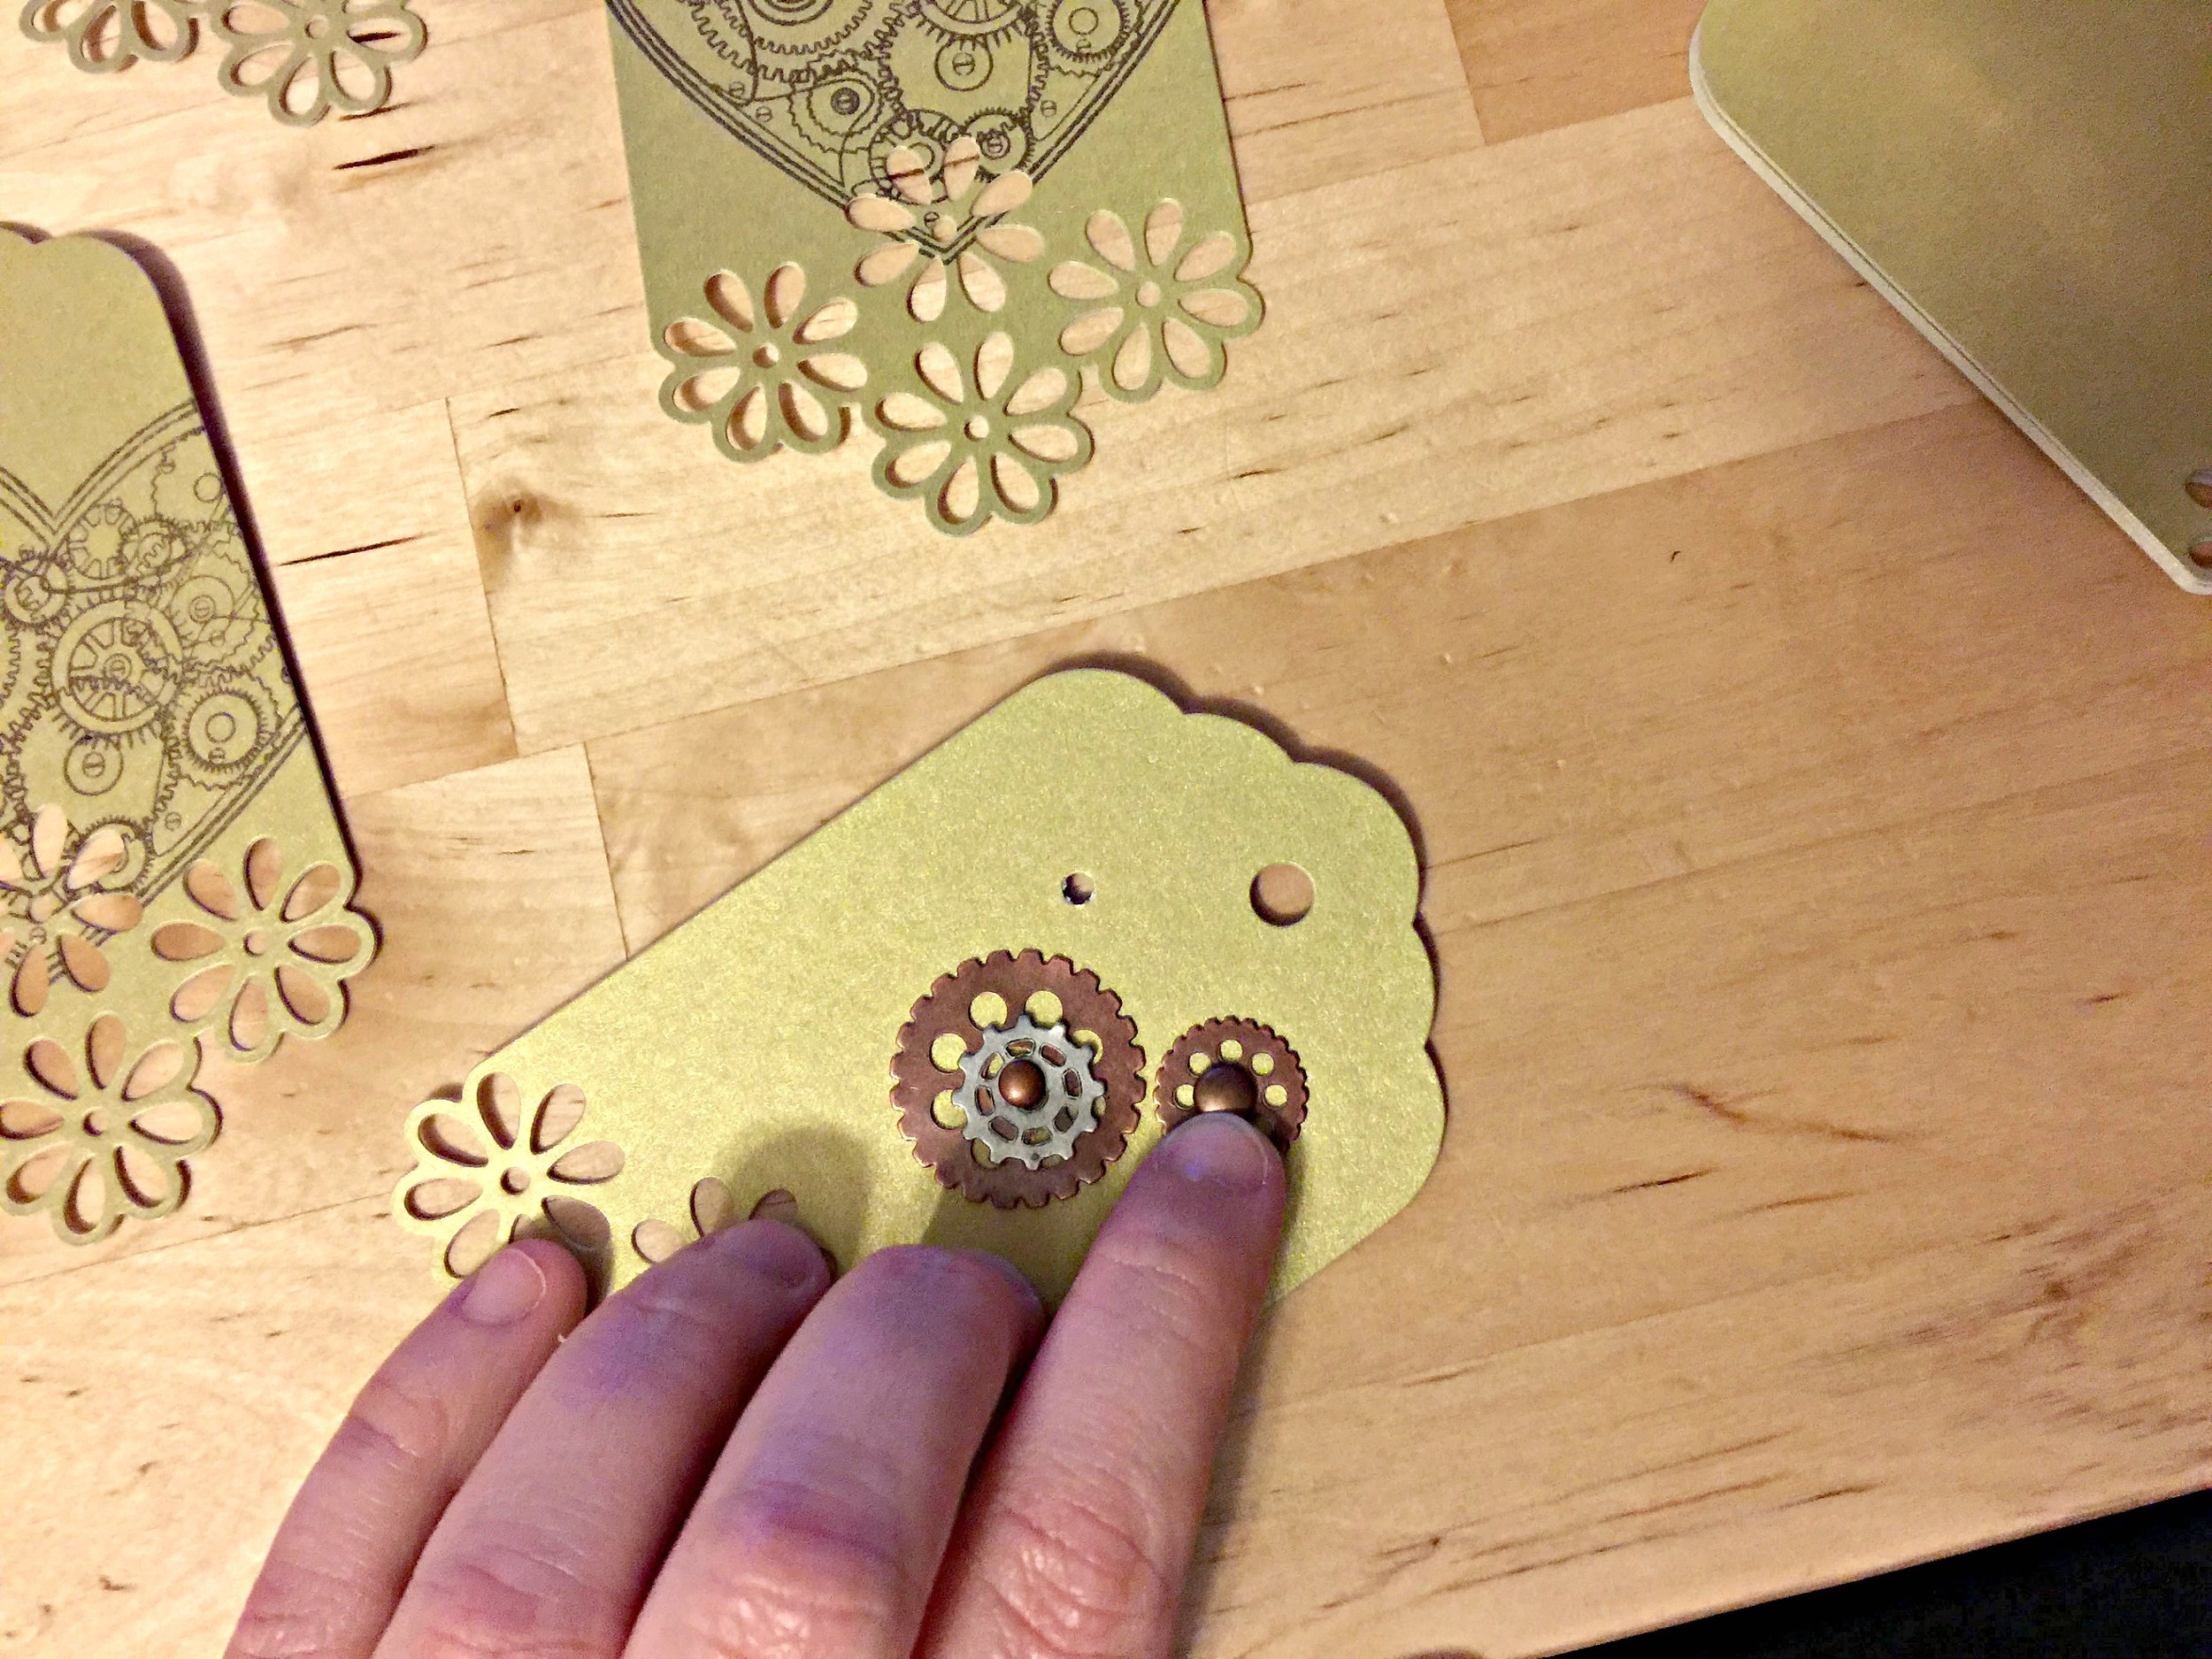
It's nice to organize your gears in asymmetrical clusters, but you can also have them spell out letters or be in heart shapes too.
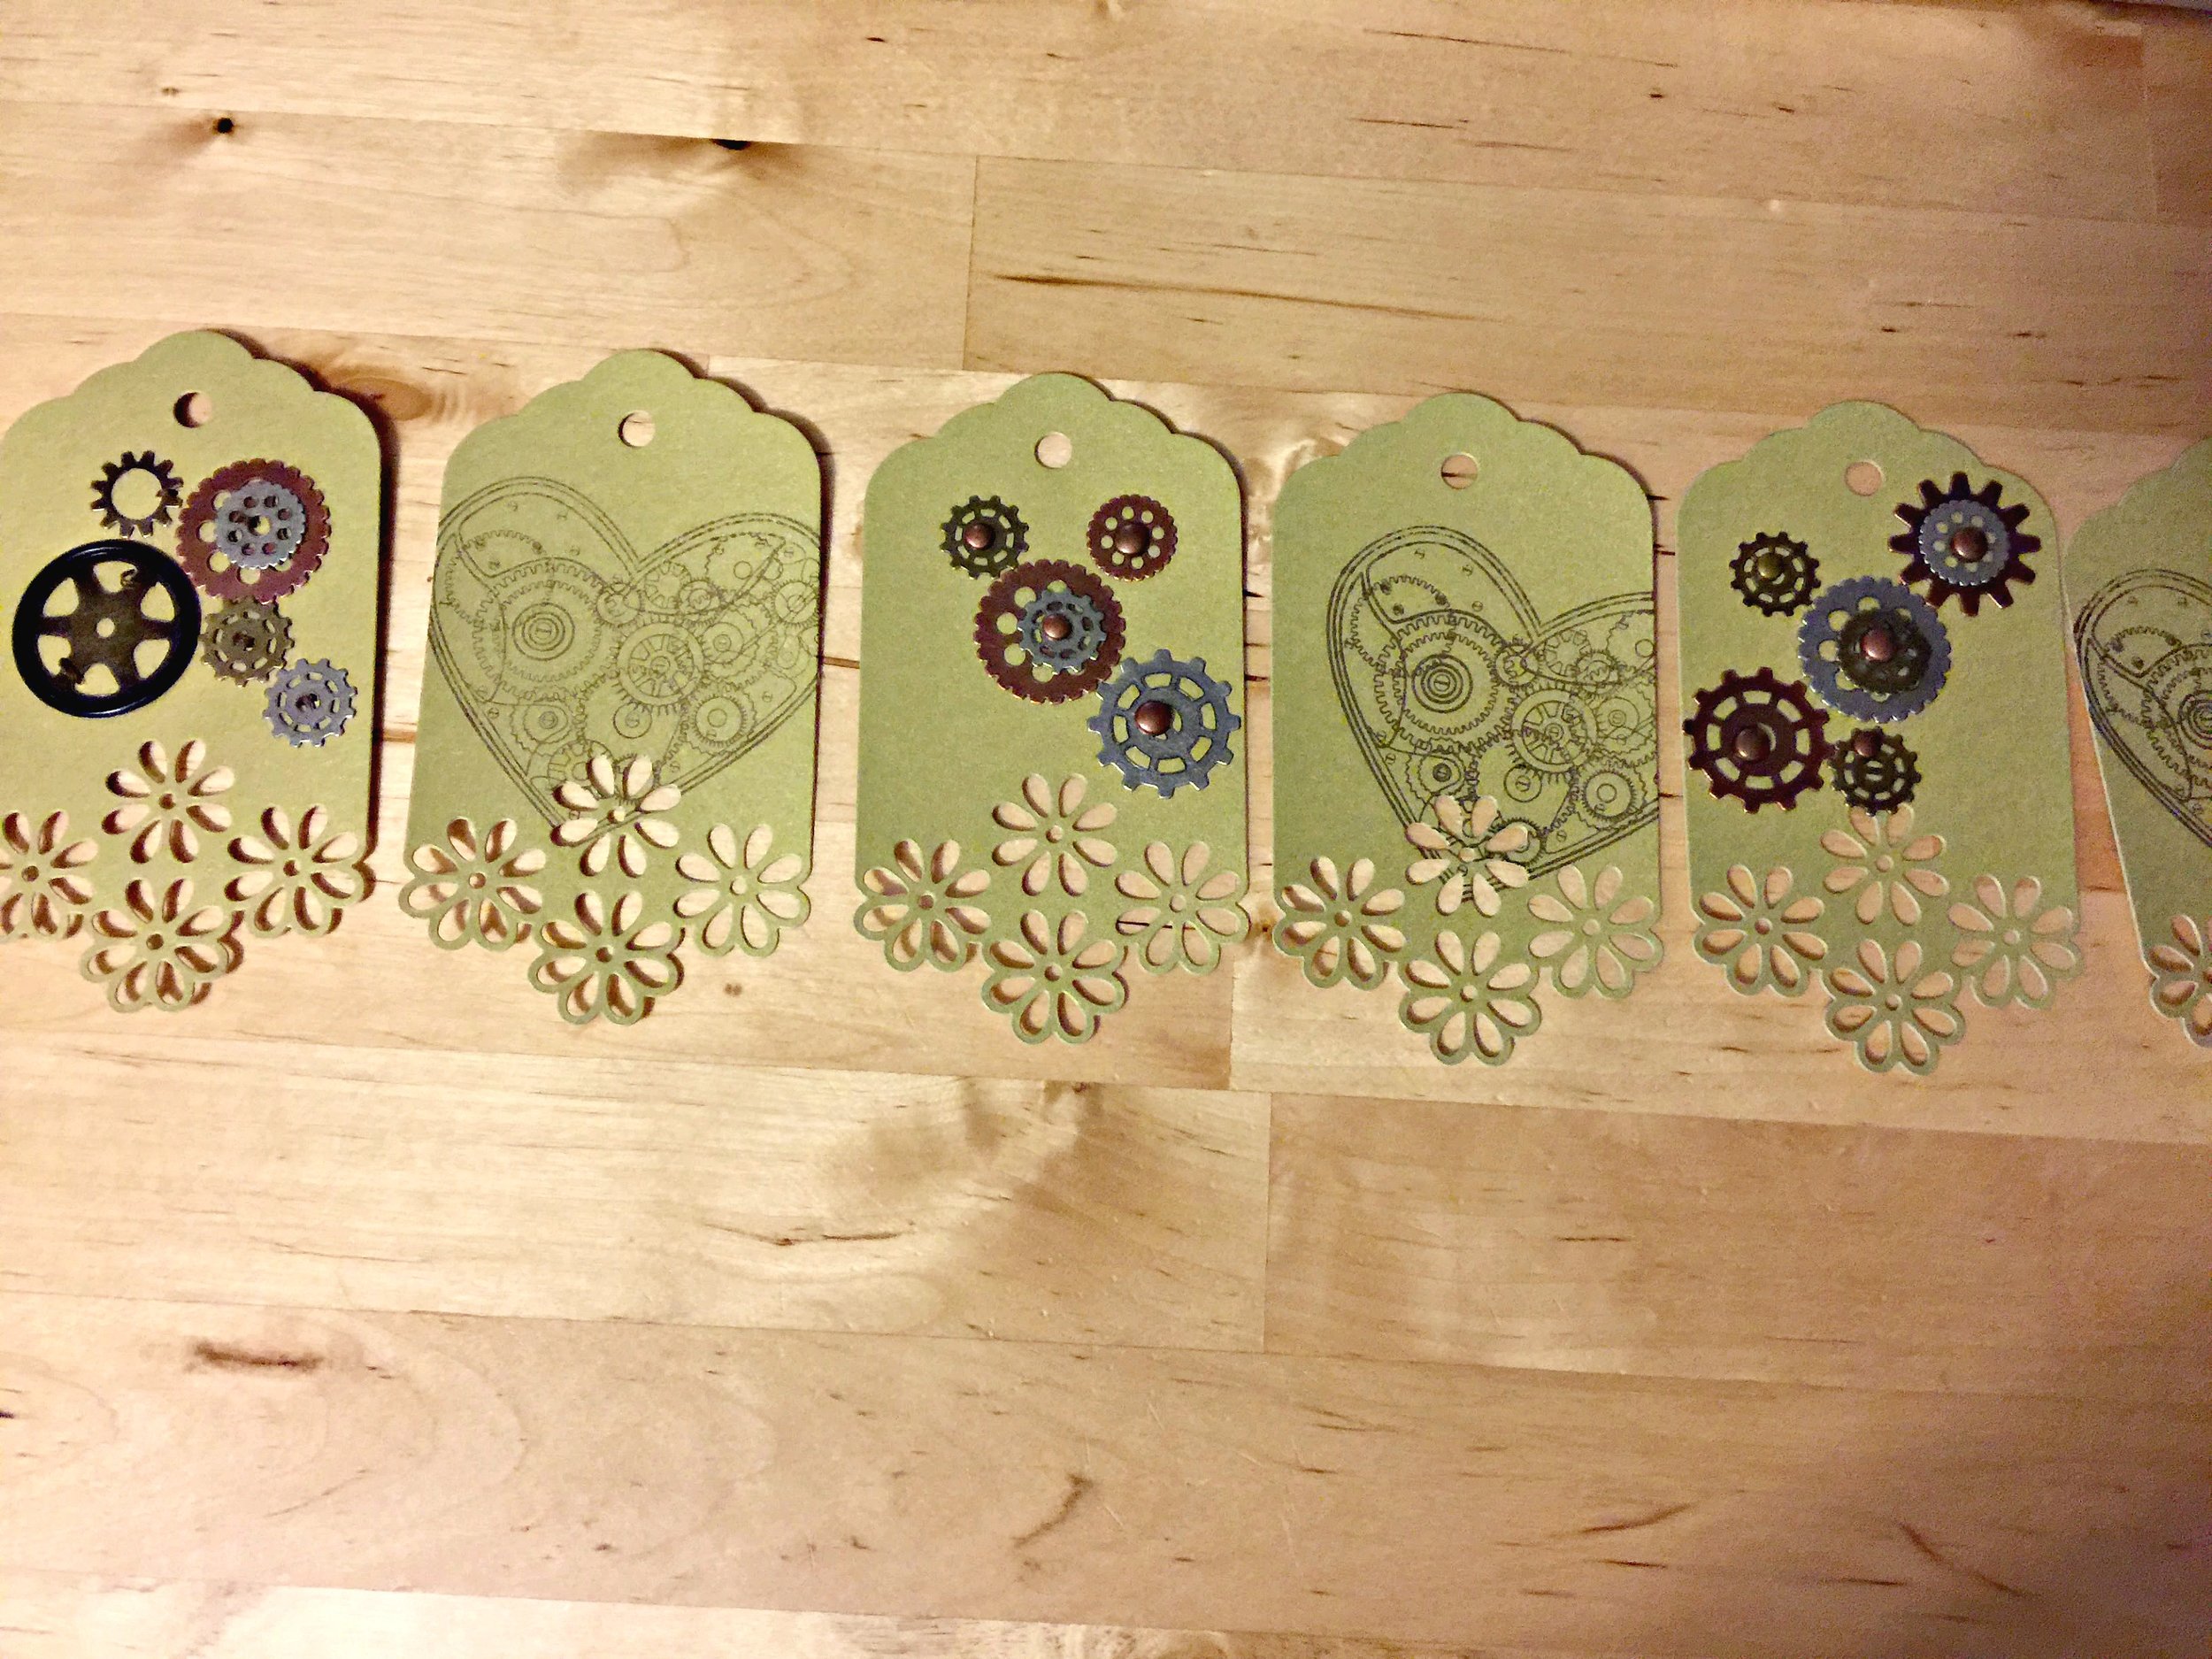
7.Once you've finished adding gears to your 5 blank tags, now it's time to assemble your garland. Lay out your tags, alternating between stamped tags and gear tags as shown in the picture below.
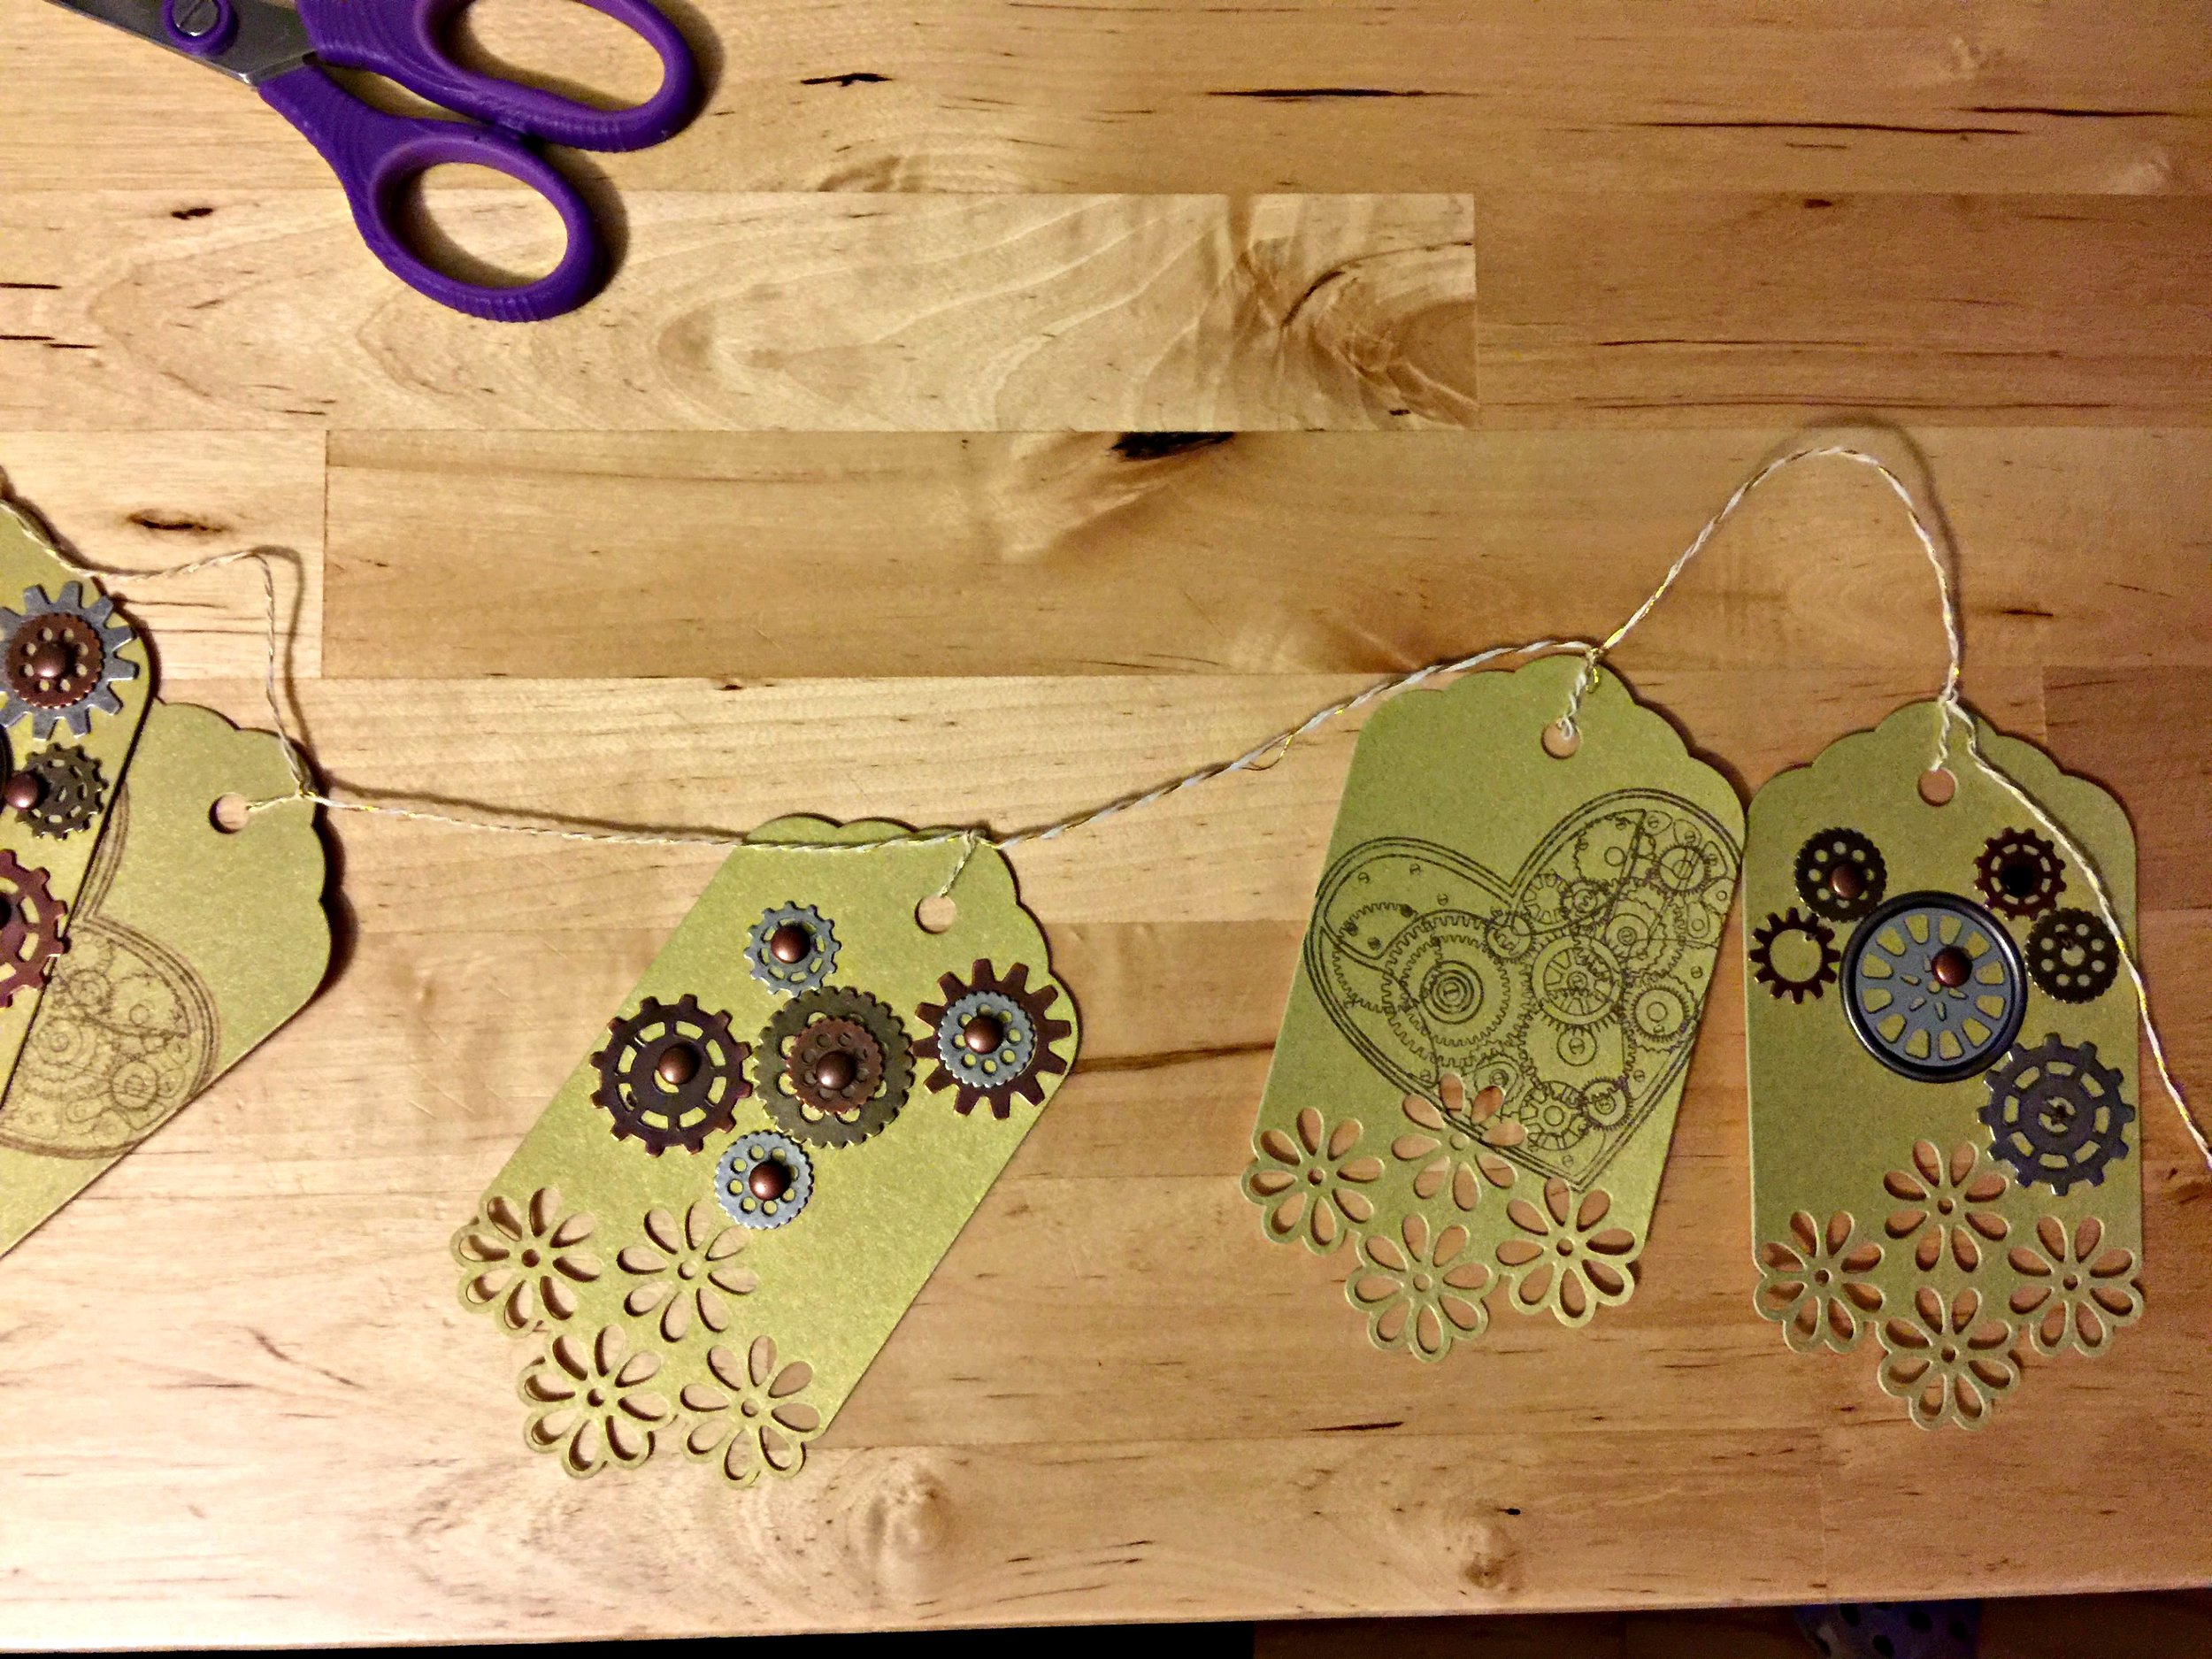
8. Roughly measure your bakers twine and cut the length you need. It's fine to eyeball it. Be sure to give yourself at least 3-5 additional inches for tying knots. Once you've cut your twine, begin weaving it through the top holes. Tie a firm knot at the top of each tag so that your tags don't slide around.
Tip: Have a ruler or piece of washi tape as a measure system for how much room you'd like in between each tag. Mine are 1 inch apart.

Optional: (not pictured) add flowers to the top of your tag in the holes. You can also twist some flowers around the twine for added flourish.
 As always, Happy Crafting!