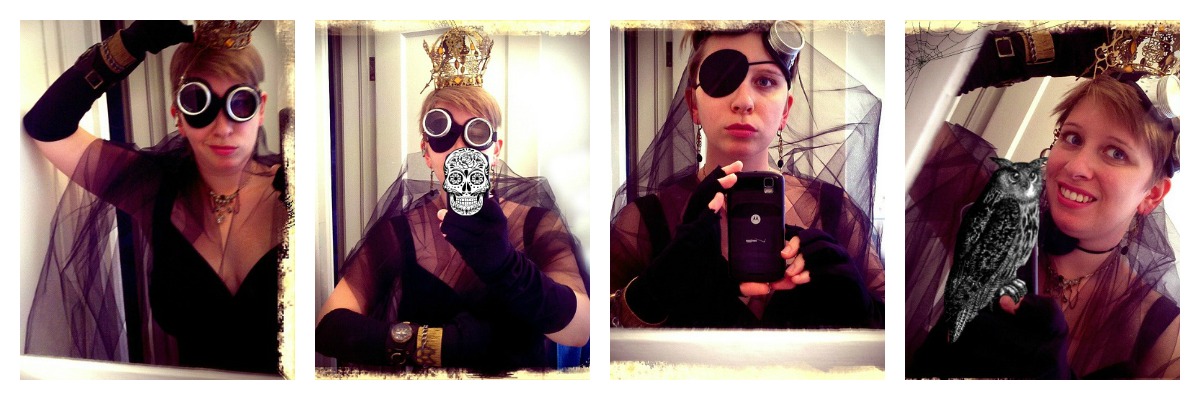
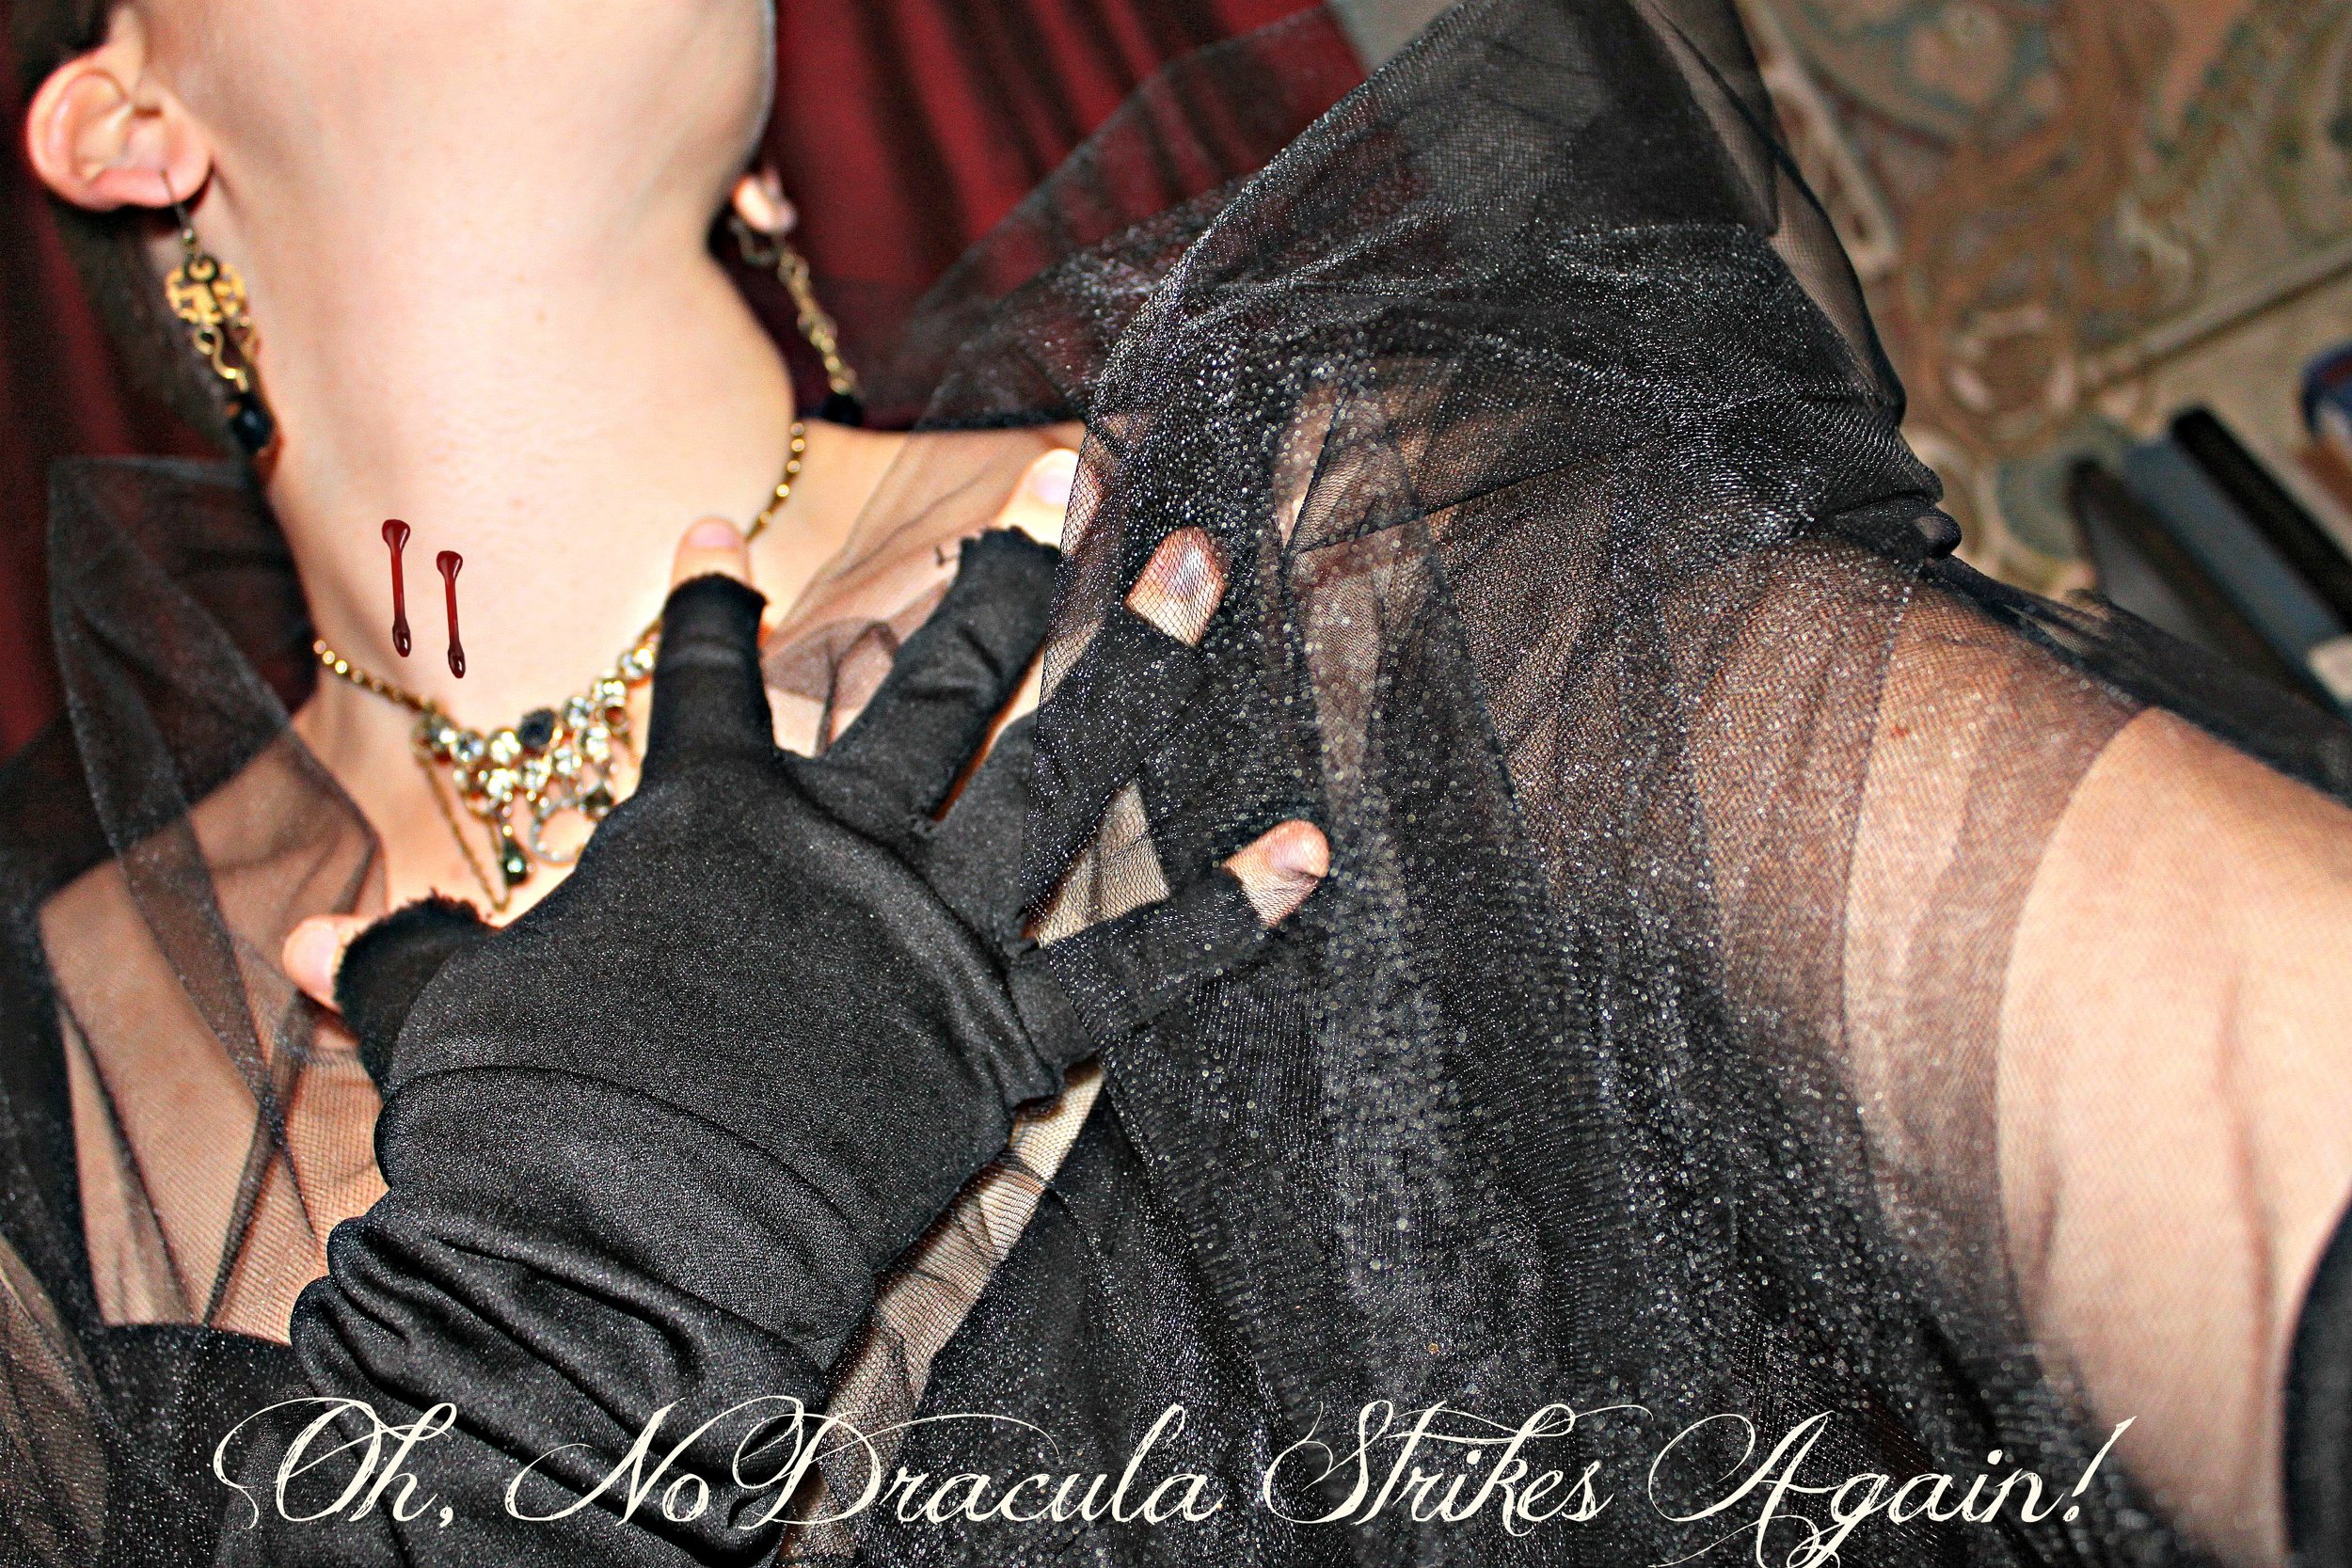
Like me I know a lot of you are making your own costumes not only for the fun of it but also because of your budget. Here is a DIY Steampunk Halloween costume that costs under $100 (and even less if you have some of these items already). Be a Steampunk Pirate Queen this Halloween (or Empress or Imperial Majesty...whichever title you prefer, after all you're the ruler).

(Forgive the phone in the mirror shooting--I did cover the phone up with some spooky overlays--check out PicMonkey's Halloween themes to edit pictures with! It's super fun & festive!)
Here's what you'll need:
- A fancy dress (Now is the perfect time to dig up that unworn dress sitting lonely in the closet or that bridesmaids dress that you haven't put on since the wedding). If you don't have a dress, try pursing your local thrift stores for dresses. Steampunking it is easy with accessories and a little tulle! Don't worry if your dress is short--punk it up with your favorite pair of Fall/Winter boots! (Already Owned, hopefully)
- Tulle (approximately 2-3 yards, depending on your size and how long you'd like it to trail after you). I'm a size 14 and so I purchased 2 yards. Tulle is cheap at Joann Fabrics during Halloween (go when you have a coupon)! $2.00

- Elbow-Length Gloves (you can source these from anywhere, thrift stores or a cheap Halloween shop). I made my gloves fingerless but cutting off the ends. $12.99
- Eye patch (any Halloween shop or Dollar Store has an eye patch you can purchase pretty cheaply) I bought mine at Party City where I also found my elbow length gloves. $1.99
- Goggles (This may be harder to find than other items but check your local flea markets, estate sales, & thrift stores--which may have goggles for lower prices). My favorite pair of reproduction goggles is made by Restoration Hardware, click here to purchase or view their "German Goggles" in the RH online catalog. These goggles are simple, elegant, and relatively inexpensive. $24.99
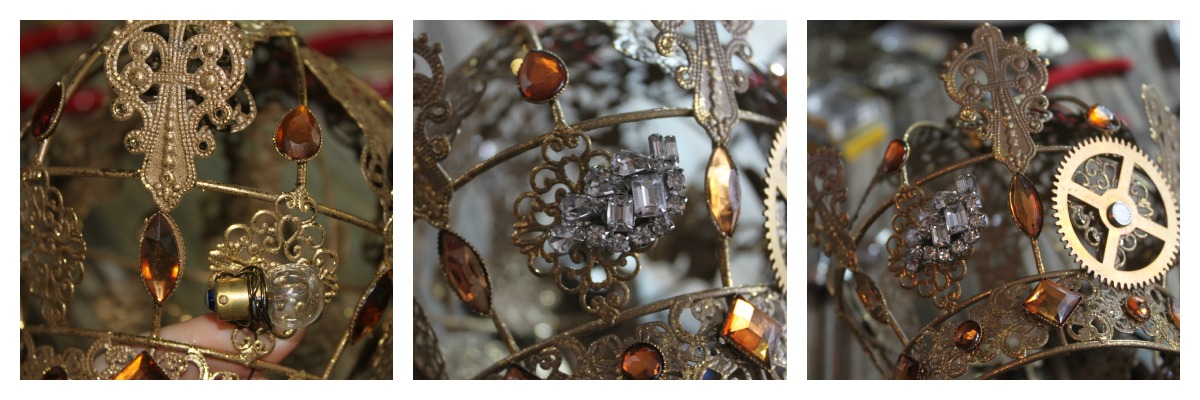
- Crown (or Large Christmas Tree Crown Ornament) The crown I am wearing is actually a Christmas Tree ornament that I purchased at a local shop, Garden Ridge (in their Gold Ornaments aisle). The DIY to make your own crown from a Christmas Tree ornament is below. Keep reading! $4.99 (Gears & Brads to adorn it with: approximately $14.99)
- Steampunk Jewelry (or any mismatched metal & chain jewelry that you own already) Some of you I know already own a few of my pieces (thanks!)--mix & match them with other rhinestone or bling-ish jewelry you own to add a little sparkle. (Already owned or you can click here for my Etsy shop and find something to go with your costume!)
Total Cost (excluding a dress & jewelry): $61.95
The most important part of your costume...airship pirate's attitude. A Queen still gives her mateys a mightly Argh!!
Materials & Tools:
- Crown Ornament (a filigree metal crown is best since it has many holes in it already) ($4.99)
- Brads ($4.99)
- 1-2 packages of reproduction metal gears ($5.99 each at Michaels--try their "Found Objects" or "Industrial Chic" brands) or salvaged machine or gear parts (preferable, sourced from local flea markets, estate sales & such)
- Light bulbs (optional)
- Rhinestone clip-on earrings (optional)
- 2 Grandfather clock hands (optional)
- Small magnifying glass & chain (optional)
- Wire (as close to the color of your crown) & wire cutters (for attaching light bulbs)
- Pair of flat nosed pliers
1) If your ornament has any hooks or ribbons for hanging on the Christmas tree, remove them or cut the ribbons. Here's what mine looks like: 
2) Next, lay out the items you wish to attach to your crown & begin placing them. Gears can be attached with brads through the holes in the crown's filigree. Secure them by prying apart the two ends of the brad so that they hold the gear in place. You may want to crimp the brad shut with a pair of flat nosed pliers (or any kind of flat pliers).
3) (Optional) To secure a light bulb to your crown, cut a length of wire (proportional to your bulb's size. For tiny bulbs, approx. 1 inch) & loop the wire around the bulb through the filigree and back through again & around (Like sewing stitches) until the bulb is secure. Another option is to secure the light bulb in place with glue & a glue gun.
 4) (Optional) For extra sparkle on your crown, add a rhinestone (or any sparkly gemstone) clip-on earring. The clip should hold, but if your earring is old and the fastener is loose you may want to secure it with a bit of wire (approximately 1/2 inch will suffice).
5) (Optional, but highly suggested) To attach your grandfather clock hands, use brads and secure in place with pliers as instructed in Step 2 above. If your grandfather clock hands are heavier and cannot be kept in place with brads, use a small screw, washer, & nut to hold it in place. A great selection can be found in the Science Projects section at Lowes or Home Depot in the Hardware section.
6) (Optional) To add a monocle, attach a length of chain (measure where you'd like it to fall--keep in mind it will whip you in the face so I'd advise to make it longer than eye-length. A good zone is between the bottom of your nose to your chin). Using a jump ring attach the chain to a small magnifying glass (available at some dollar stores & grocery stores; available at bead shops, like the Bead Merchant on 15th street & Delaware). Using another jump ring, attach the other end of the chain to your crown with your pliers. You can dress up your magnifying glass chain as I did above by adding crystal beads & a piece of filigree!
7) Once you have attached all of your embellishments to your crown, wear proudly!
Other Ideas for Accessories: Faux-fur, a Sceptor, A Sword (for Knighting your minions), a Queenly cape, & a dance card
Have fun crafting your costumes! If any of you decide to be a Steampunk Pirate Queen please post or email your pictures to bohemianromancejewelry@gmail.com I'd love to see them! Check in later this week to find out how to Steampunk your Pumpkins!


