Bohemian Romance Jewelry

bike gears

DIY Steampunk Monocle Bowler

D-I-Y-Samantha ExtanceComment

A fun DIY for Halloween! Great for a steampunk Sherlock Holmes or Watson! shot_1373926098697This DIY is relatively simple though it can be expensive (if you can't find a bowler for cheap). Here's what you'll need:

Bowler hat (preferably thrifted); Thick Chain (I used 4 inches); Safety Pin; Needle & Thread; Ribbon (mine was ribbon made to look like measuring tape); Small leather pouch; Magnifying glass; Game Spinner; Clock Gear; Jumps Rings; Pliers; Scissors, an Awl; Pins; and a medium Bike Gear (from a cassette)

Steps:

  1. Measure the amount of ribbon you'll need to fit snugly around the base of your bowler hat. Be sure to leave at least a 1/2 inch on each side to fold over your bike gear. Once you've measured the amount of ribbon you'll need, cut it. Set aside.
  2. Pick up your leather pouch, using your scissors (or an exacto knife), cut 2 slits on the back of your pouch (about 1/4 inch from one another in the same direction--either horizontally or vertically), then thread your ribbon through the slits. Next, using your awl, poke a hole in the front of your leather pouch (so that you can affix your chain to the pouch with a jump ring). Using your flat nosed pliers, attach the chain and the magnifying glass with a jump ring. Optional, also add a game spinner and a clock gear  with jump rings for further decoration.Hat 2
  3. Next, thread your ribbon (with the right side facing up) through your bike gear's holes on one side. Pin in place. Hold your bike gear in place (where you want it situated on your bowler hat and then wrap the ribbon around the base of your hat. Thread the end of the ribbon through the bike gear and pin in place. When you are pinning your ribbon, be sure that you are only pinning the ribbon together and not the ribbon to the hat. Hat 1
  4. Next, slide the ribbon off of the base of your bowler hat and sew the ribbon in place. Keep your stitches small and close together. Be sure to tie a sturdy knot and hide that knot on the side of the ribbon that will go against your hat (and therefore not be seen). Cut off any excess ribbon in the back. Repeat for the other side.
  5. Slide your ribbon down onto your bowler hat in place around the base. Place the magnifying glass inside the leather pouch and see how far the chain dangles off of the hat's brim. If desired, using your safety pin, pin the chain to the opposite side of your bowler hat's brim until you want to use the "monocle"/magnifying glass. Hat 3
  6. Wear proudly! Hat 4As always, happy crafting!

Upcycling from Bicycles!

UncategorizedSamantha ExtanceComment

I have a brand new reason to love bicycles--other than green, heart healthy transportation and tons of fun on a sunny day--bicycles have beautiful gears that are perfect for steampunking! Mine were given to me by a friend who works in Tom's Bicycles here in Tulsa (thank you Casey!). For other steampunkers out there--be warned that bike gears are incredibly tough to clean. It will take you a couple of washes and a ton of elbow grease. I would recommend using a brillo pad saturated with Dawn (or any grease cutting soap of your choice). Despite the hours (and believe me you will be at it for an hour or two) of cleaning, used & worn bike gears are ideal steampunk material because the rough edges have already been worn down from riding and are no longer sharp.

Another great thing about bike gears (those from cassettes, that is) are their many holes. So while you will spend a great deal of time cleaning them, you do not have to file or drill at all! This is even more perfect for beginner steampunkers who have not built up an arsenal of tools or for those who are steampunking on a budget. Without further ado, here are my bicycle creations!

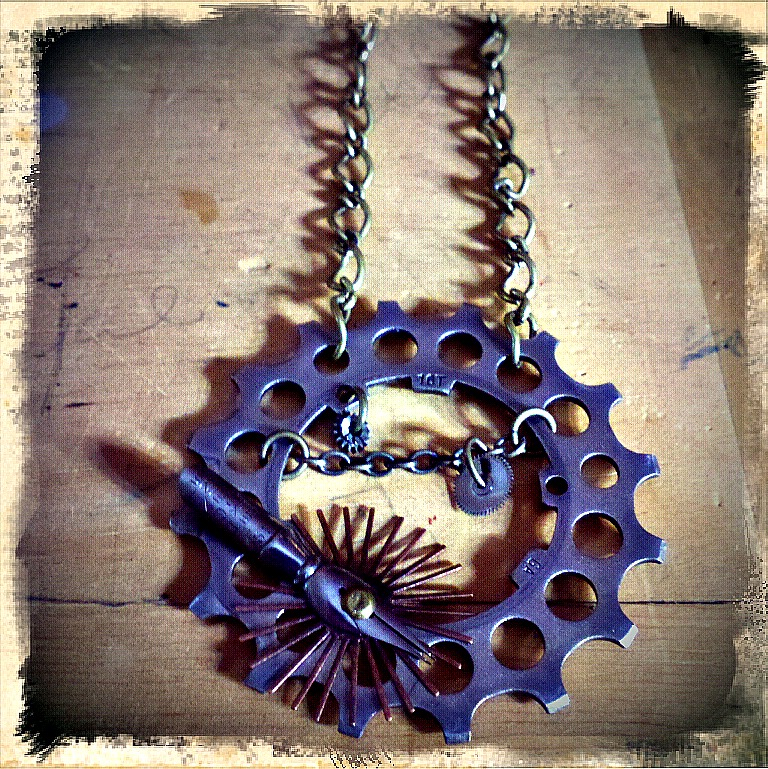
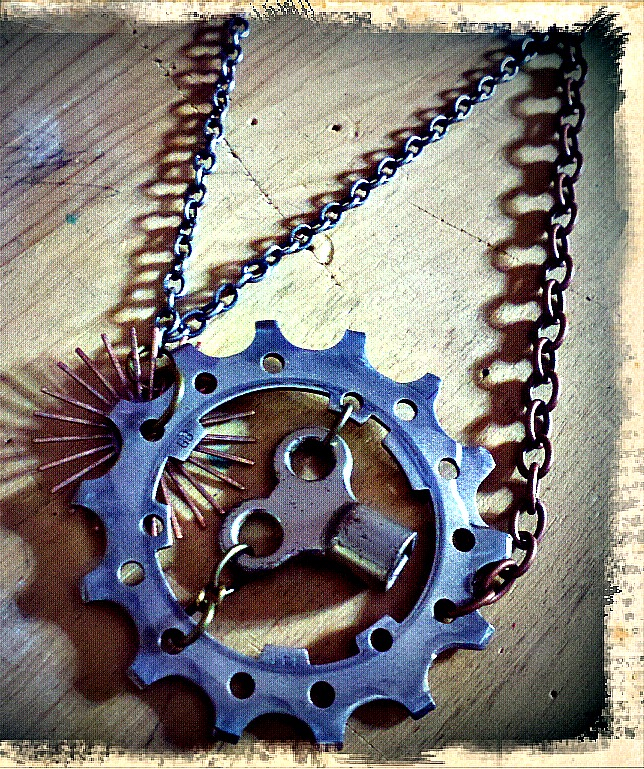
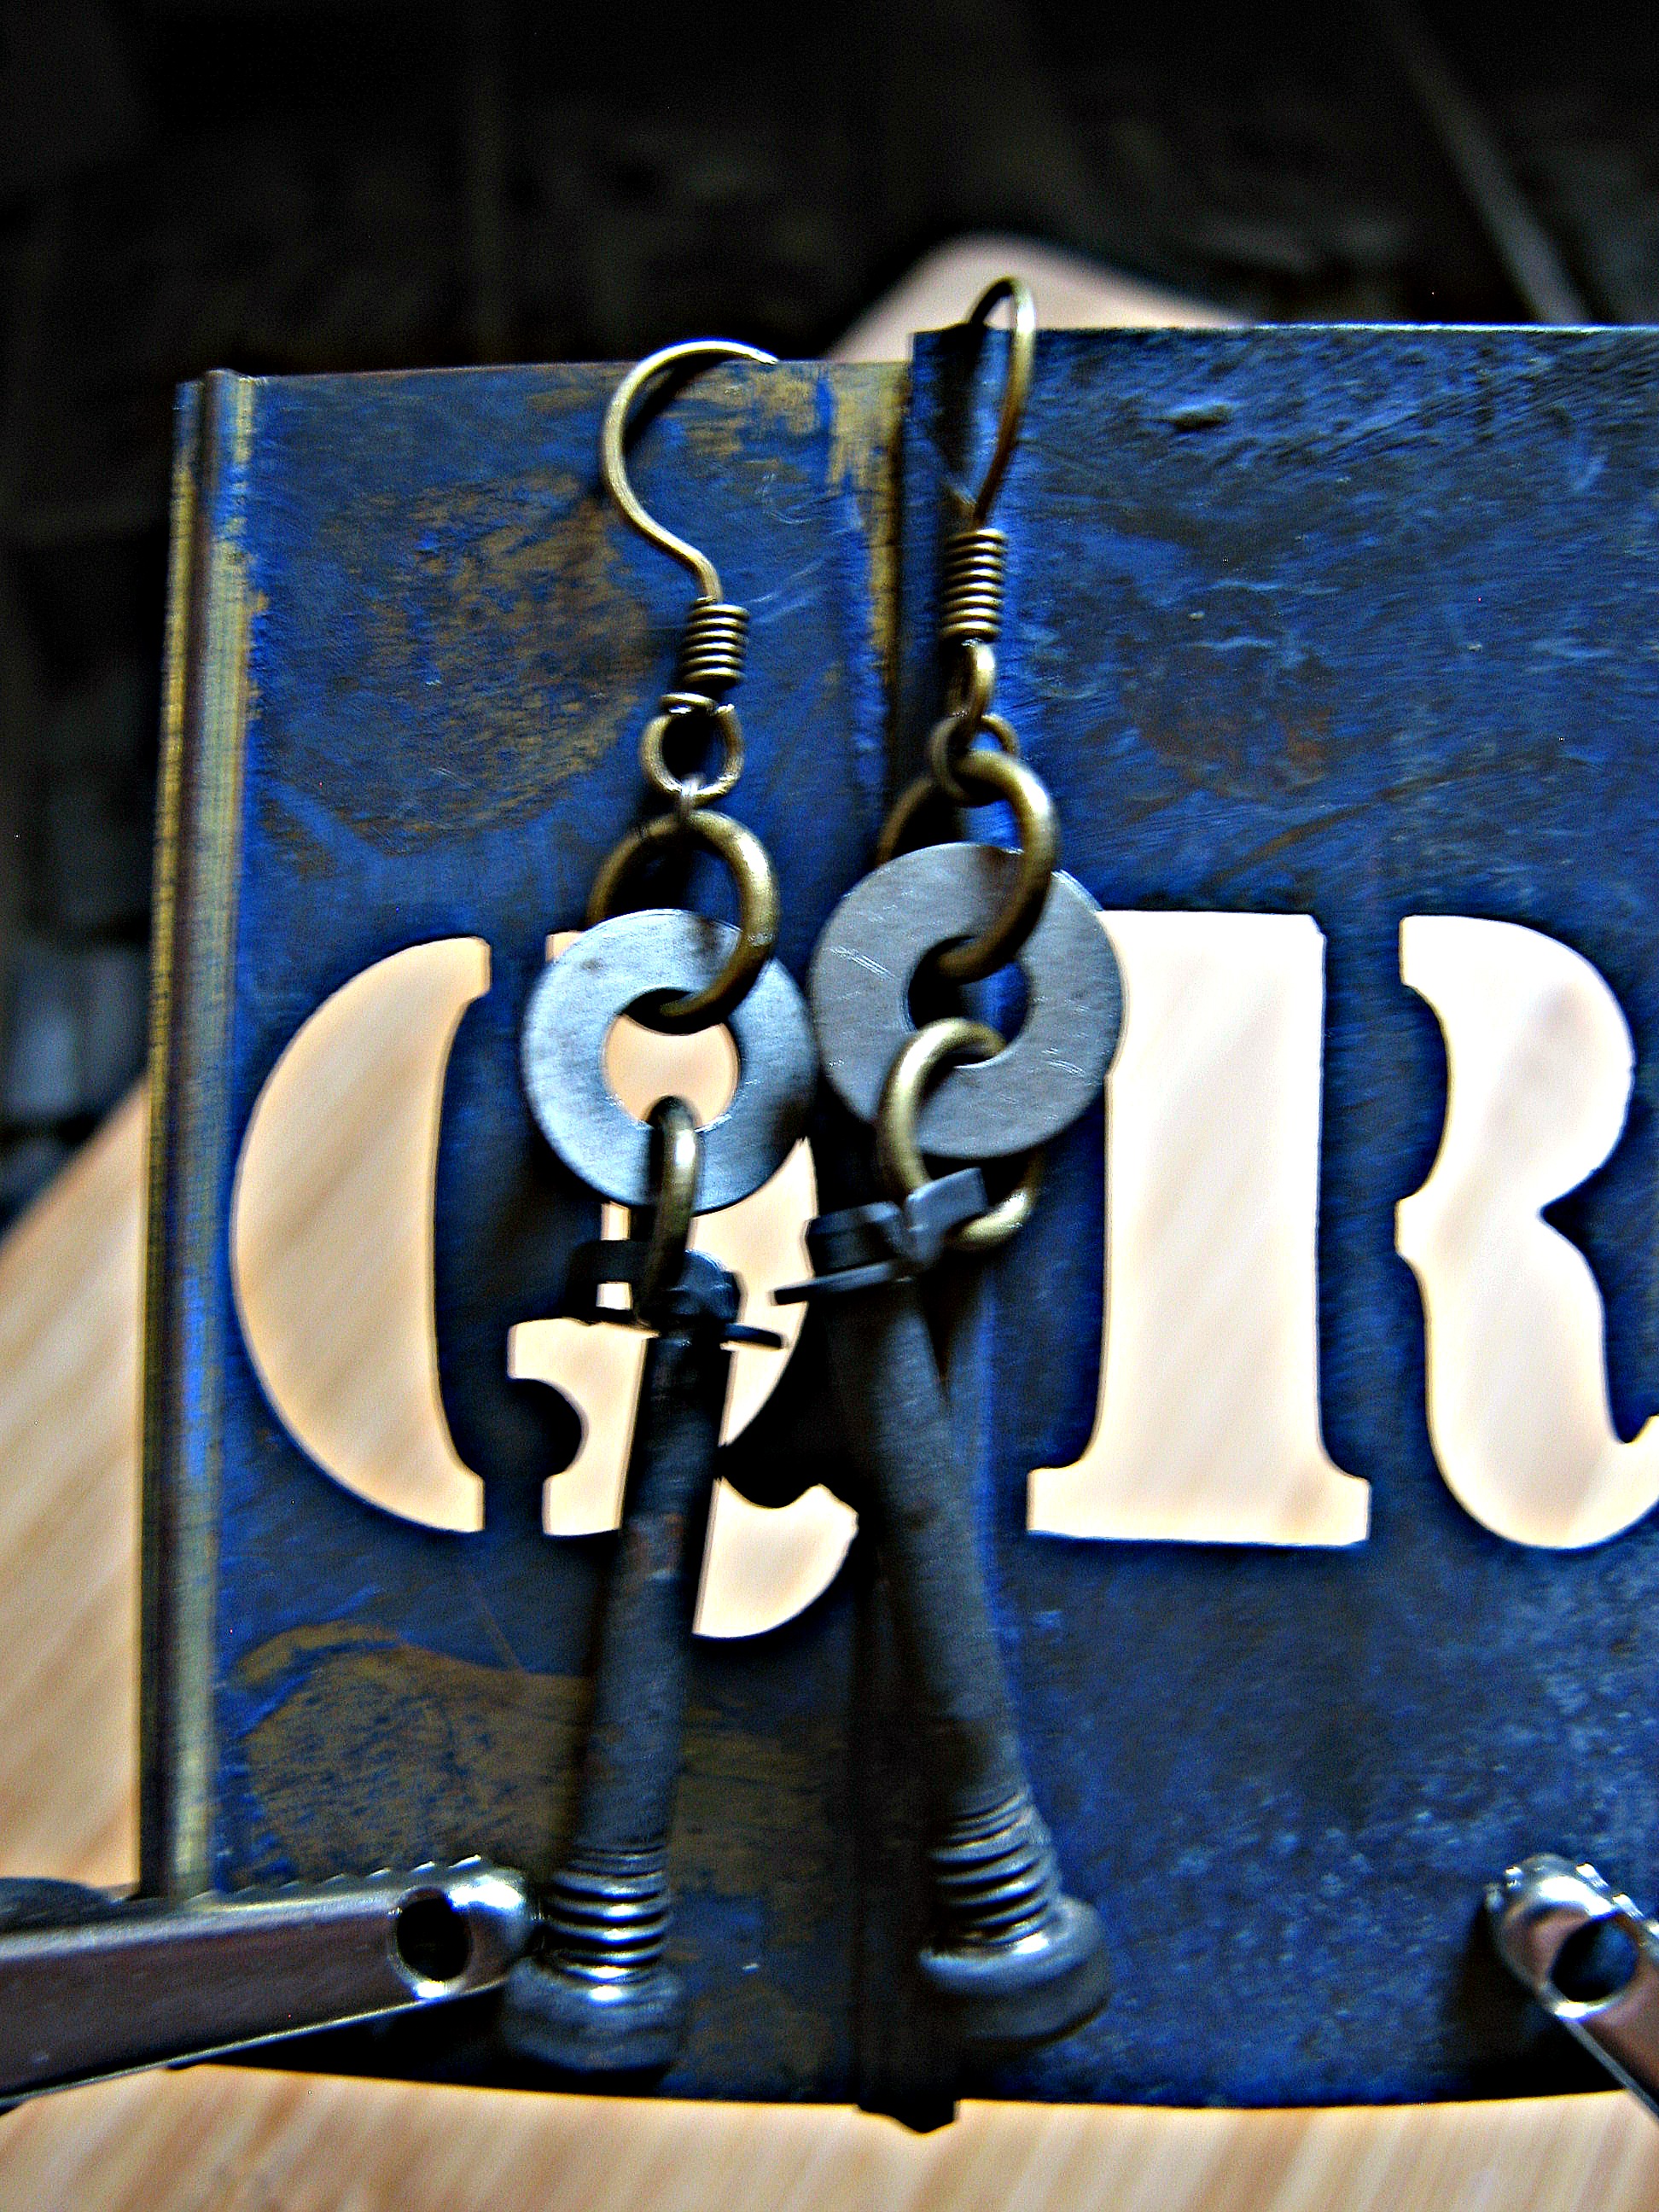
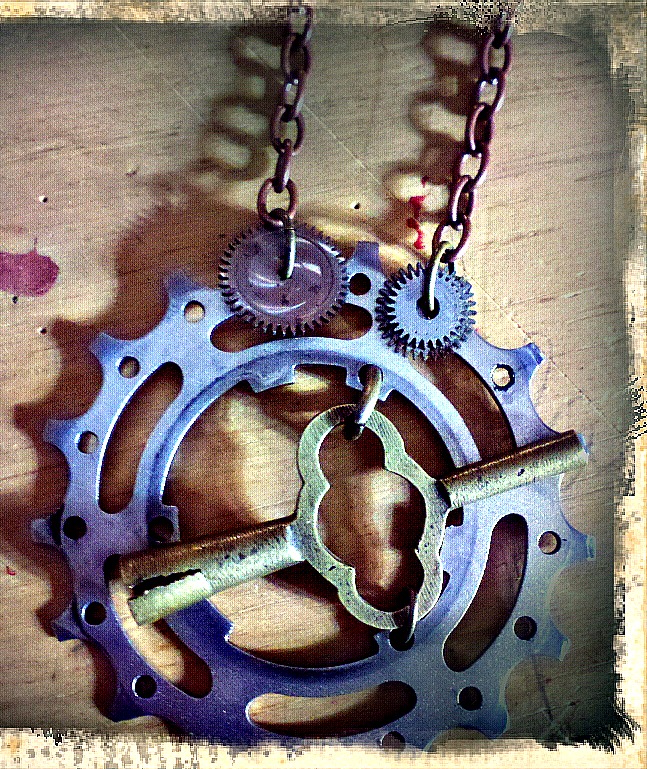
Steampunk Cyclist-Poet's Necklace: Made with various chains, a pen nib, metal filigree, and clock cogs & gears.Asymmetrical Steampunk Cyclist's Necklace: Made with key, various chains, and metal filigree.Steampunk Brake Pad Earrings: Made with bicycle brake pad parts, chain, and washers.Steampunk Cyclist's Key Chain: Made with key, various chain, and clock gears.Steampunk Brake Pad Necklaces: (Left) Made with brake pad, chain, washers, and grandfather clock gear; (Right) Made with chain, brake pad, washer, and lock washer.

Hope this inspires you to upcycle!

Handmade Illumination: D.I.Y. Steampunk Candlestick Holder (3 ways)

D-I-Y-Samantha Extance2 Comments

These candlesticks are perfect for hosting an intimate dinner party for fantastical inventors, airship tinkerers, clockmakers' sons & daughters, and bicycle enthusiasts everywhere! D.I.Y.s and Materials needed for each candlestick are written below under their respective name. Before you begin, I would like to note that in each of these photos a tea candle is pictured. I did not have a candlestick on hand and so I substituted a tea candle for a candlestick in order to show each step completely. As always, happy making!

Atomventor's Candlestick Holder

Materials Needed:

Mason jar, medium sized bicycle gear (from a cassette), glass candlestick holder, a candlestick, and various odds & ends of your choosing to place inside your jar.

I used washers, springs, bicycle brakes, clock parts & gears.

A note on your mason jar & glass candlestick holder: These items must be able to stack inside one another. When purchasing your jar and candlestick holder, you should bring your bicycle gear with you to the store to ensure that you purchase the correct sizes.

Steps:

1) Fill your jar with your assorted odds & ends (also known bric-a-brac, couch treasure, & dumpster delights). Fill your jar about halfway.

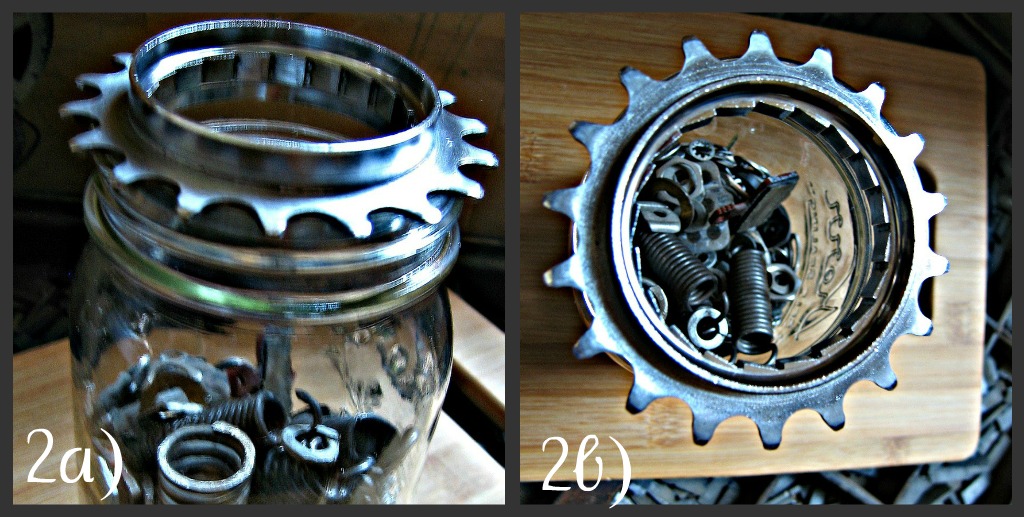
2) Place your bicycle gear atop your jar. See also figures 2a & 2b below.

3) Place your glass candlestick holder on top of your bicycle gear. The candlestick I purchased (from Michaels) has a tiny "lip" on the bottom--this keeps the candlestick from falling off of the gear & sliding out.

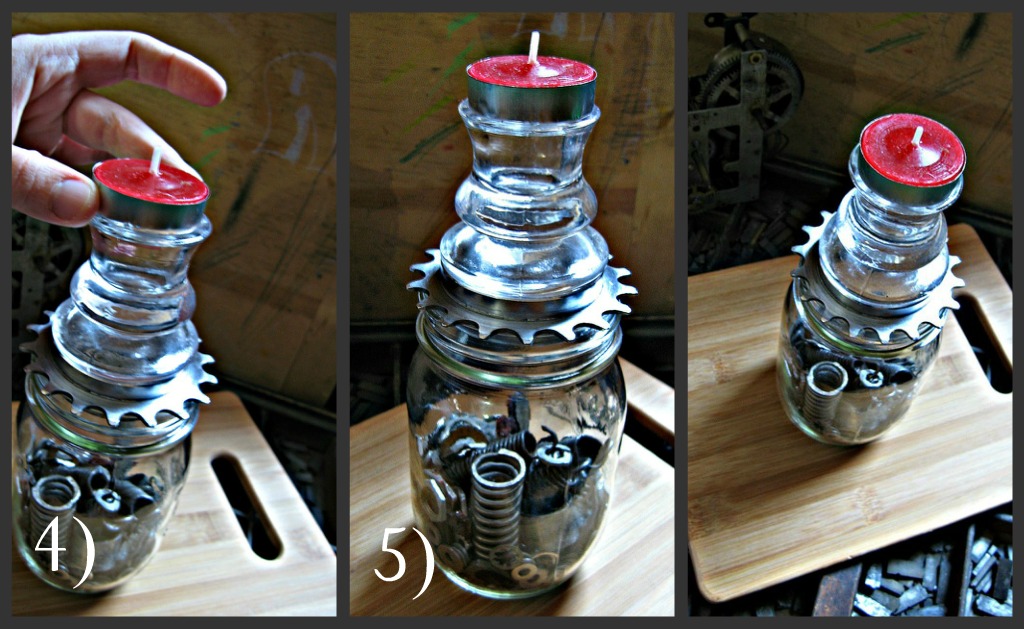
4) Next, place your candlestick into the glass candlestick holder.

5) Enjoy your handmade illumination!

Simply Steampunk Candlestick Holder

Materials Needed:

Medium-sized bicycle gear, glass candlestick holder, and a candlestick.

A note on your glass candlestick holder: This item must be able to stack inside your gear. When purchasing your candlestick holder, you should bring your bicycle gear with you to the store to ensure that you purchase the correct size.

Steps:

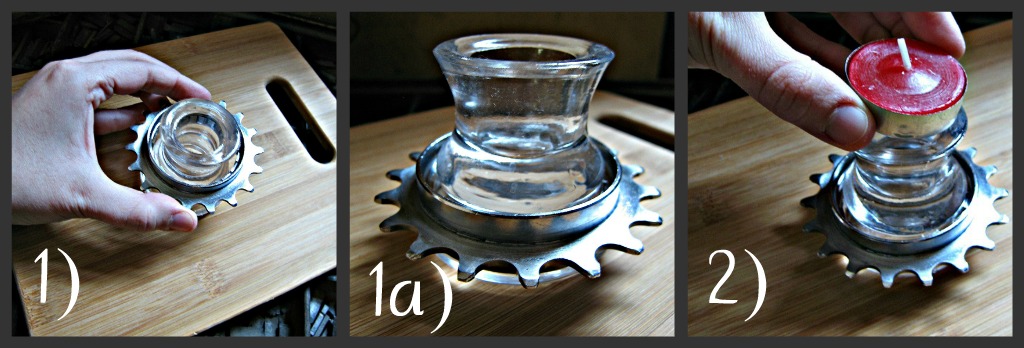
1) Place your bicycle gear over your glass candlestick holder. You can see in figure 1a that the candlestick's "lip" keeps the gear in place.

2) Next, place your candlestick into the glass candlestick holder.

3) Enjoy your handmade illumination!

Simply Steampunk Easy Candlestick Holder

Materials Needed:

Medium-sized bicycle gear, glass candlestick holder, and a candlestick.

A note on your glass candlestick holder: This item must be able to stack inside your gear. When purchasing your candlestick holder, you should bring your bicycle gear with you to the store to ensure that you purchase the correct size.

Steps:

1) Place your bicycle gear on your table and then stack your glass candlestick holder on top of it. Again, the "lip" of teh candlestick holder keeps the gear in place & from sliding. See figure 1a.

2) Next, place your candlestick into the glass candlestick holder.

3) Enjoy your handmade illumination!

This D.I.Y. is versatile--once you have the materials you will be able to make each of these candlesticks. Since the candlesticks are made by stacking pieces into one another, you will also be able to change them to fit the mood or theme of your table setting.