Bohemian Romance Jewelry

Uncategorized

DIY Steampunk Place Cards

UncategorizedSamantha ExtanceComment

This is a very simple, low-cost DIY that will add elegance and a bit of steampunk flair to your wedding, holiday gathering, or your dinner party. It's time intensive if you have a lot of place cards to make, but it's worth it. It's also completely customizable to suit your taste. You can choose a different color of card stock paper, a different graphic, and even different types of metal press gears. To customize your own place cards, just swap out the various elements in the below DIY.

Materials & Supplies: (for 100 guests)

  • Card stock Paper, antique white

    • Number of sheets needed is determined by your guest list. Each sheet prints 4 place cards. For example, for 100 guests, you would need 25 sheets.

    • Graphic

      • I got mine from The Graphics Fairy

      • Gold Colored Pencil

      • Black Calligraphy Pen

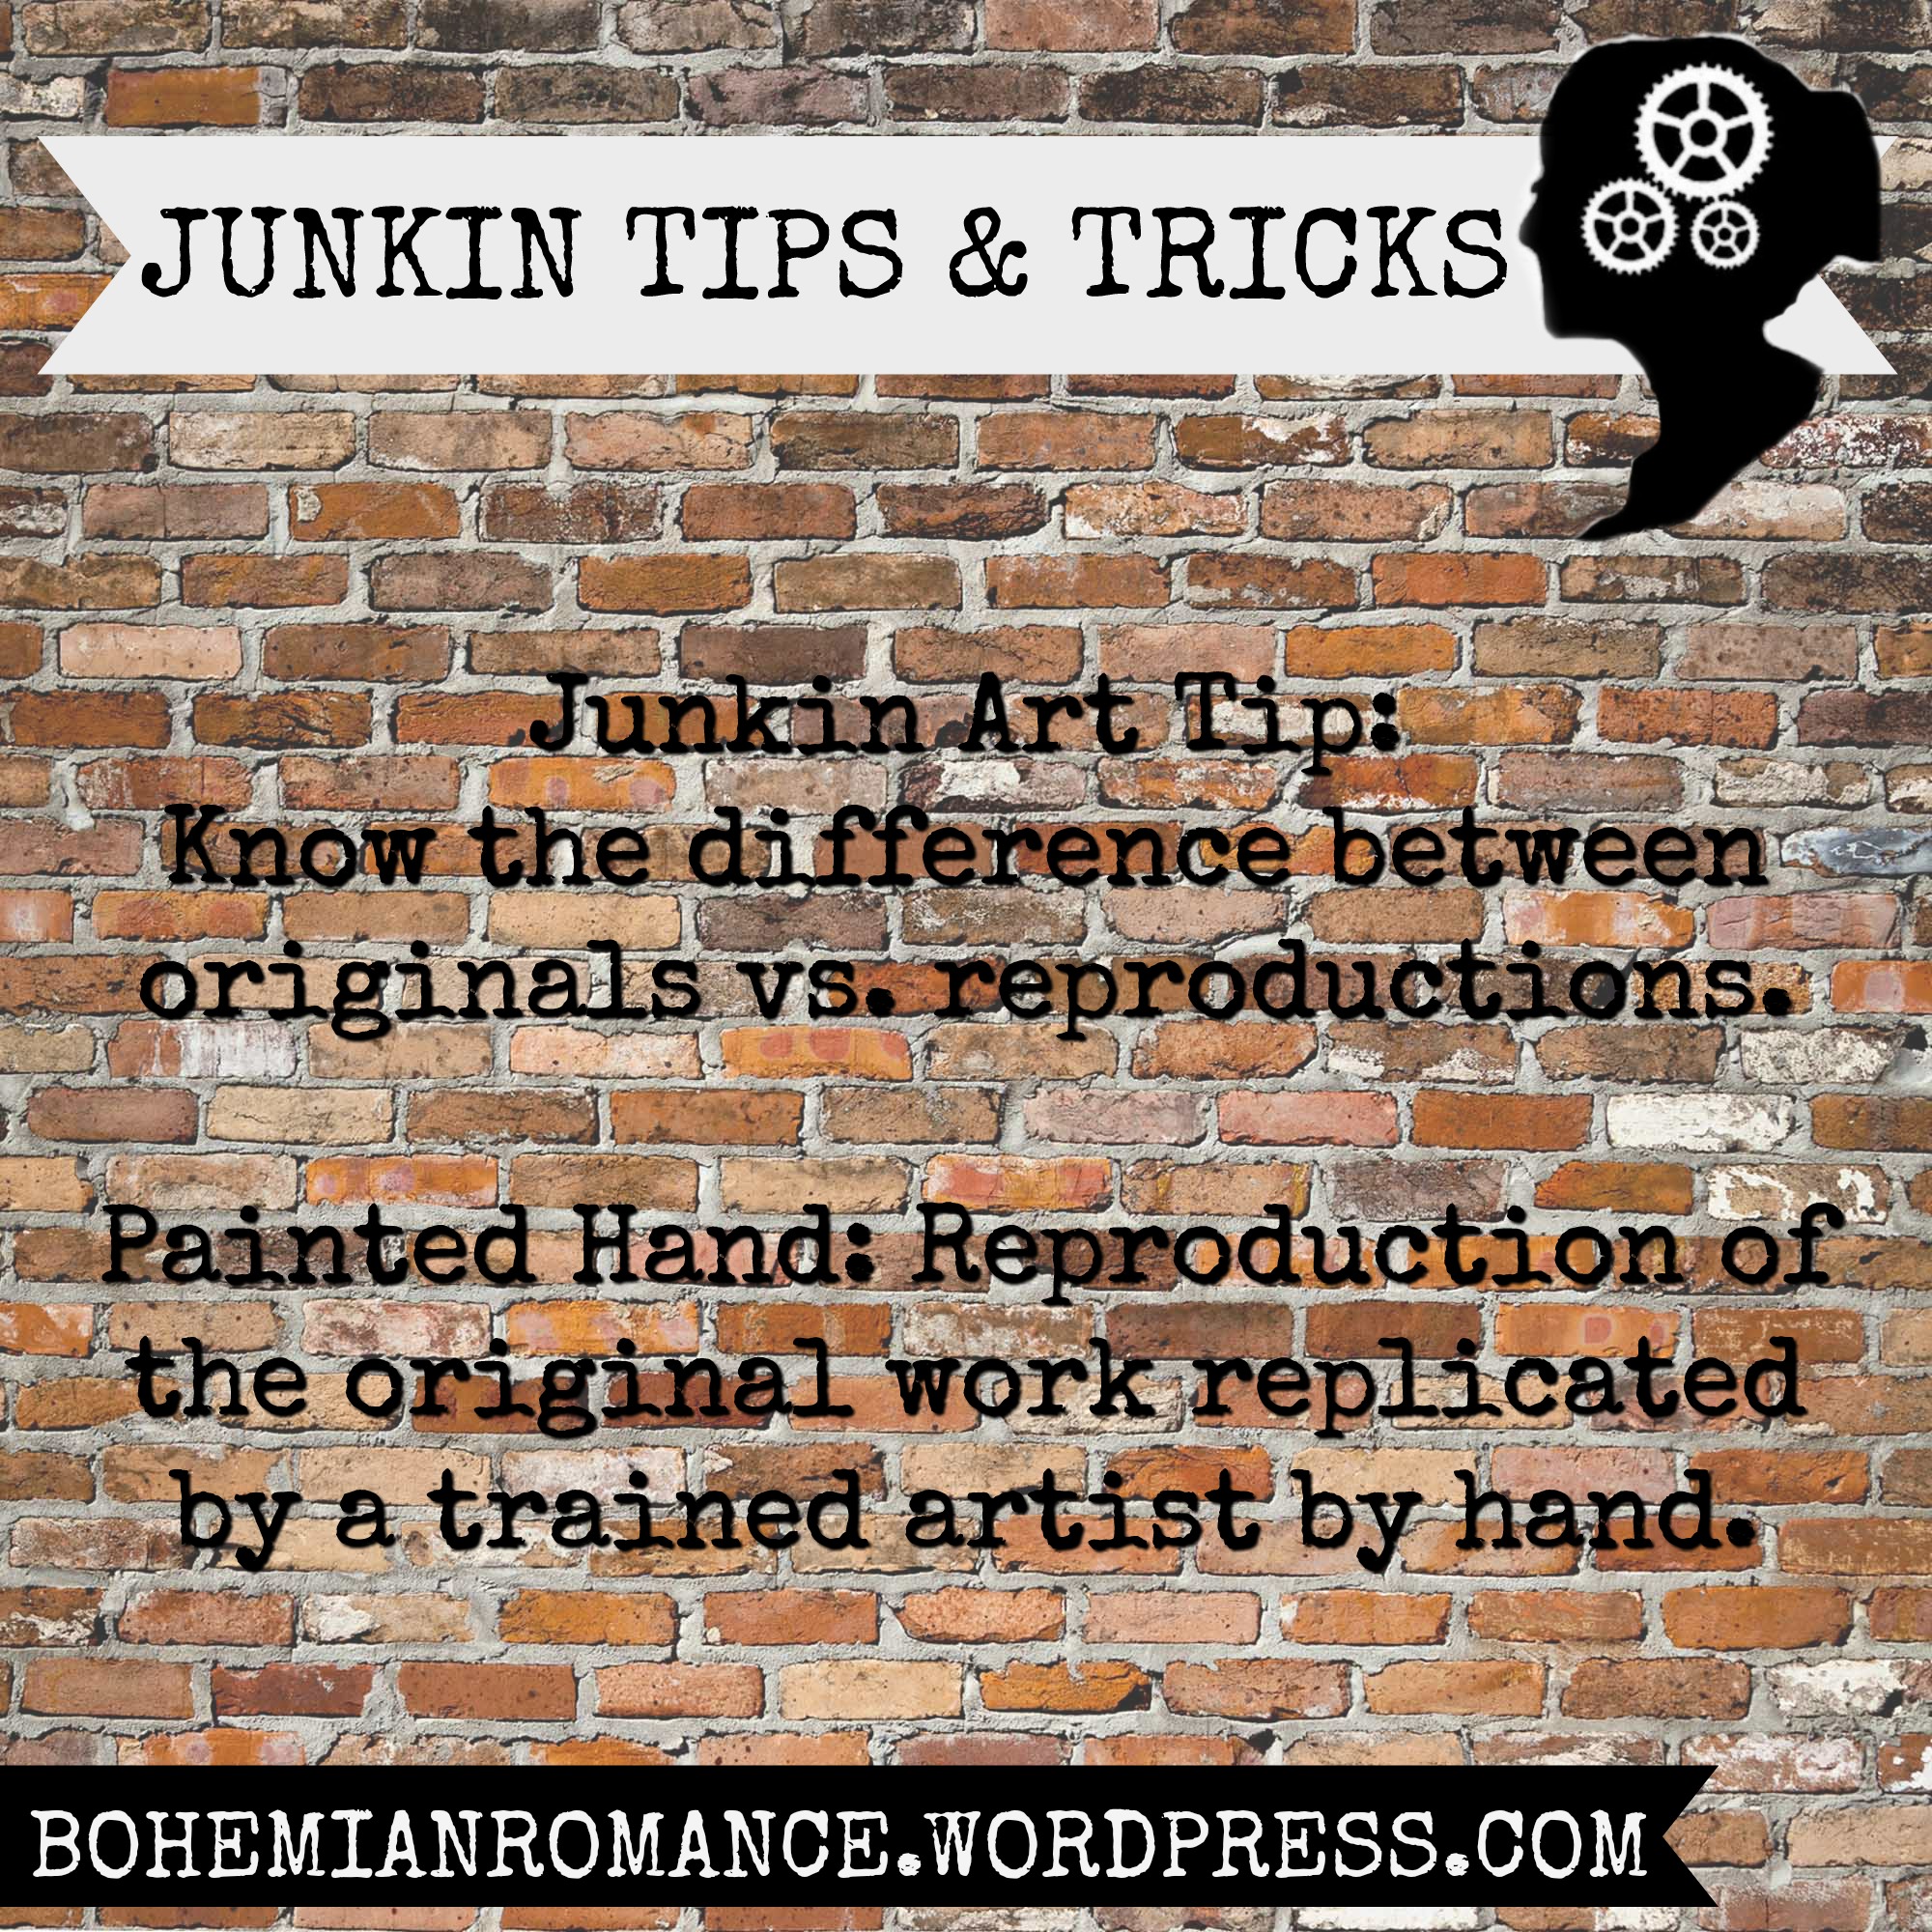
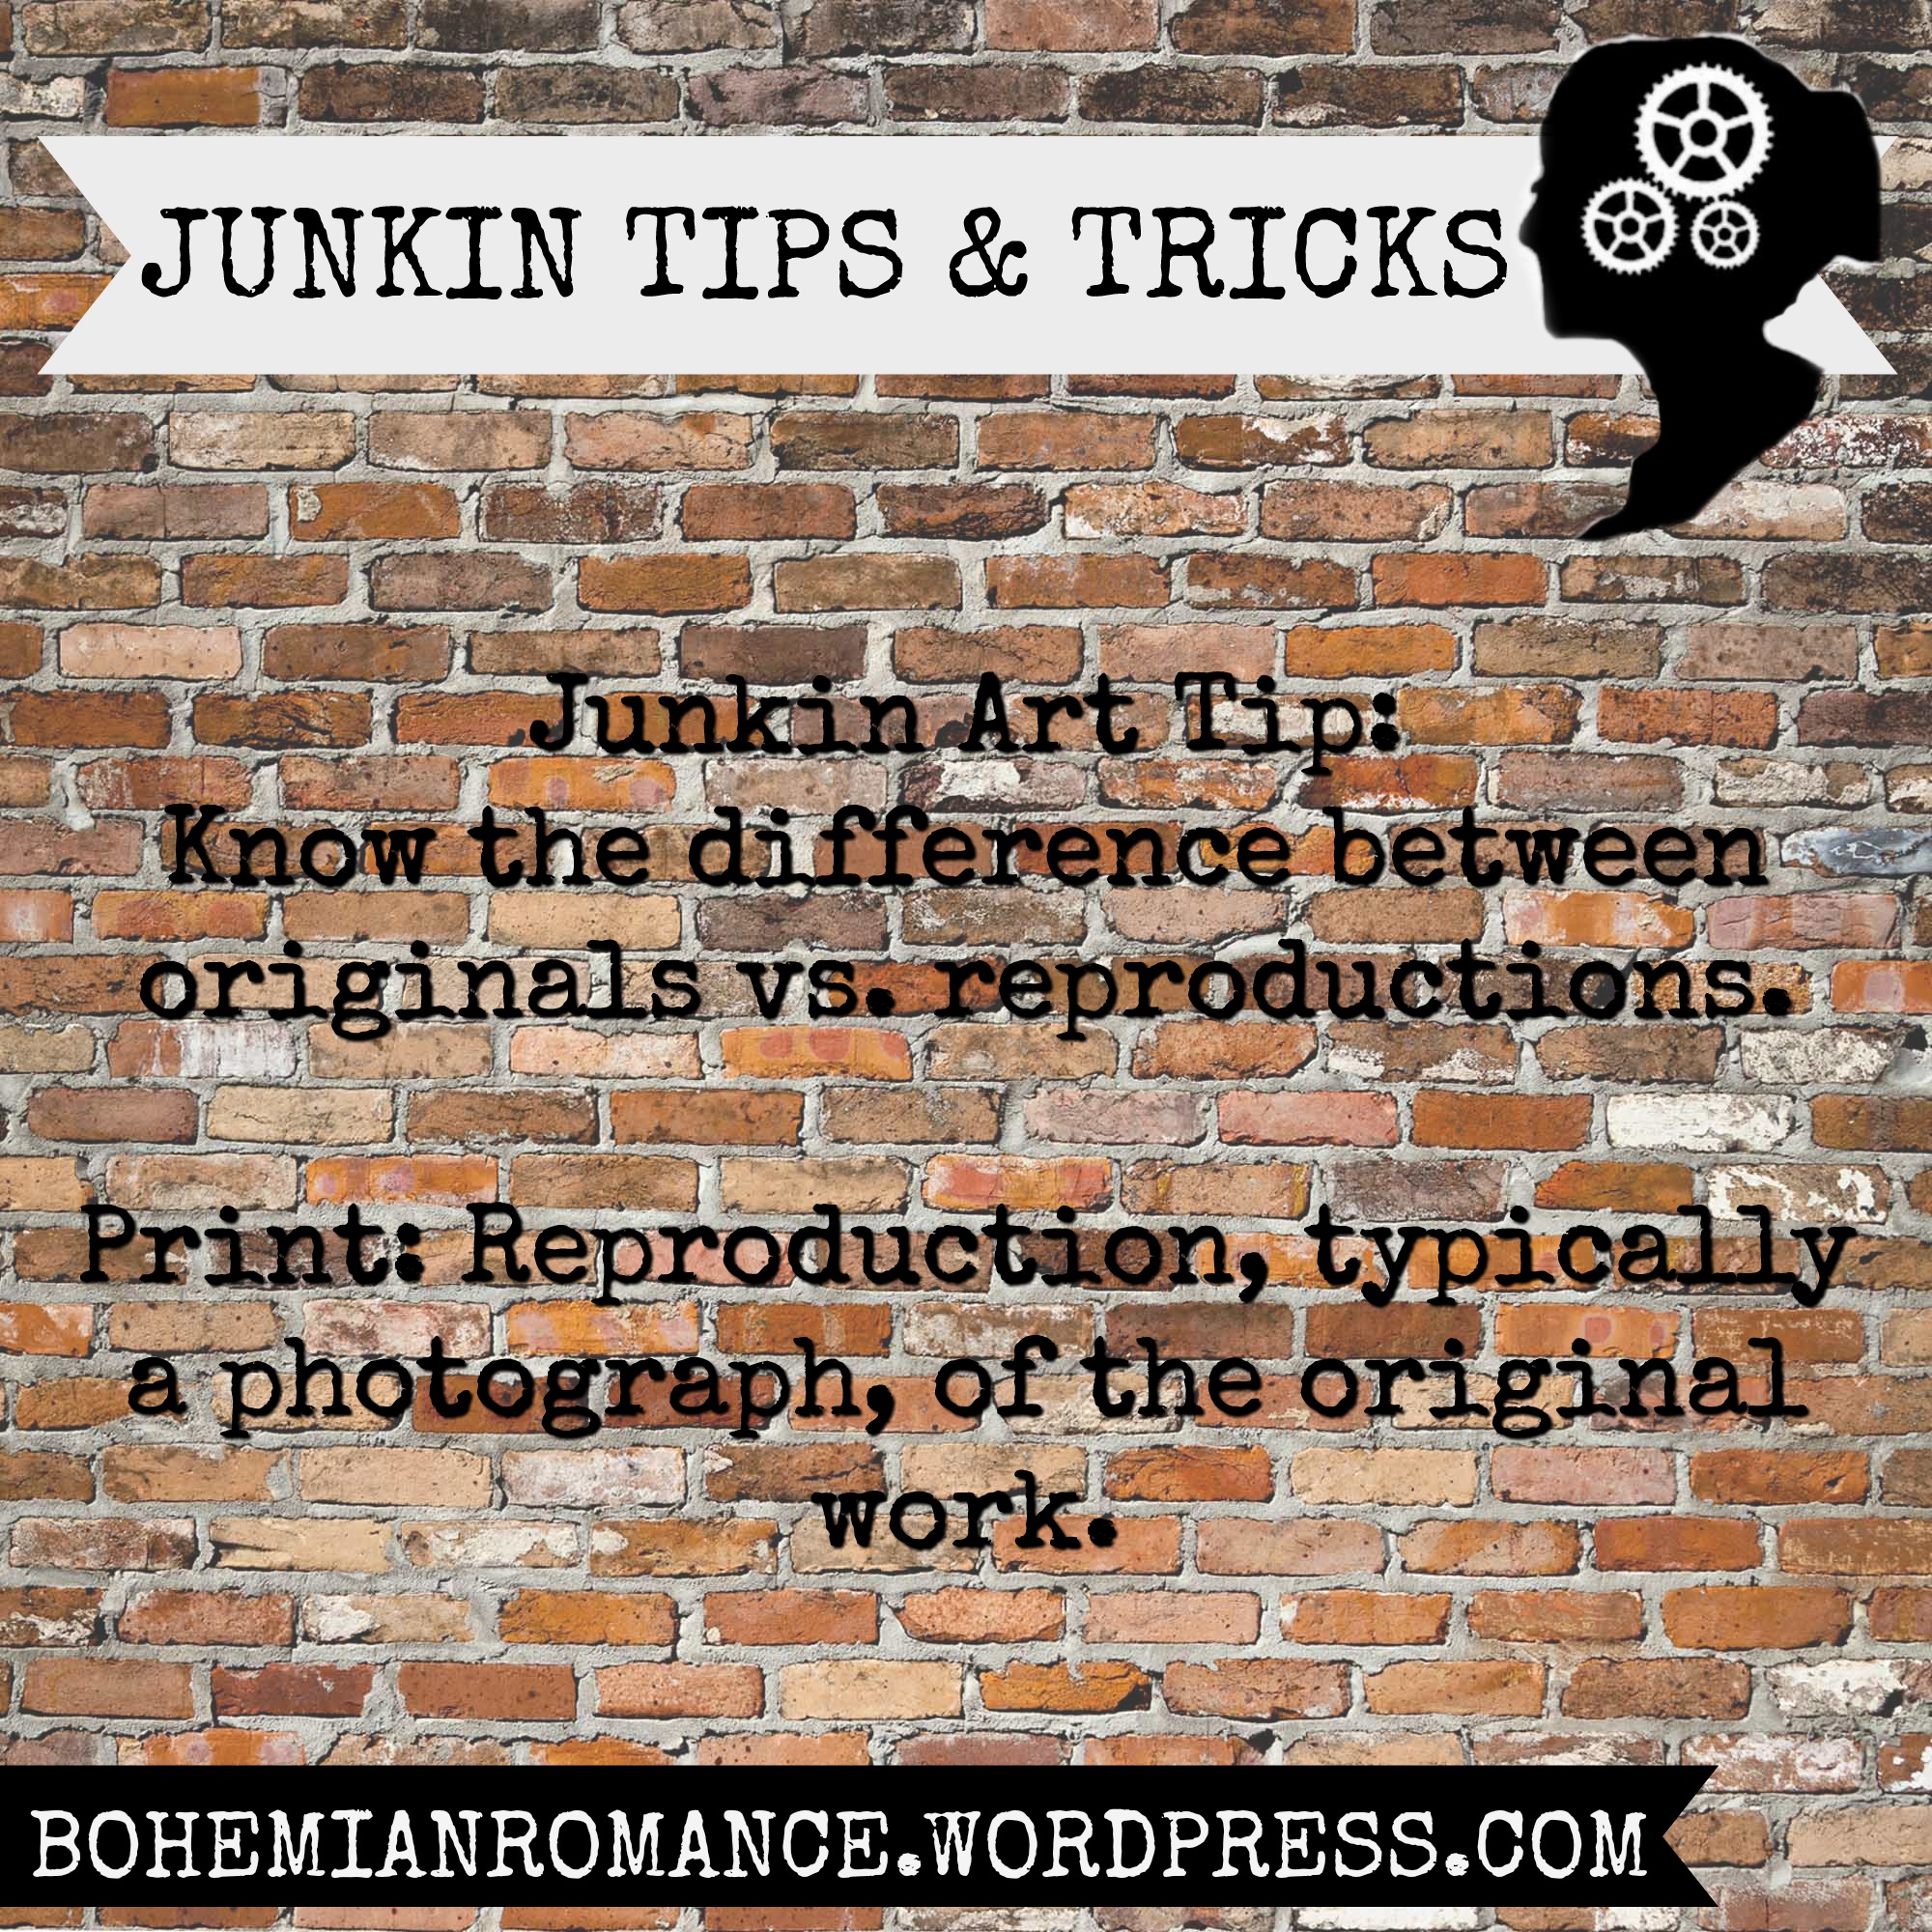
      • Reproduction Gears, large (qty. 100)

      • Reproduction Gears, small (qty. 100)

      • Brads, antique brass color (qty. 200)

      • Hole punch

      • Cutting board

      • Ruler

      • Computer & Microsoft Word

Cost: Under $50.00

Steps:

I've broken down the steps into 3 categories: Design, Pre-Cutting, & Post-Cutting to make it easier to follow.

Design:

img_3539

img_3539

  1. Open up Microsoft Word and click on the "Mailings" tab. Select "Labels." A new window will pop up, click on the "Options" button at the bottom. From there, select "Avery Label 5390." (You can really select any label that has 8 individual boxes on 1 sheet.). Click create new document.

  2. Once the document formats itself into 8 individual boxes you are ready to start designing your place cards. The top boxes will be graphic (or the front of your place card) and the boxes below it will be the text/table name (or the back of your card).

  3. Insert your graphic into the top boxes and type the text you'd like on the back of your card in the bottom boxes. Be sure to rotate your graphic so it is upside down so that when you print, it will print right side up. See photo below as a reference. Repeat for the next rows.

img_3540

img_3540

4. Next, print a test sheet. Make any adjustments needed before printing off your 25 sheets.

Pre-Cutting:

Before you cut your place cards, there are a few things to do before hand to make the process easier, especially if you are making place cards for a large gathering or wedding.

img_3547

img_3547

  1. Color in parts of your graphic with metallic colored pencil (or the color pencil of your choice). I choose an antique gold colored pencil to highlight the scroll work in the graphic.

  2. Repeat, repeat, repeat.

  3. Next, if you have your guest list confirmed, you can also begin hand writing their names onto the front of the place cards with your calligraphy pen. This is a lot easier for those of you making place cards for large groups.

  4. (Optional) Put on a BBC mini-series and binge-listen to it while you're writing.

  5. Repeat, repeat, repeat.Let your ink dry completely before moving on to the next phase.
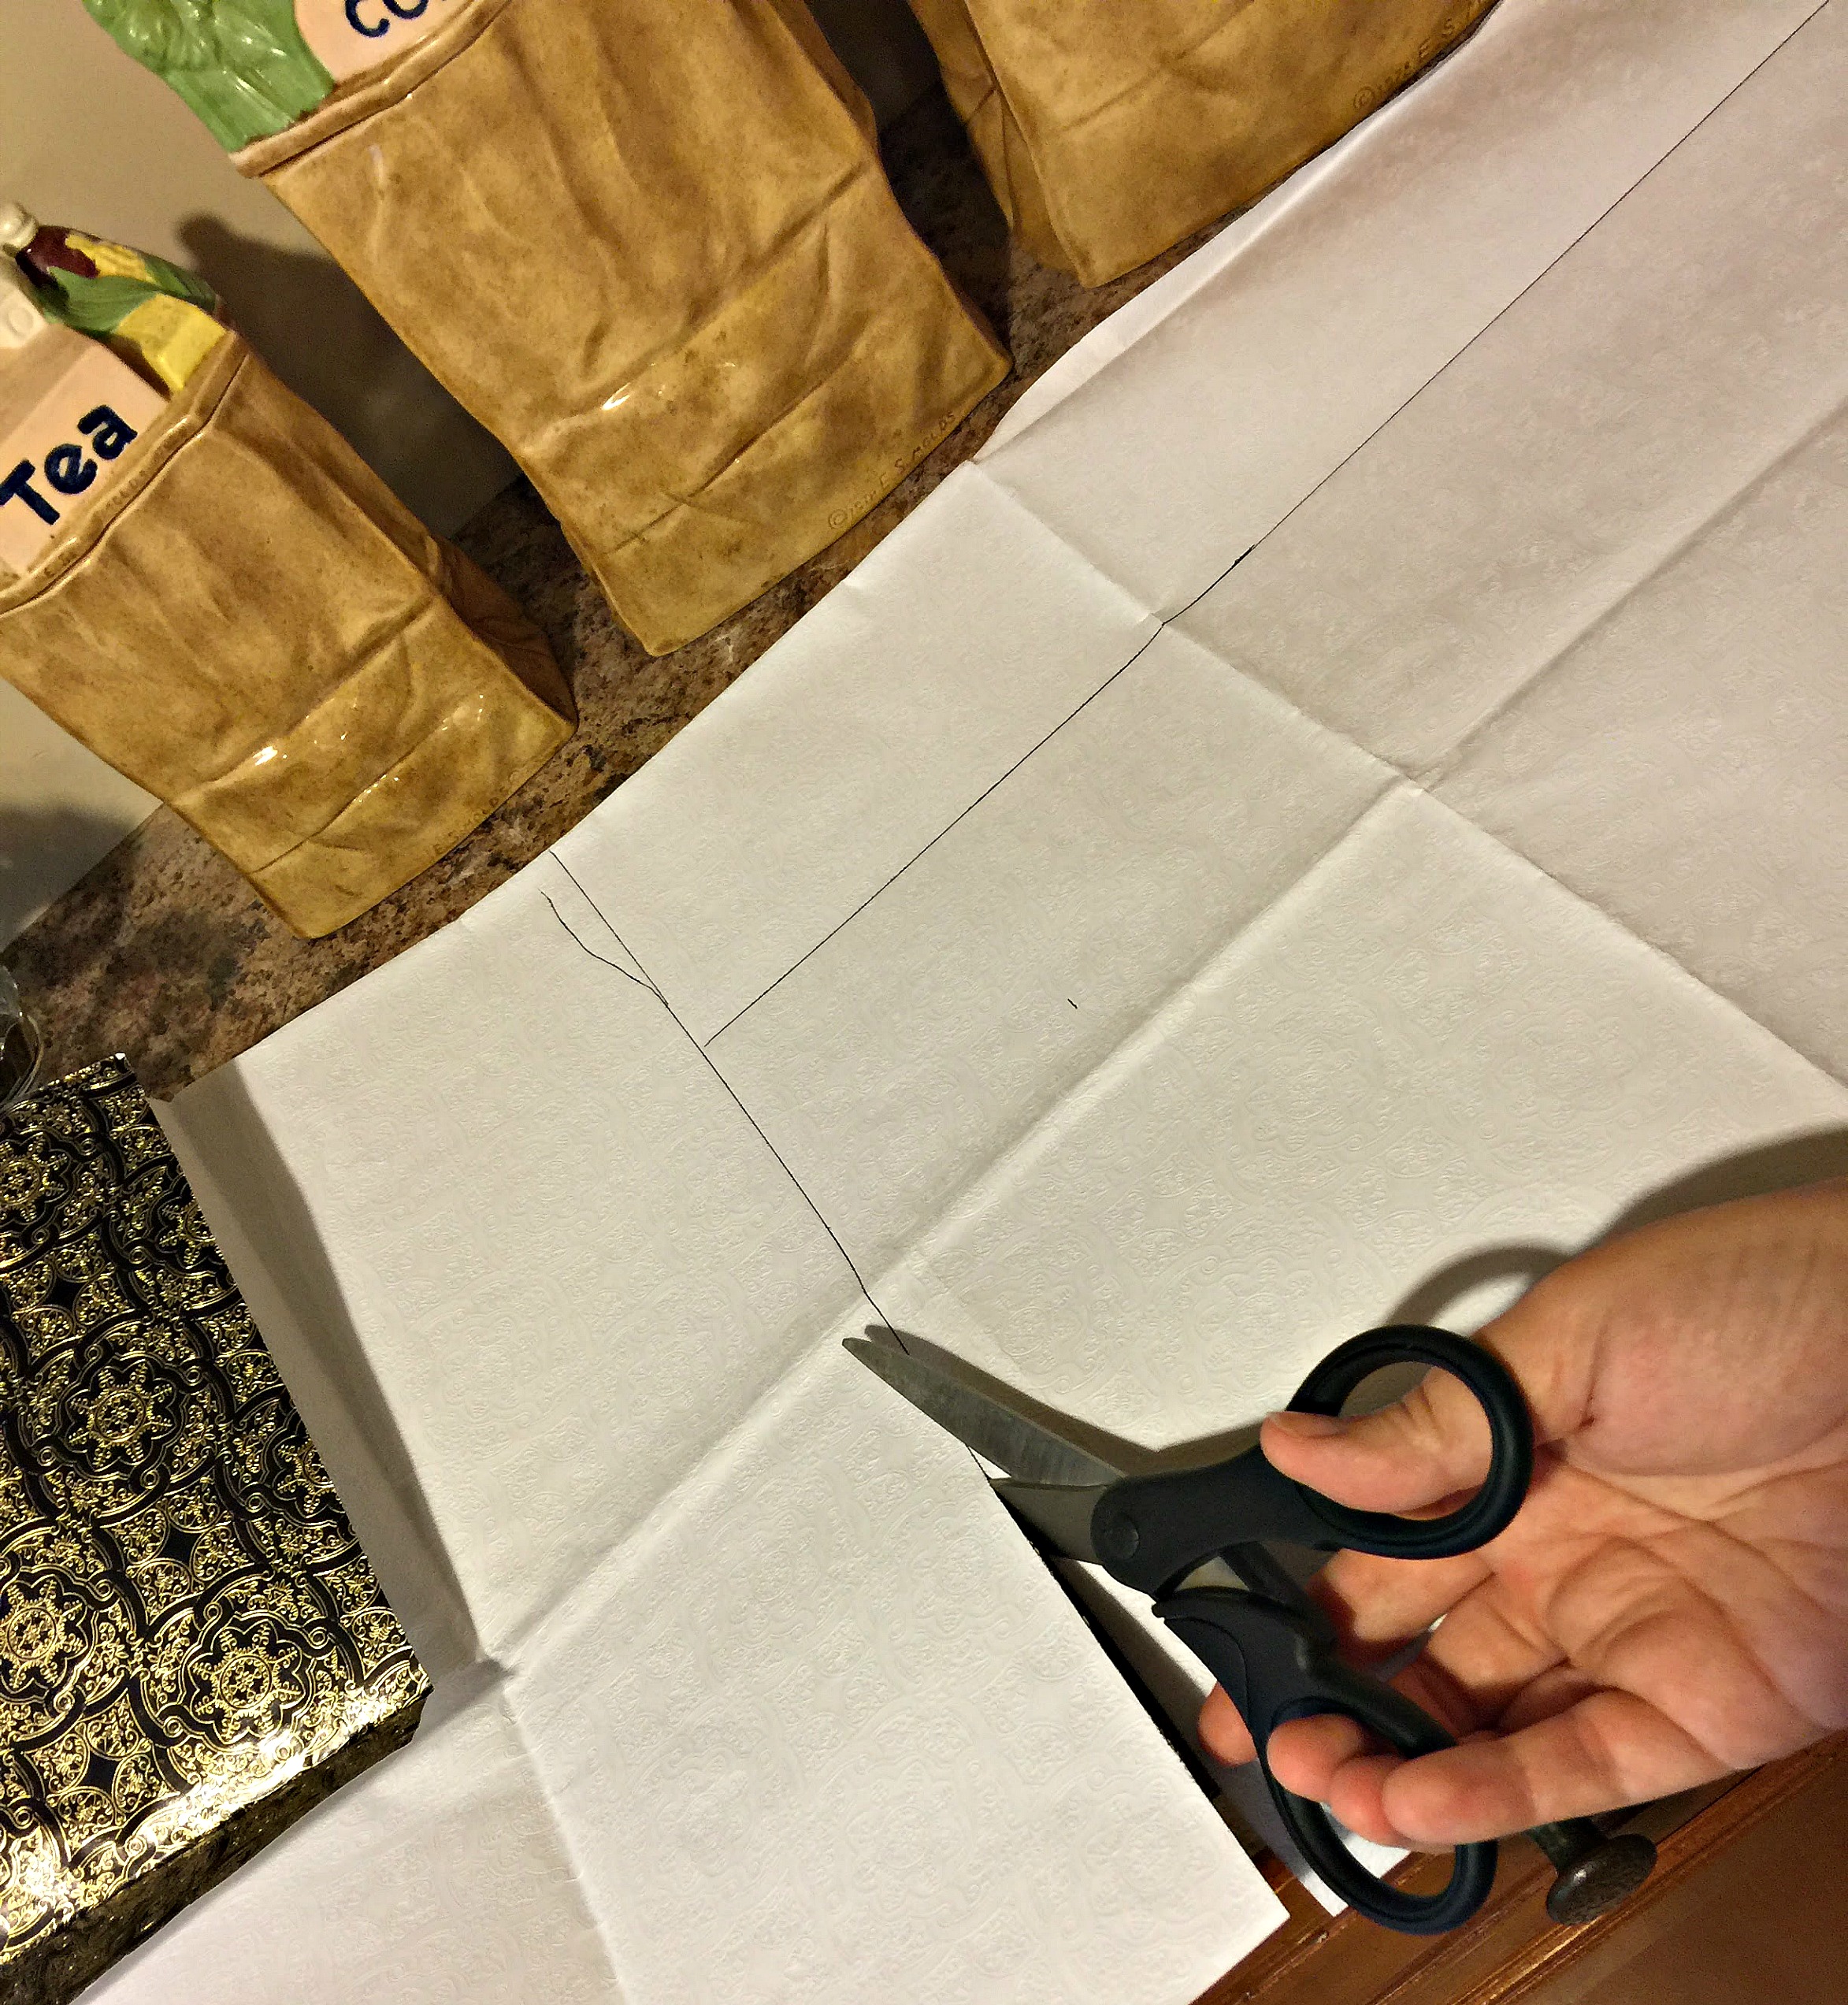
Cutting:

DIY Jewelry Tray

UncategorizedSamantha ExtanceComment

I love simple and cheap DIYs that dress up your home--especially when they also involve upcycling. Like many of you I'm guessing, I save gift boxes, bags, and beautiful wrapping paper to use again. One particular bit of gift wrap paper I'd received was this metallic gold and black patterned wrap with an elegant design. I fell in love with it--it's fancy and it got me thinking of new ways to re-purpose gift wrap.

To make your very own jewelry tray with re-purposed gift wrap, tissue paper, or even scrapbook paper, here's what you'll need:

IMG_5199

IMG_5199

Supplies:

  • Wooden Tray (Target, $6.99)

  • 2 Foam Brushes (.50 cents)

  • Wrapping Paper (free)

  • Paint ($1.49; I used Target's 24K Gold Acryllic Paint)

  • Ruler

  • Pen

  • Scissors

  • Modge Podge (glue)

(All of the supplies cost under $10!)

Steps:

  1. Paint your wooden tray. I painted 2 coats since my paint was faint. Paint with the grain and leave yourself ample time to dry before moving on.

IMG_5200

IMG_5200

2. Measure the inside of your tray (the length and width) and jot down the measurements on a post-it or piece of scrap paper.

IMG_5203

IMG_5203

3. Next, using the measurements you just took, mark your paper with the measurements of your tray on the wrong/back side of your paper.

IMG_5206

IMG_5206

4. Cut out the piece of paper that will line the bottom of your wooden tray with your scissors.

IMG_5208

IMG_5208

5. To ensure that your measurements are correct and that the paper will fit in your tray, place it in the bottom of the tray. Make adjustments if needed.

IMG_5209

IMG_5209

6. Next, with your foam brush spread an even layer of Modge Podge on the bottom of your tray.

IMG_5215

IMG_5215

7. Immediately place your paper in your tray. Be careful to smooth out any bubbles. It is best to start from the top and smooth your paper flat as you work your way down.

IMG_5218

IMG_5218

Be sure to also push down the corners.

IMG_5219

IMG_5219

(Optional): If your paper is thin or not coated, it may be a good idea to also spread a protective top layer of Modge Podge too.

8. Allow to dry fully and enjoy!

As always, Happy Crafting!

Tulsa People's April "Artist in Residence"

UncategorizedSamantha ExtanceComment

I'm incredibly honored to be Tulsa People's April "Artist in Residence" for their Upcycling/Green Edition.

I got to talk about what I love most about making steampunk jewelry and a little bit about repurposing. Pick up a copy around town!

There's lot of other really great articles & col things happening in Tulsa noted inside these pages: tiny houses, extraordinary tales of travel,  beekeeping, news on The Gathering Place, and more.